During the last few weeks since my first post about the Zsun WiFi Card Reader I learned a few things that I haven’t documented yet.
After I was able to confirm that my device has indeed PCB v2 but that flashing should work just the same, I tried the simple method described here:
- Insert a FAT formatted micro SD card into the reader and plug the reader into a PC (running Windows, in my case). The card should be assigned a drive letter, say “J:”.
- Connect to the WiFi access point created by the reader.
- Open http://10.168.168.1:8080/goform/Setcardworkmode?workmode=0
- Open the drive/card in the file explorer, create a new folder named “
.update.” and copy theSD100-openwrt.tar.gzarchive into it. - Open http://10.168.168.1:8080/goform/upFirmWare – this should return status code “2”.
- Wait patiently for the described LED flashes!
- Connect to the new access point called “OpenWRT”.
- Open https://192.168.1.1/cgi-bin/luci and configure OpenWRT.
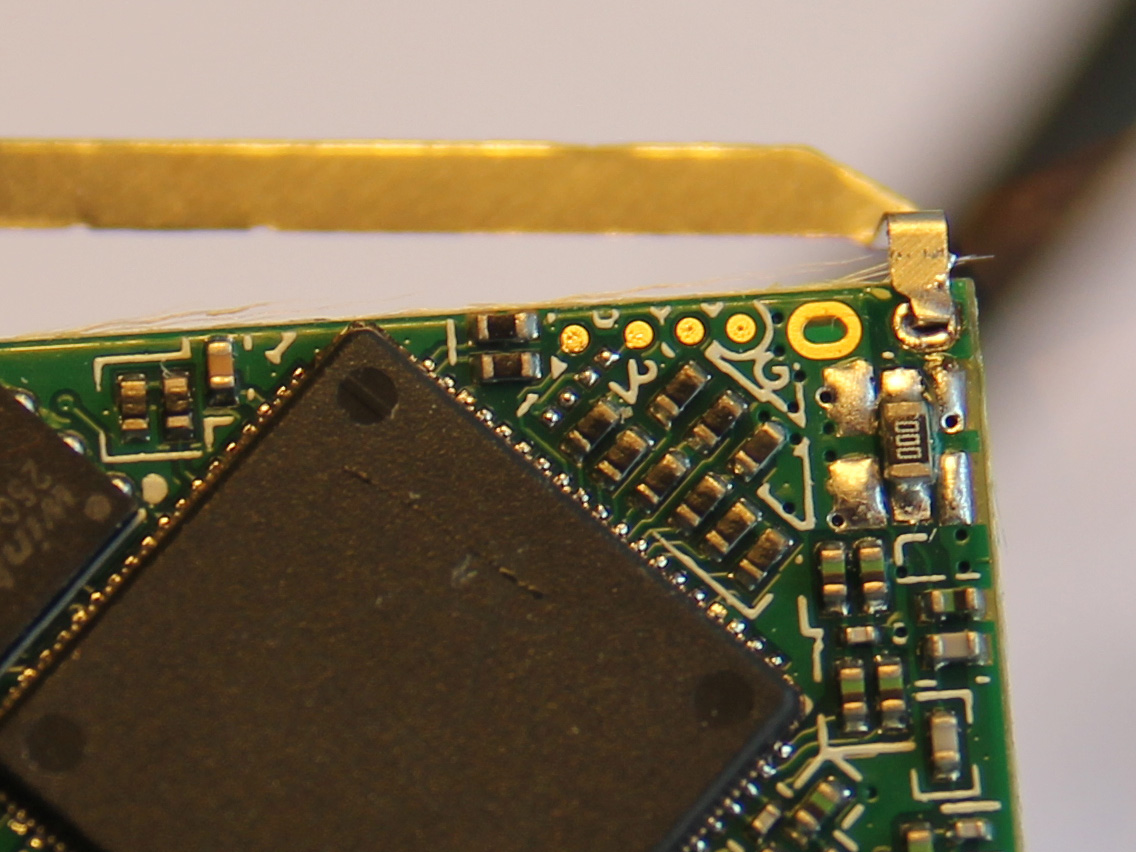
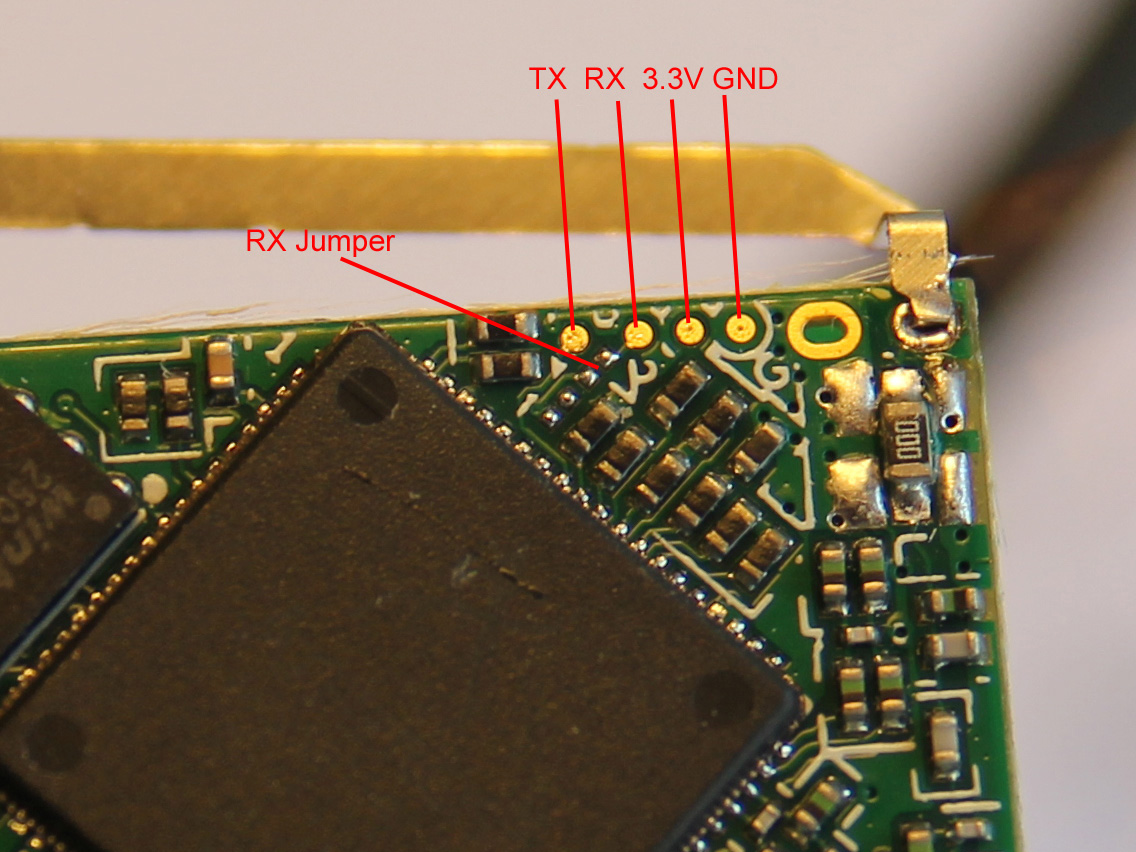
This worked like a charm (a big thanks to Warsaw!), but only 5 minutes later I managed to lock myself out with a bad WiFi config. Great. So I went ahead and soldered leads to the serial headers. But while I was able to receive and read the console output just fine I had no success sending any input to that console. Only today I learned that PCB version 2 is missing a jumper that needs to be connected in order to enable serial RX. Connecting this jumper has exceeded my meager soldering skills so far, though.
Fortunately, I learned another fact from a helpful comment on my previous post: By inserting or removing the SD card during boot, OpenWRT can be put into fail-safe mode that will reset the configuration. I kept inserting and removing it in quick succession for about 10 seconds in order to get the timing right. Now I’m able to connect to the WiFi again!
Update:
One of the images is showing an Ethernet cable attached directly to the board. This did not work for me and trying it was somewhat naive. It’s been brought to my attention that this might damage the SoC, too. If resetting an OpenWRT installation as described above is not enough, the best way to un-brick the device seems to be through the serial console as described in the comments.

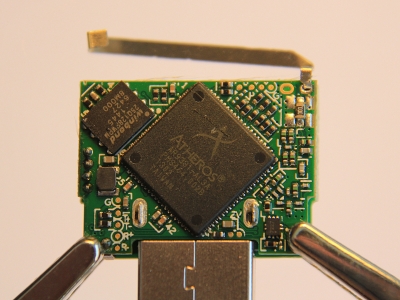
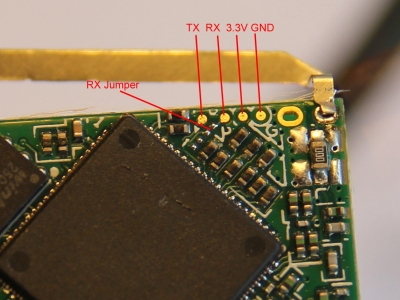
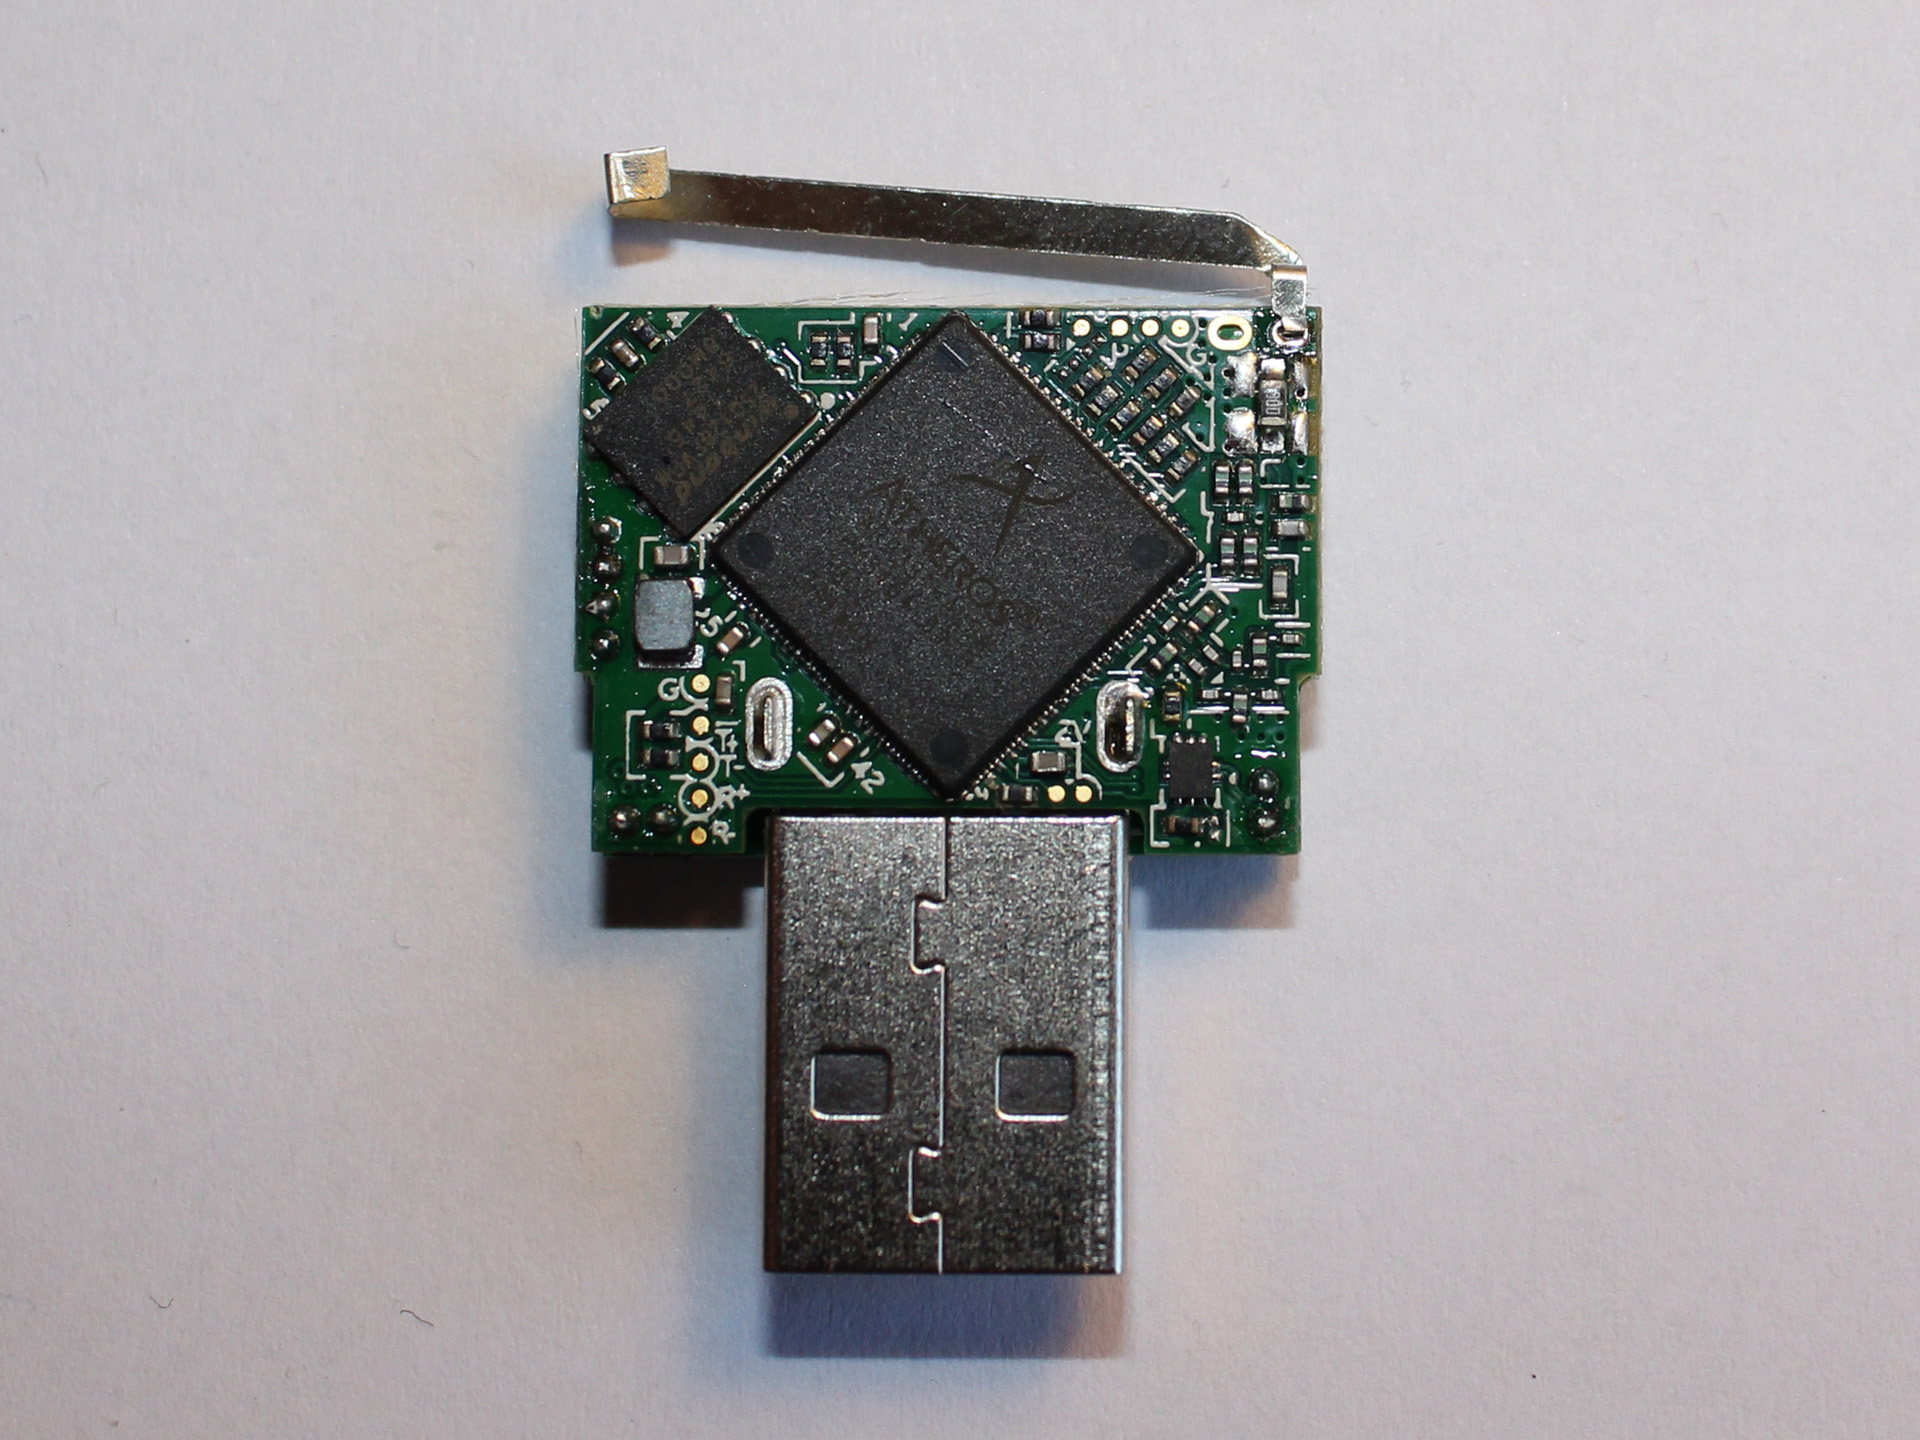
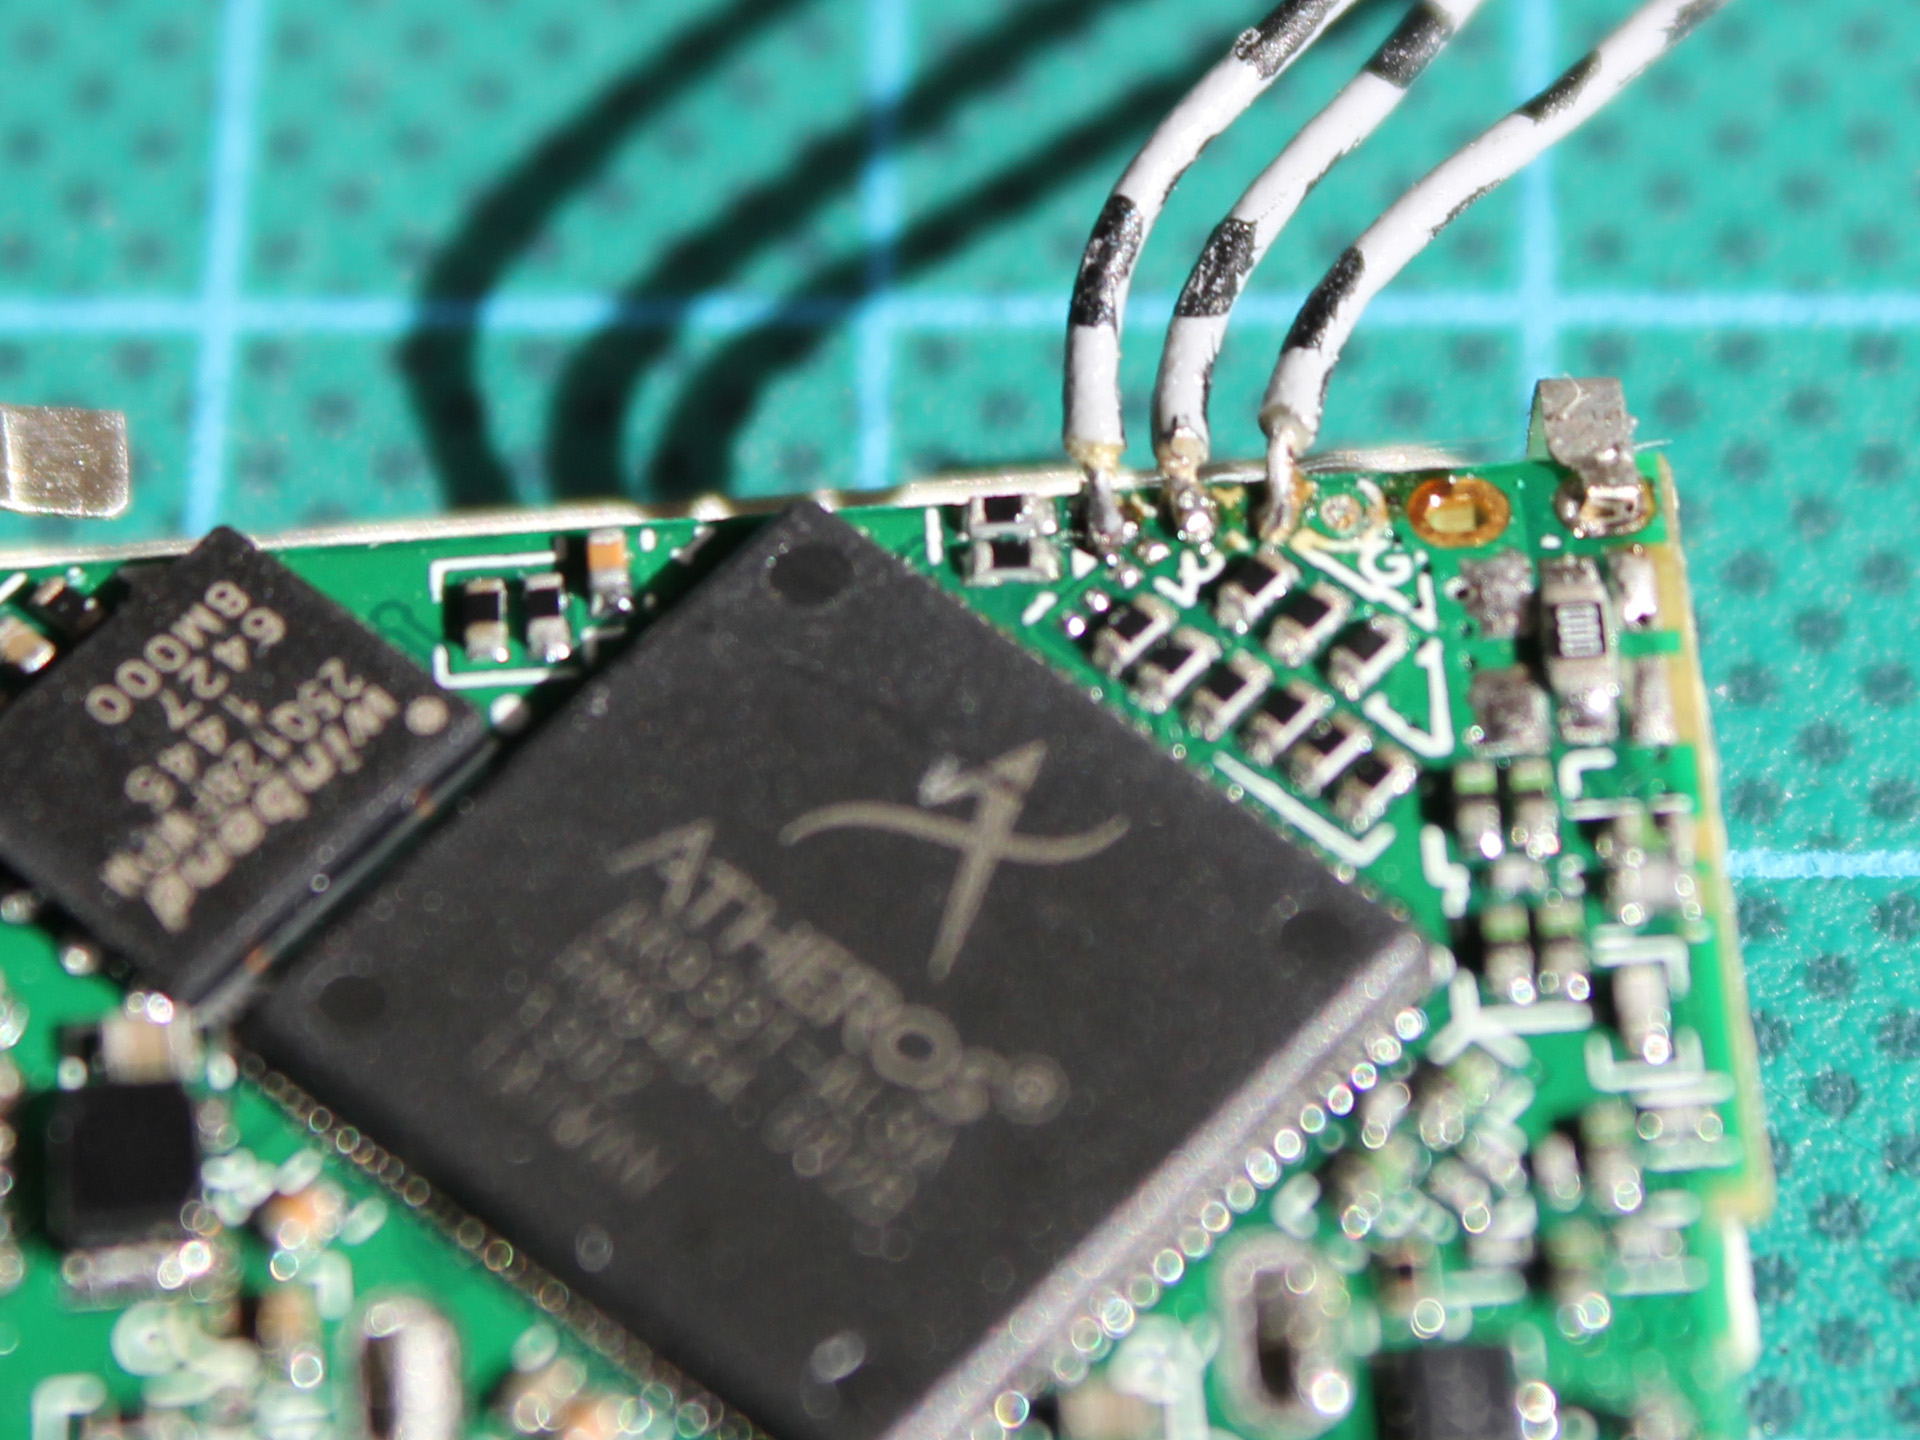
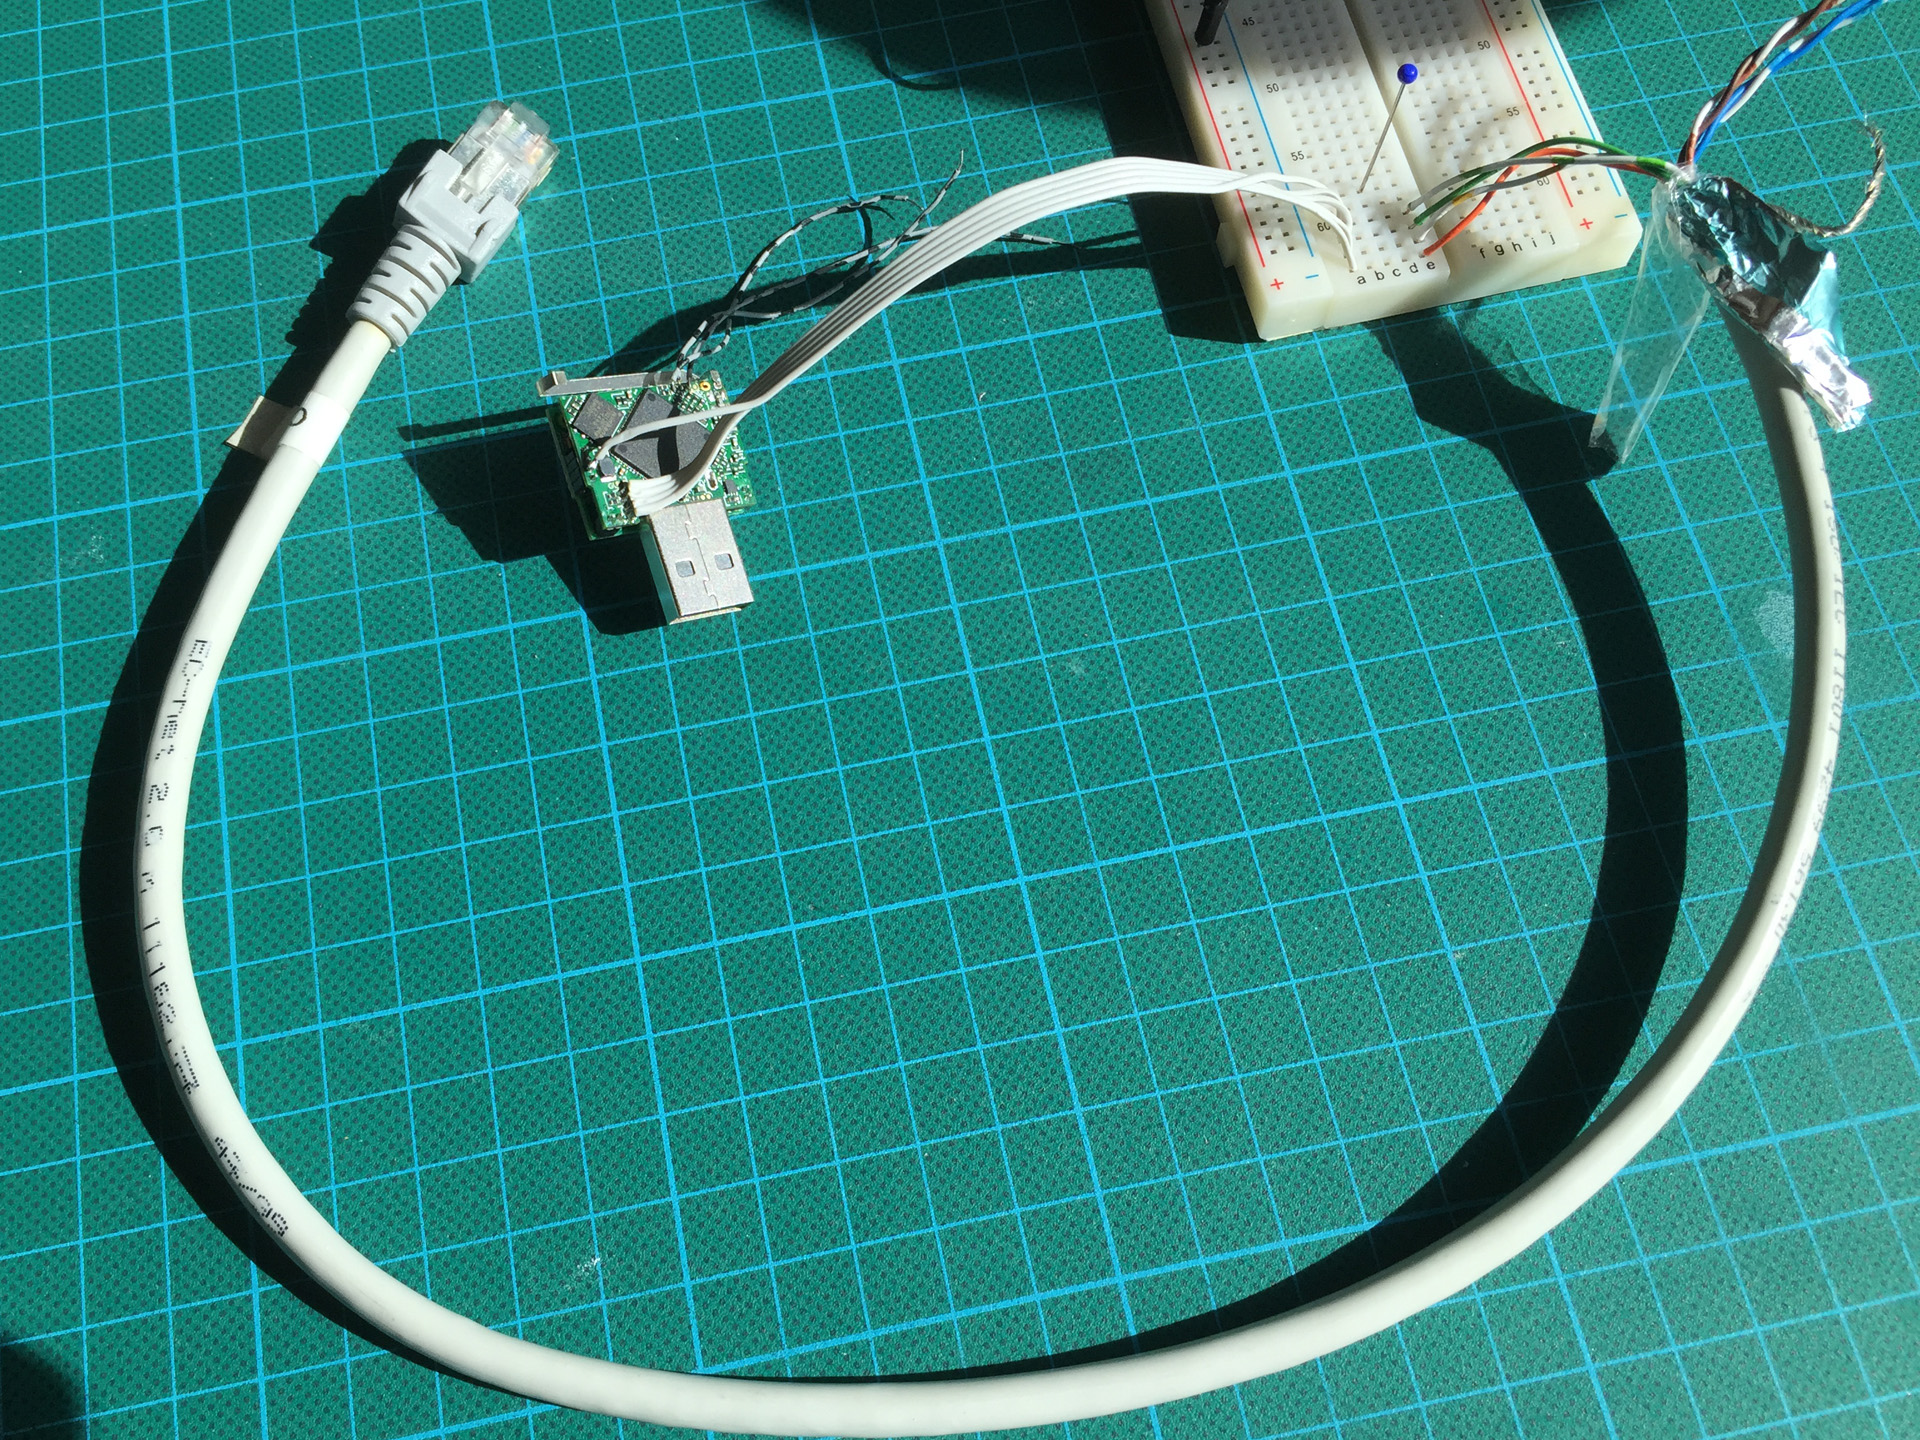
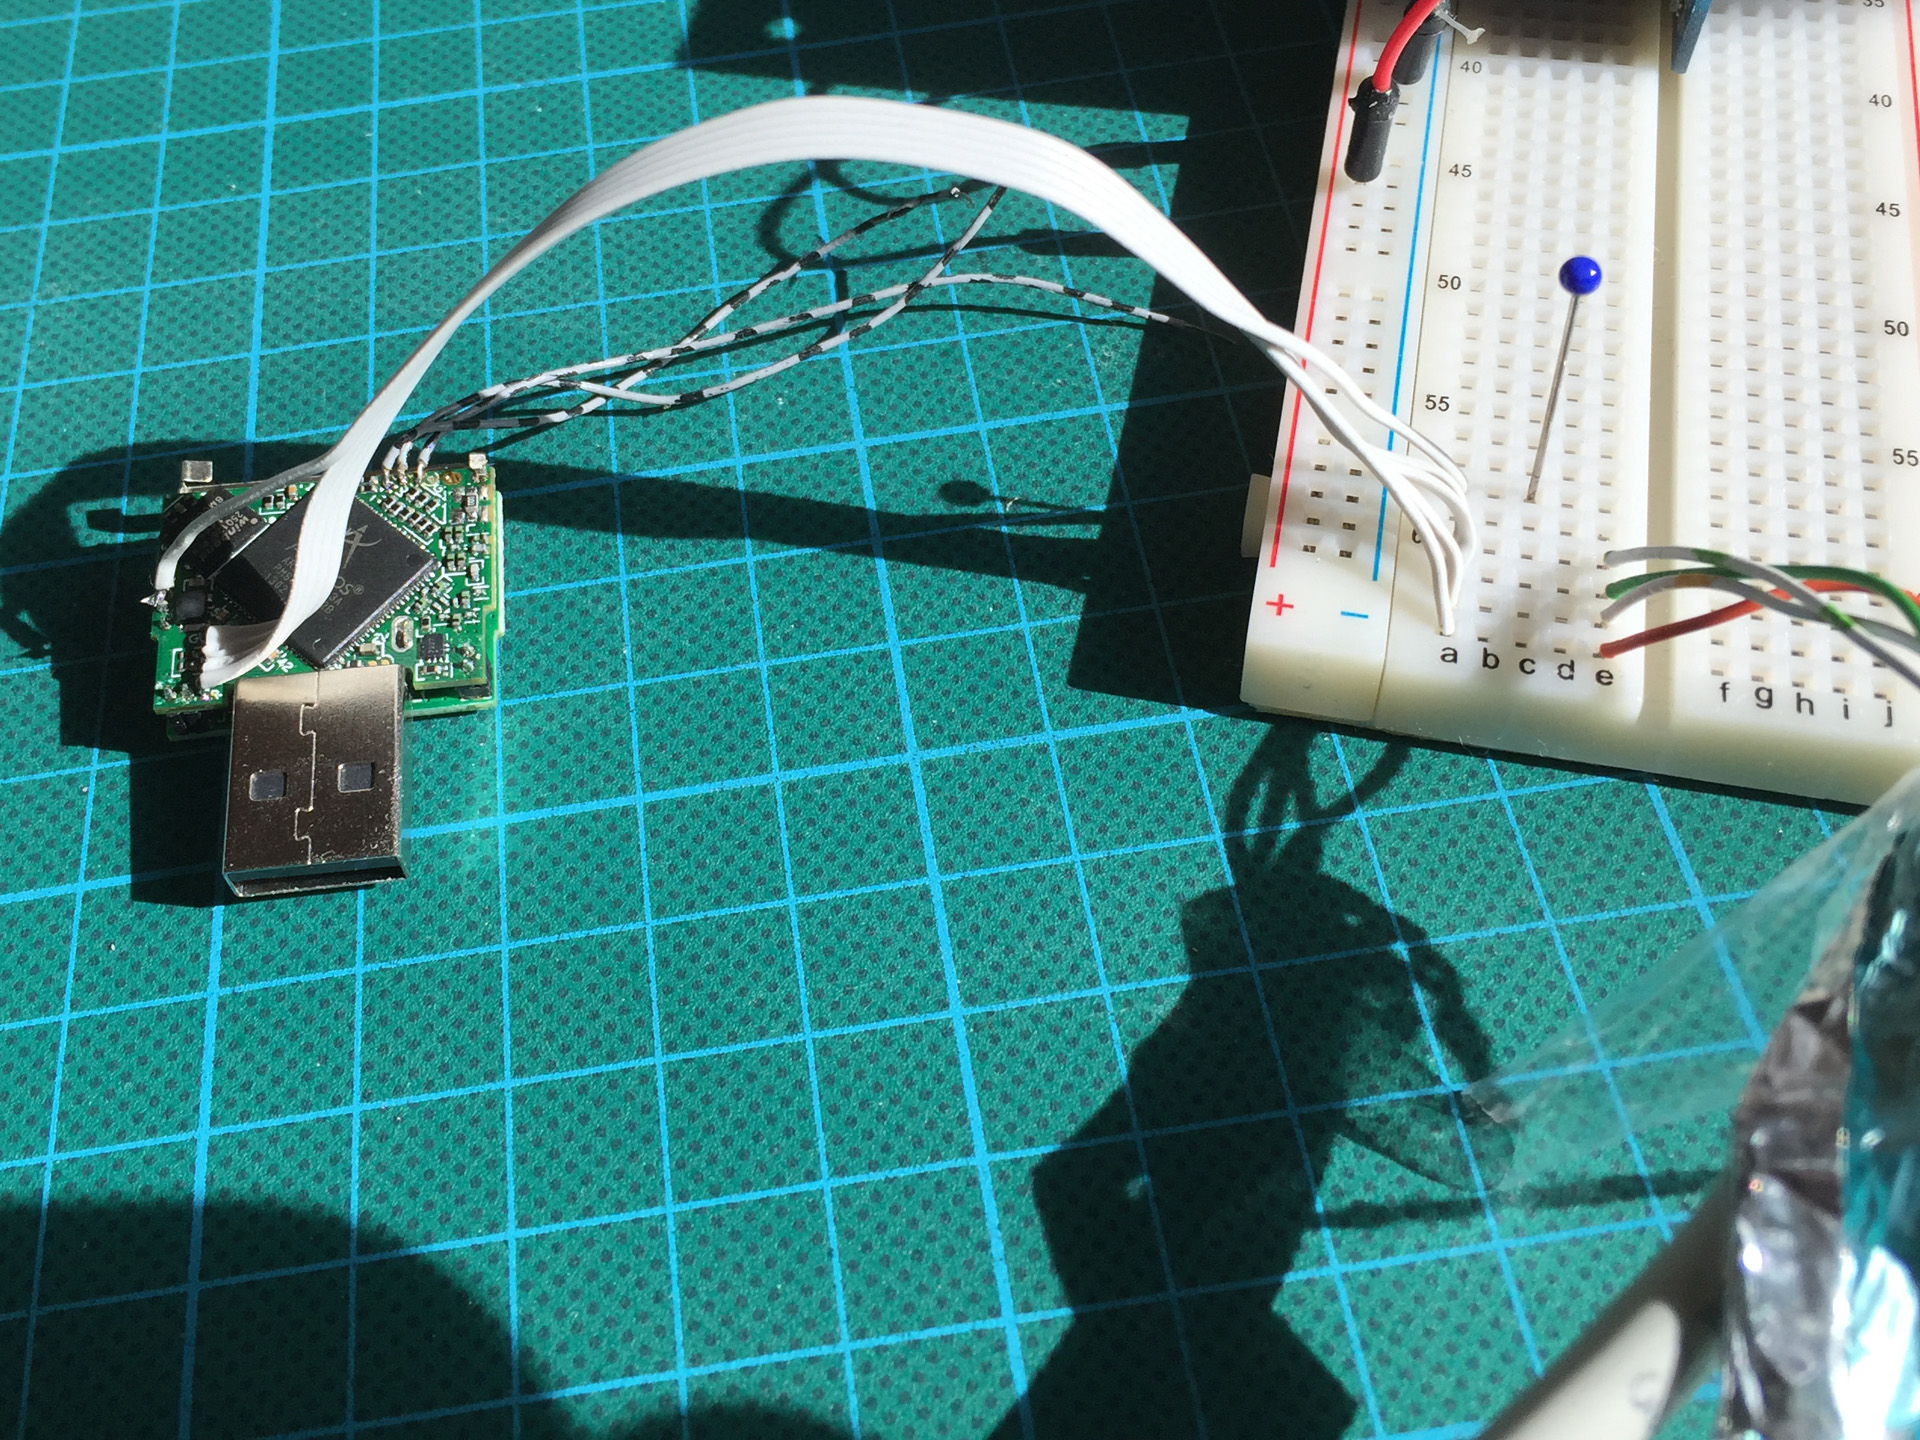
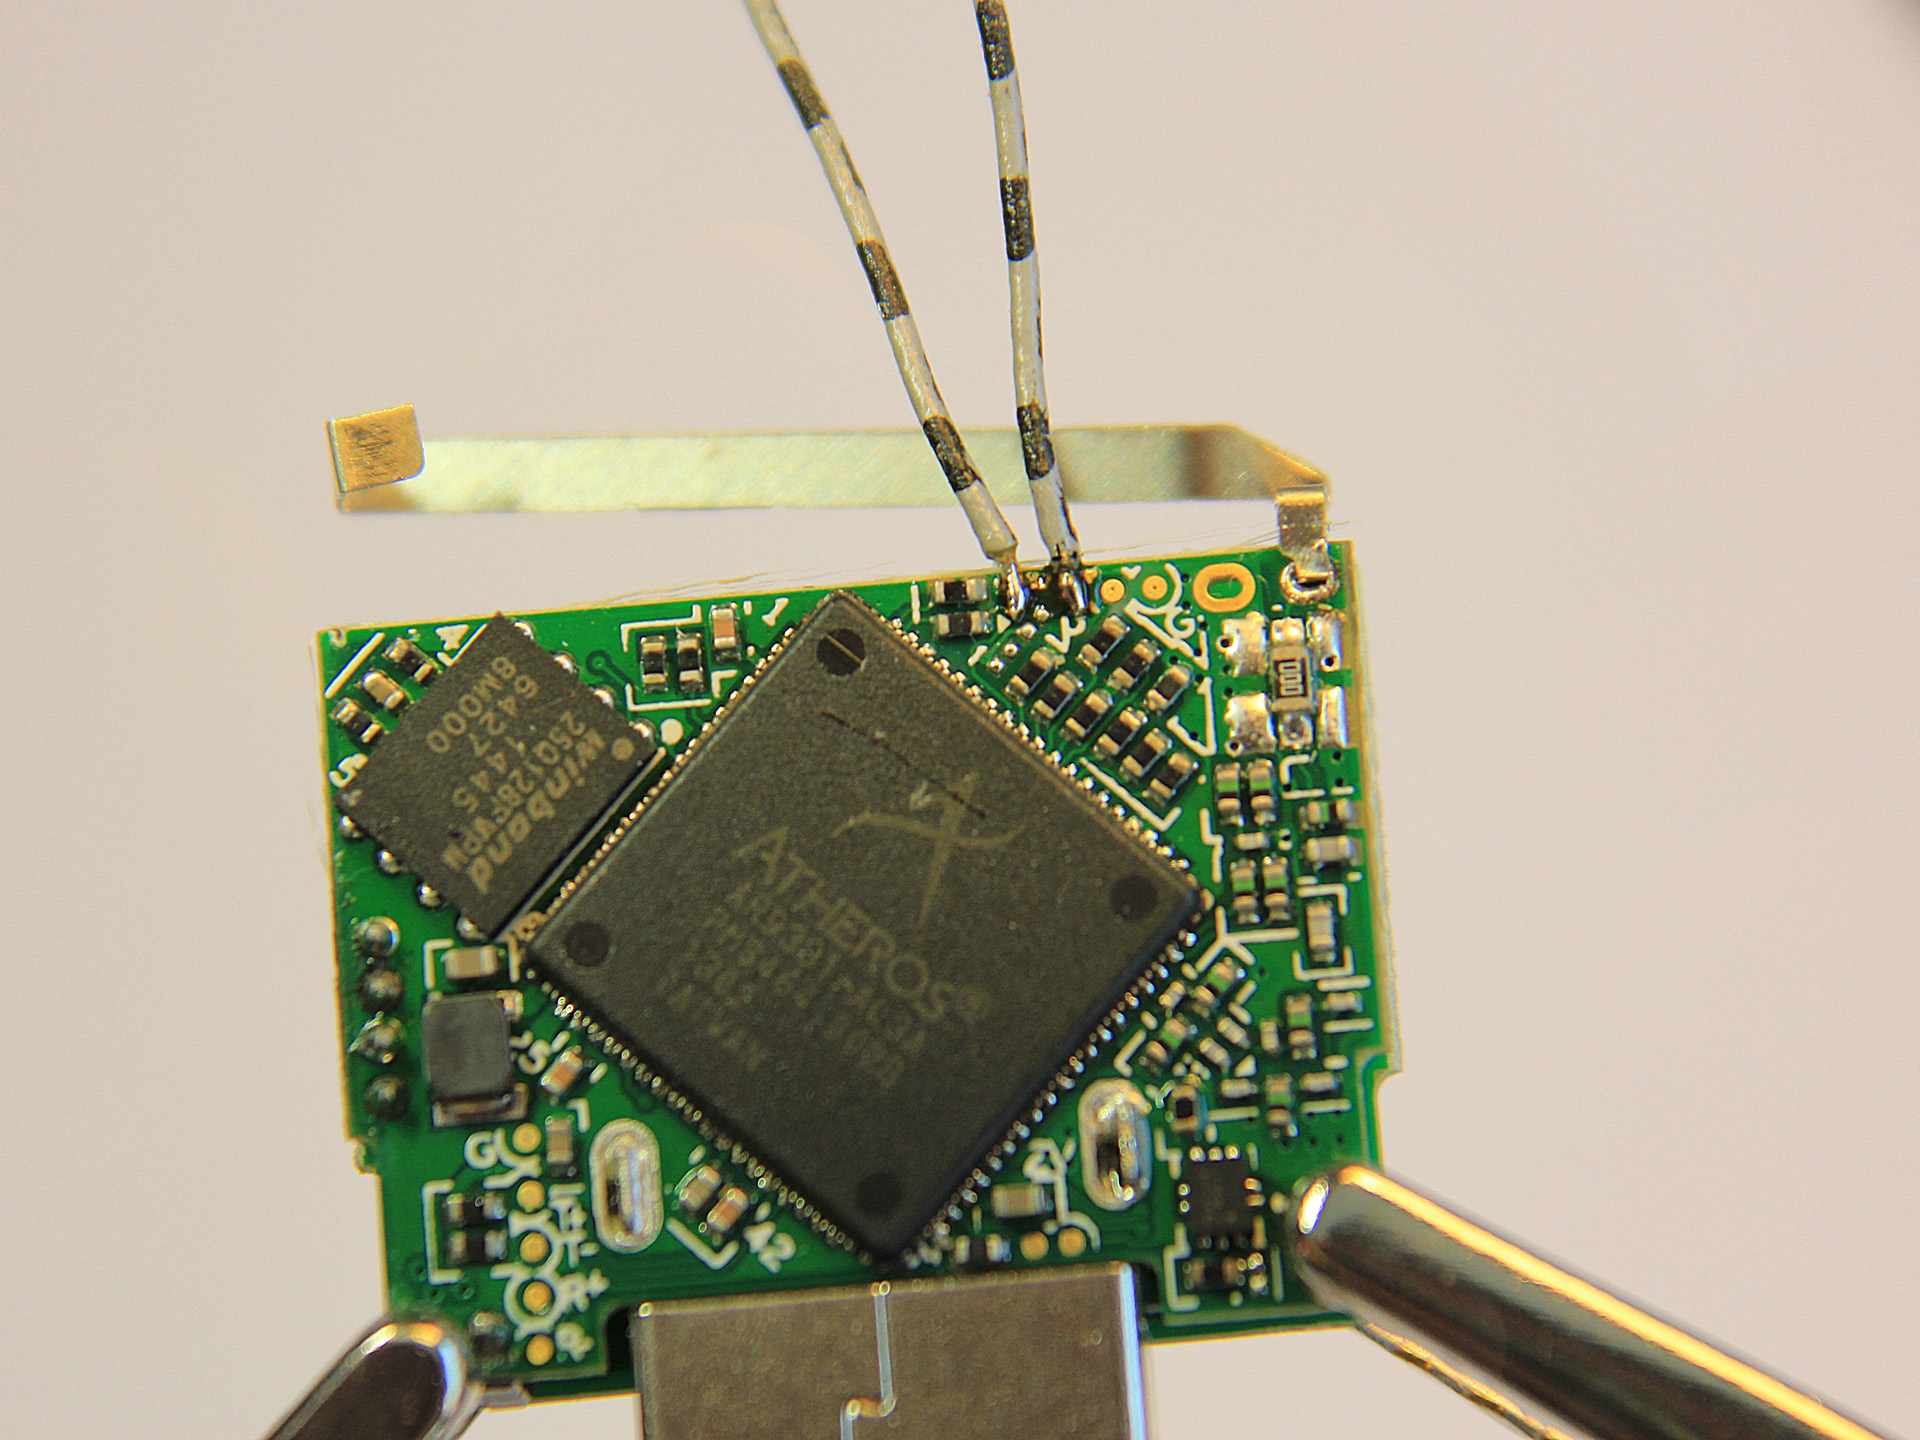
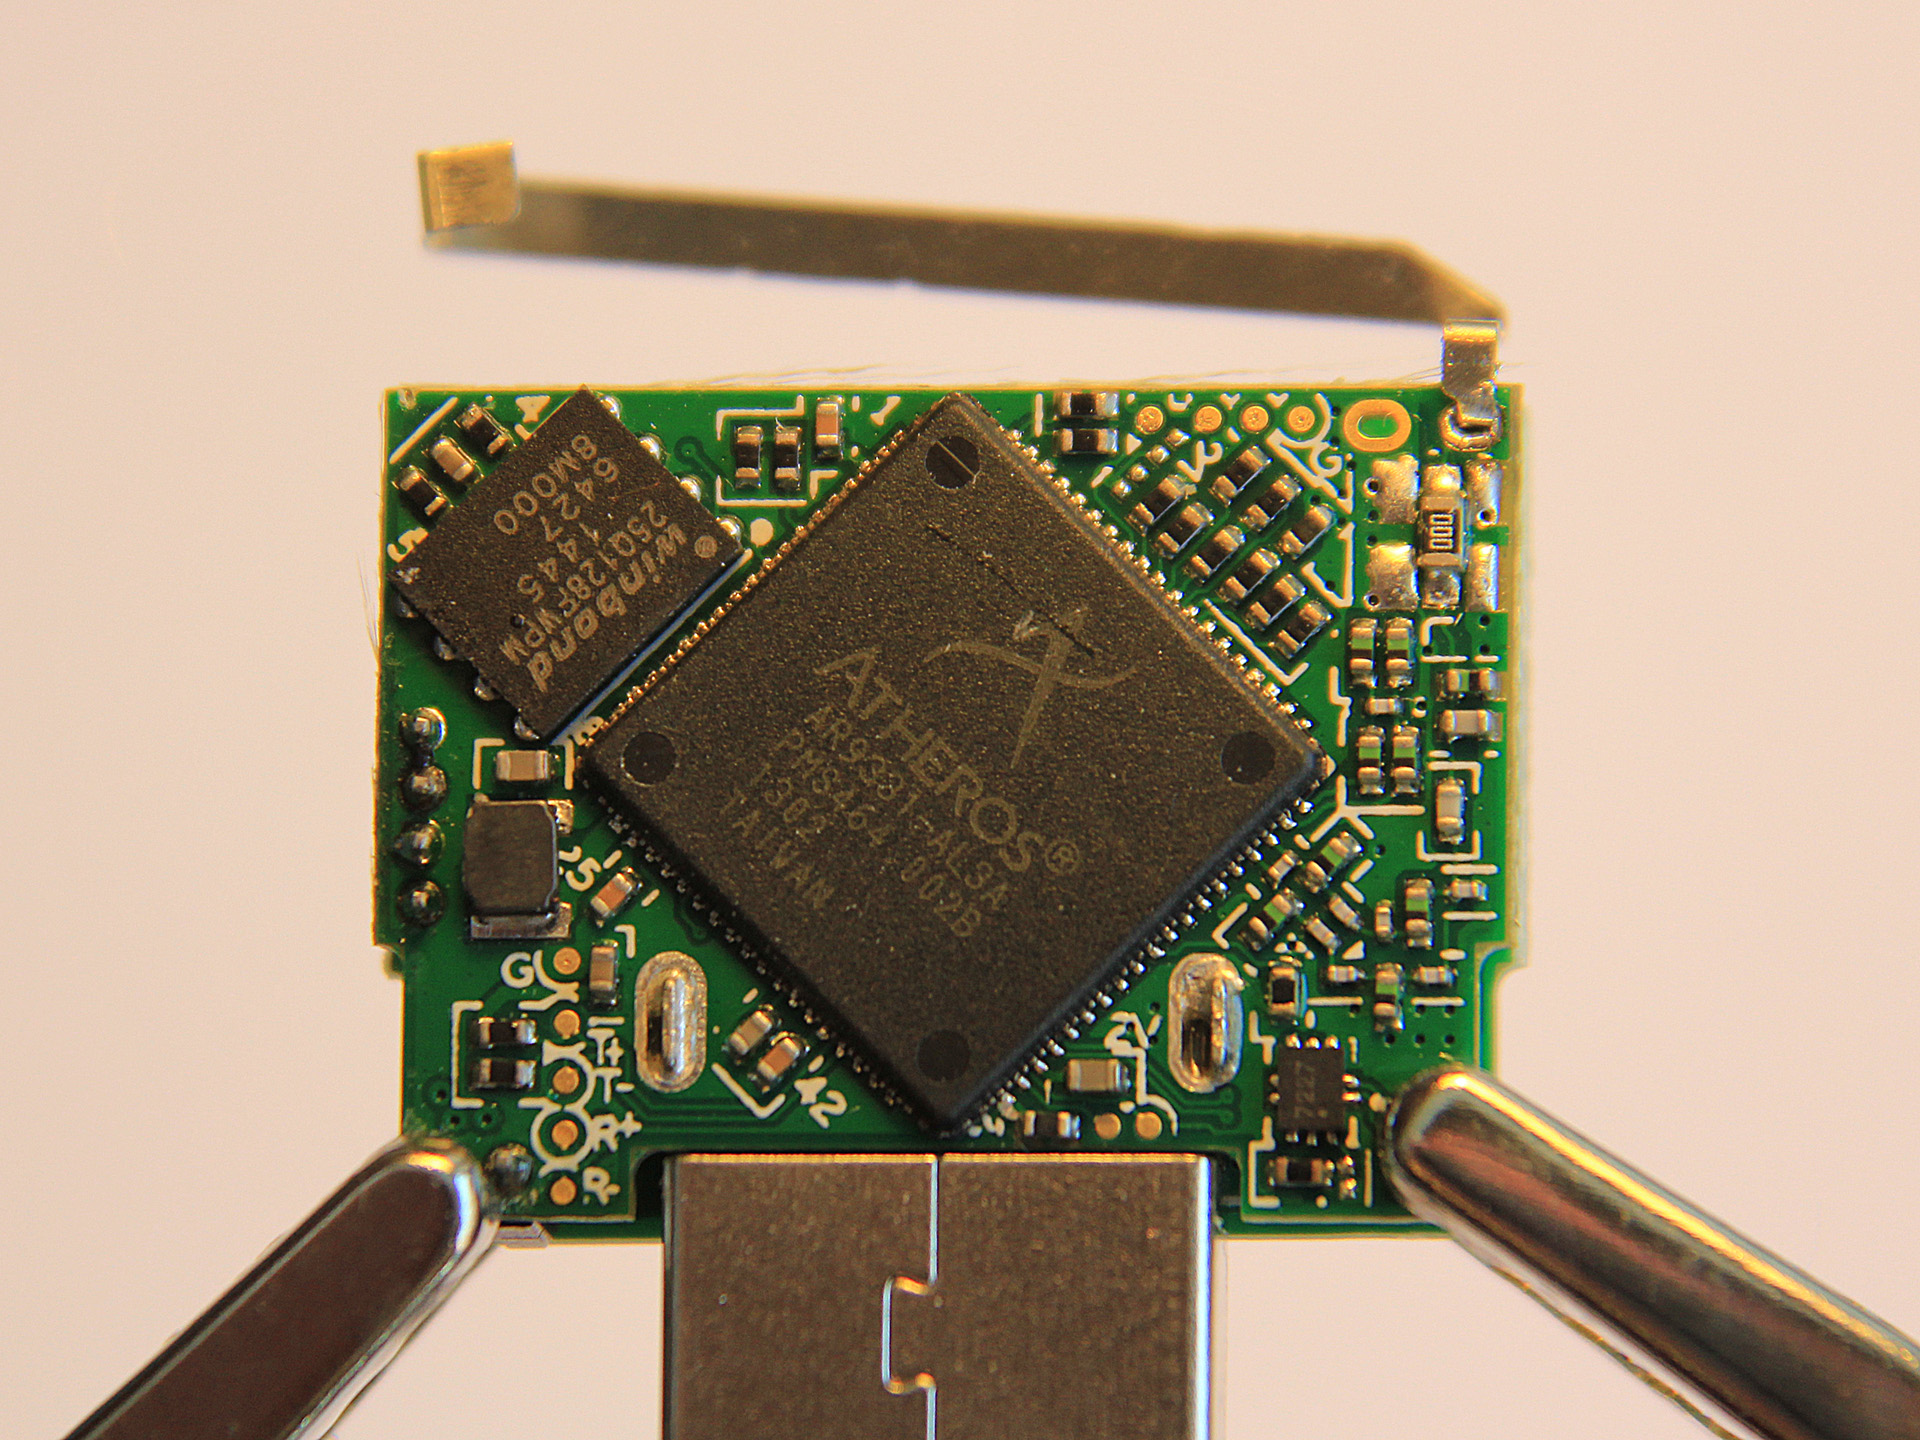
I’ve managed to also connect by serial to my szun since hackerspace guys updated the wiki details but didn’t manage to solder any ethernet port so the only way was to use this slow method serial method ( >1kb/s ) https://github.com/maurerr/ubootwrite
Hi Marius, thanks for the hint about ubootwrite. I also have bricked my zsun, am I correct that with that method the only thing needed is access to the serial console?
I see in the third picture that ethernet cable is connected directly to the pins. I thought that without a magjack (or external transformer) it would not work and could even damage the processor. Could you please confirm it worked for you?
@Shad: No, sorry, this did not work for me. I thought the device bricked and lost at that time and tried various options rather carelessly. Thanks for the heads-up though, I’ll add a warning to my post.
@cg: After I wrote that I thought that MAYBE if the other end has (as it should) the port isolated by transformer, and the cable is short enough it might work…. but probably it didn’t because using that breadboard in the middle might introduce too much interference for the signal. I will now try the method Marius D pointed out about using only the serial console and ascii upload and post feedback.
Posting again just to confirm that the method of unbricking by using just serial console posted by Marius D works perfectly. Thanks!
Thanks! I thought my ZSUN was a goner without some serious soldering skills to re-flash it. I had also saved a bad wifi config. Took me a couple of tries but eventually it worked.
My experience for those still having trouble triggering failsafe boot:
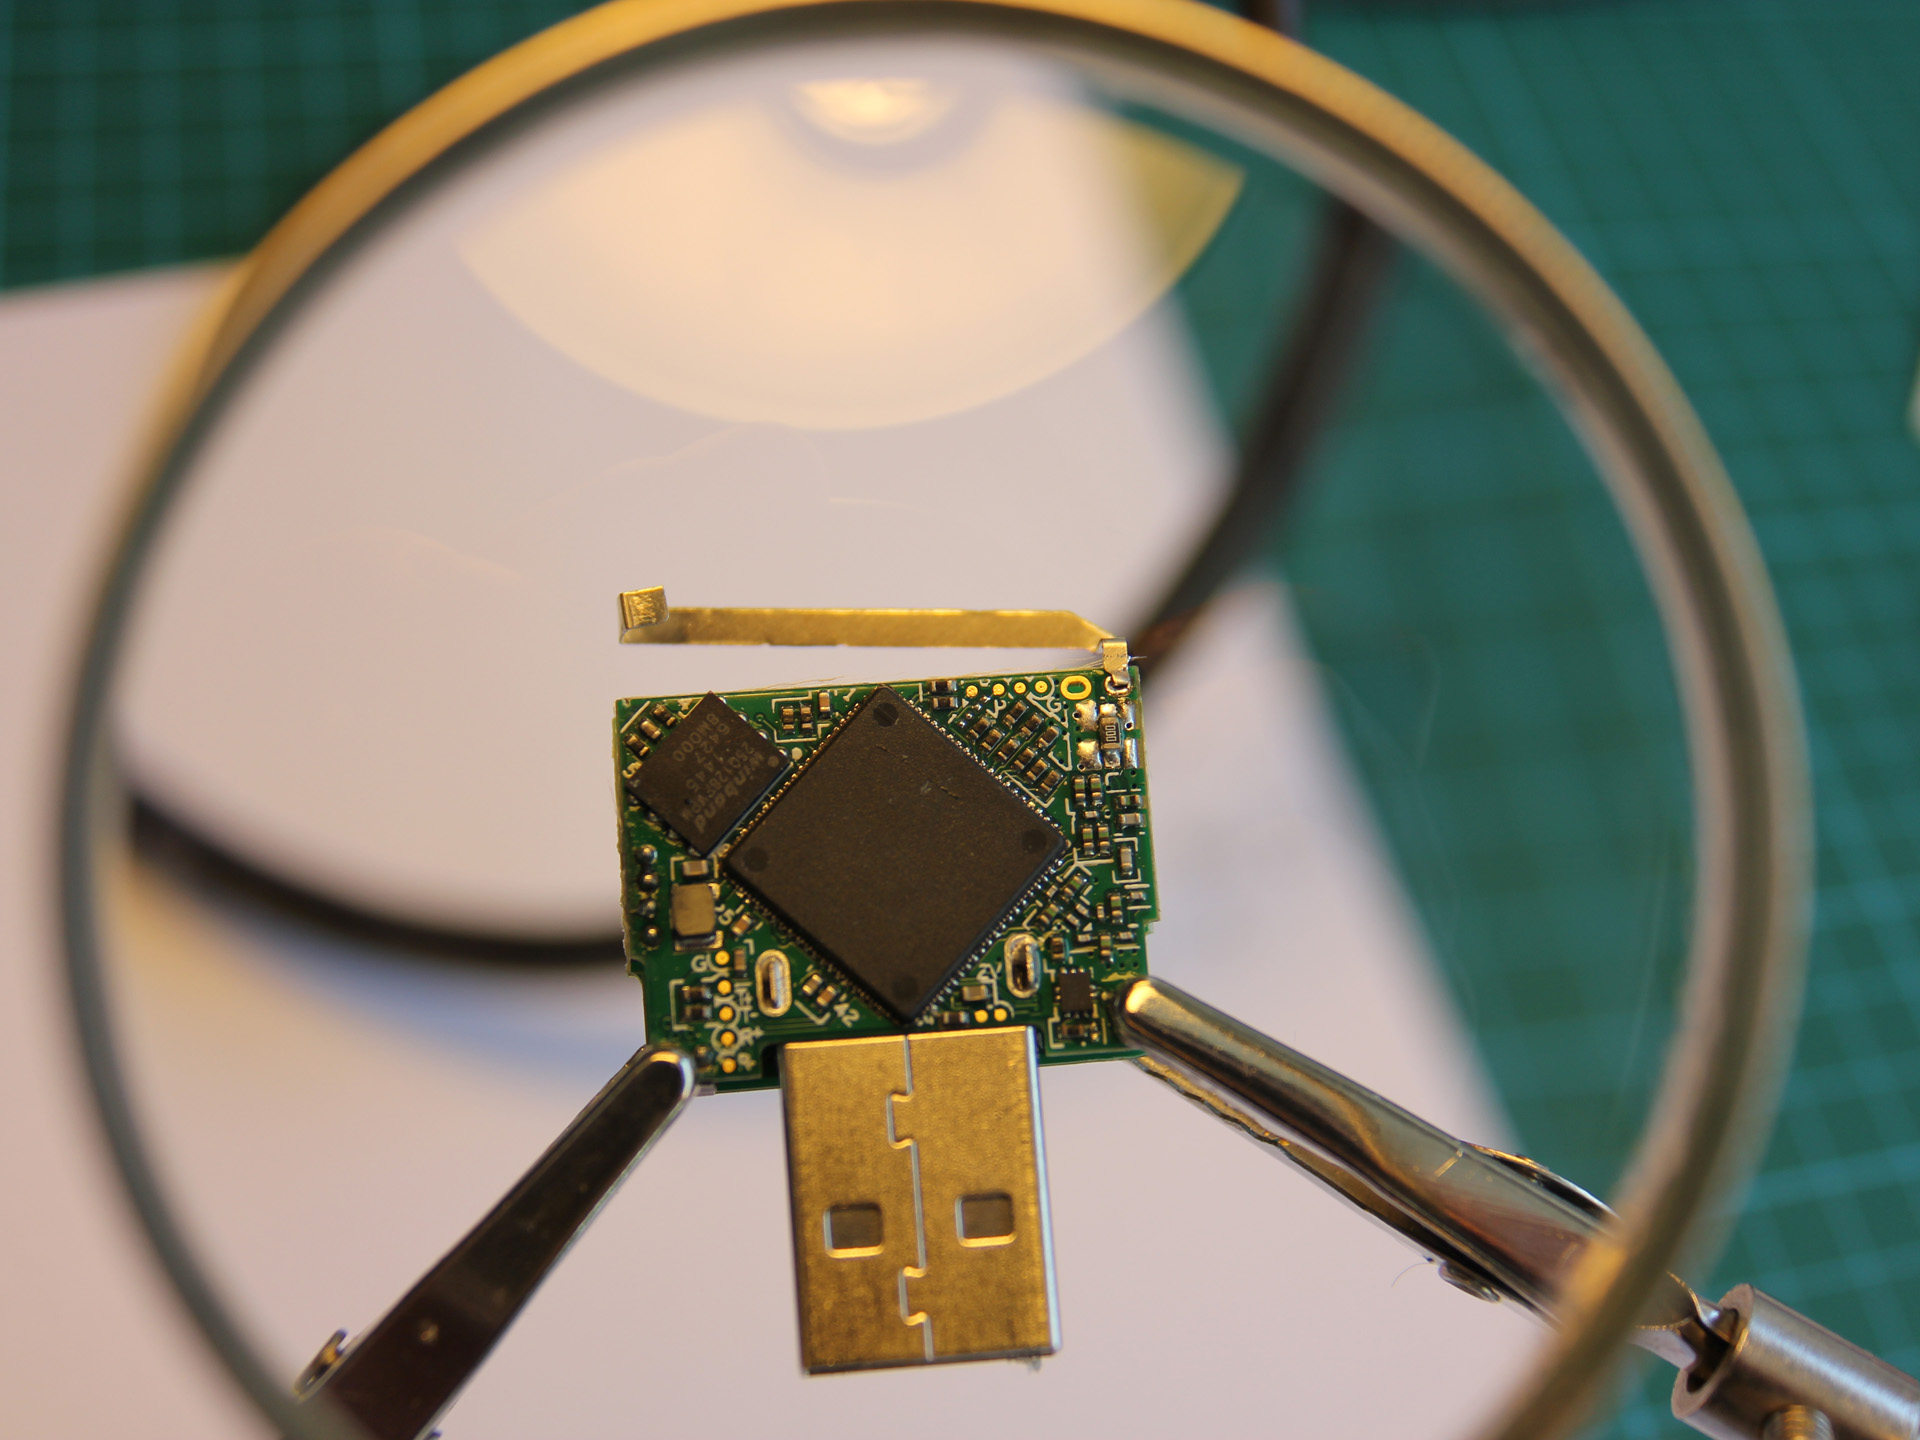
I pulled the ZSUN board out it’s plastic case and connected a USB extender cable to get a little bit more room for accessing the microsd reader while plugged in. Once usb power was applied I kept repeatedly pressing on the microsd enough to actuate the spring lock of the micro sd reader and kept checking available wifi connections until I eventually saw the “OpenWrt” show up.
How about setting up a external root? I’d like to use a different but openwrt based image. Every try resulted in a bricked Zsun Cardreader. I already had Openwrt on those and tried to flash the new Image with sysupgrade. I really want a different Image but bricking another device is a no go. I should be much better to have an external root or even a boot-from-usb configuration.
Do you by any chance have an idea on how to do that? Can U-Boot be replaced with an boot-usb-first version? If yes, can it be replaced from within openwrt image or does it still need ethernet/ serial console? If I messed up an Installtion on sd-card it wouldn’t result brick because it can be accessed and re-flashed from pc.
By the way, I tried to Install Freifunk Gluon (https://ghostbin.com/paste/4hf2x) and tried LEDE, too. In both cases only the LED lights up for a short moment and then it turns off and dead.
found something https://github.com/pepe2k/u-boot_mod/pull/105
Hi. See also this one: https://www.davidgouveia.net/2016/03/avoid-being-locked-out-of-your-zsun-wifi-reader/
Using this approach, you pre-configure OpenWrt to look for a specific file on sd-card. If it exists – it does factory reset.
Simple and elegant.