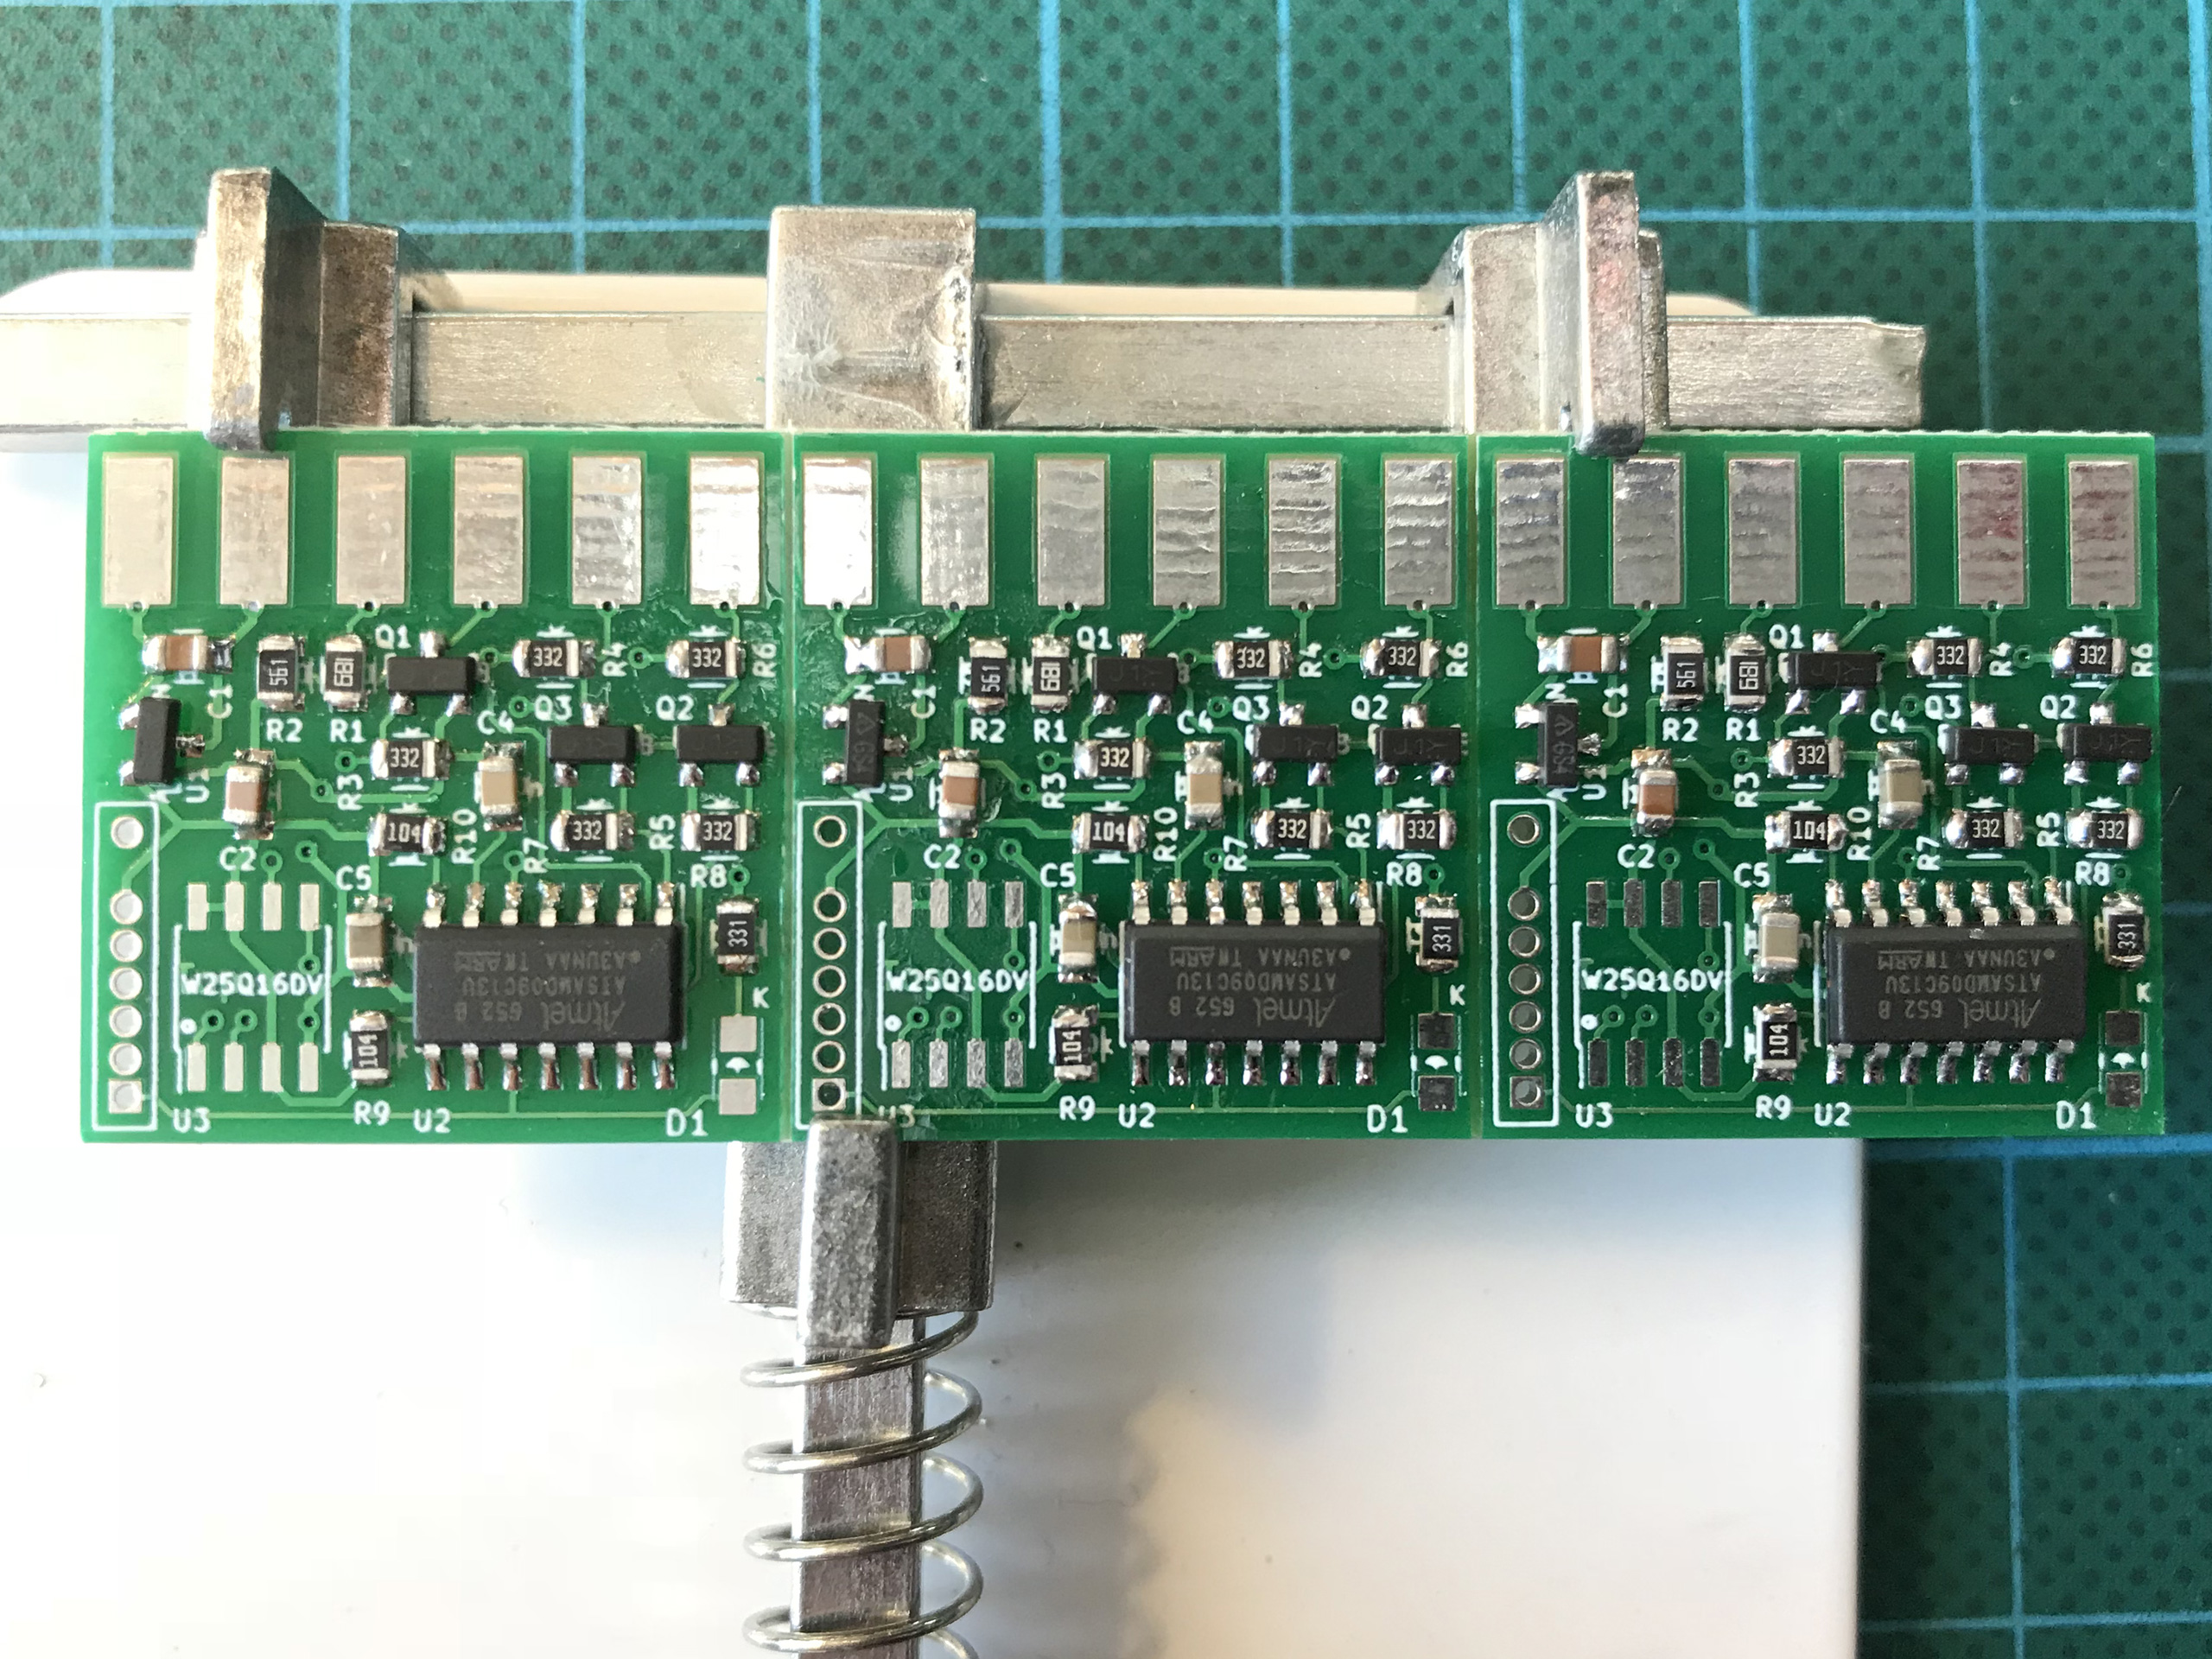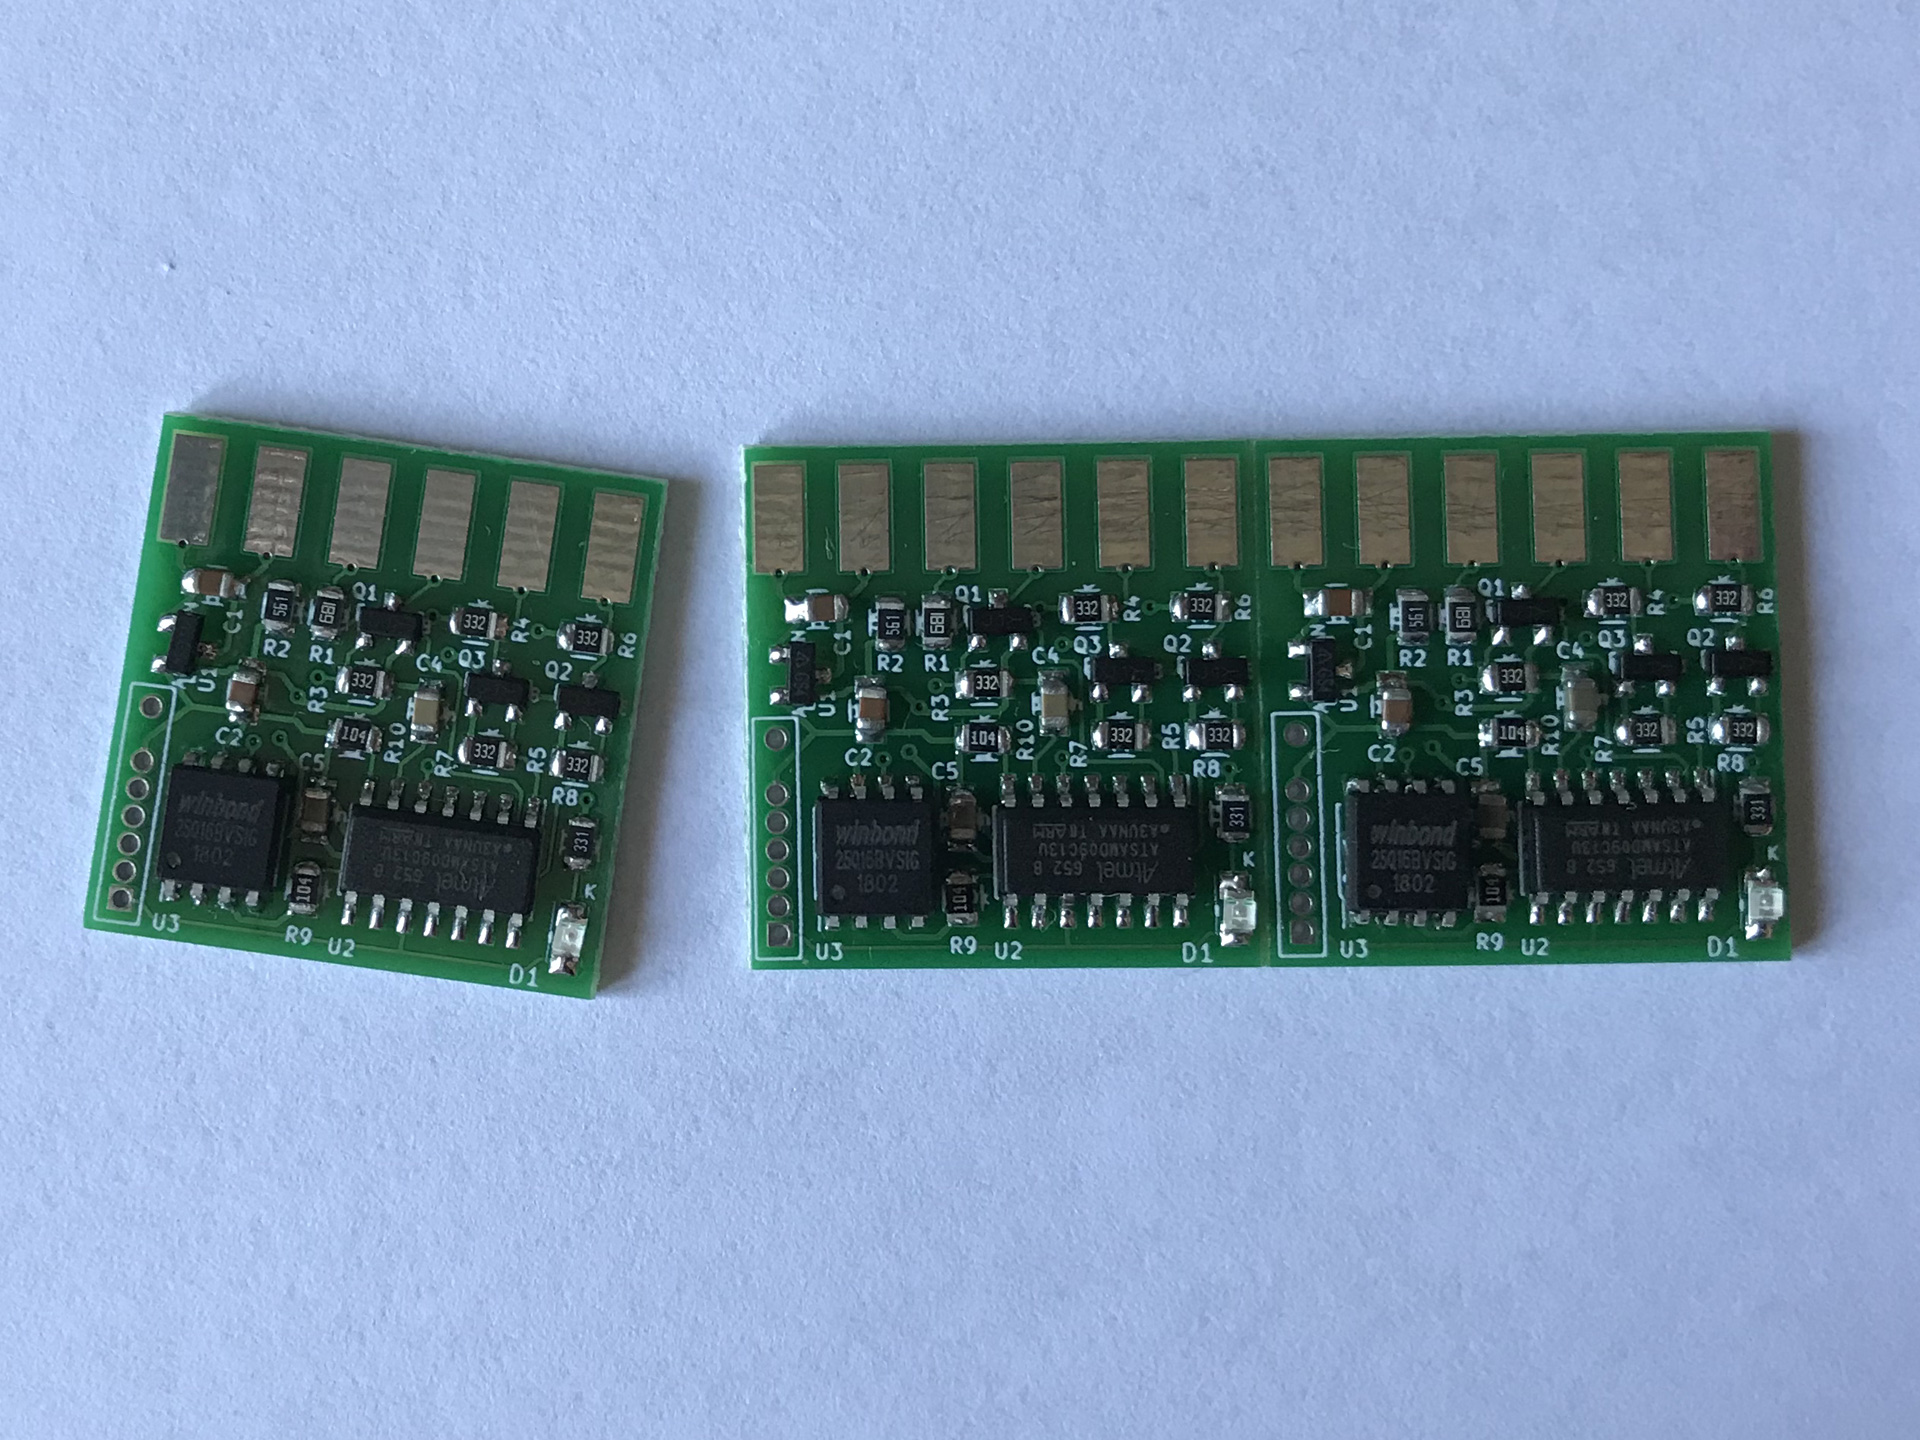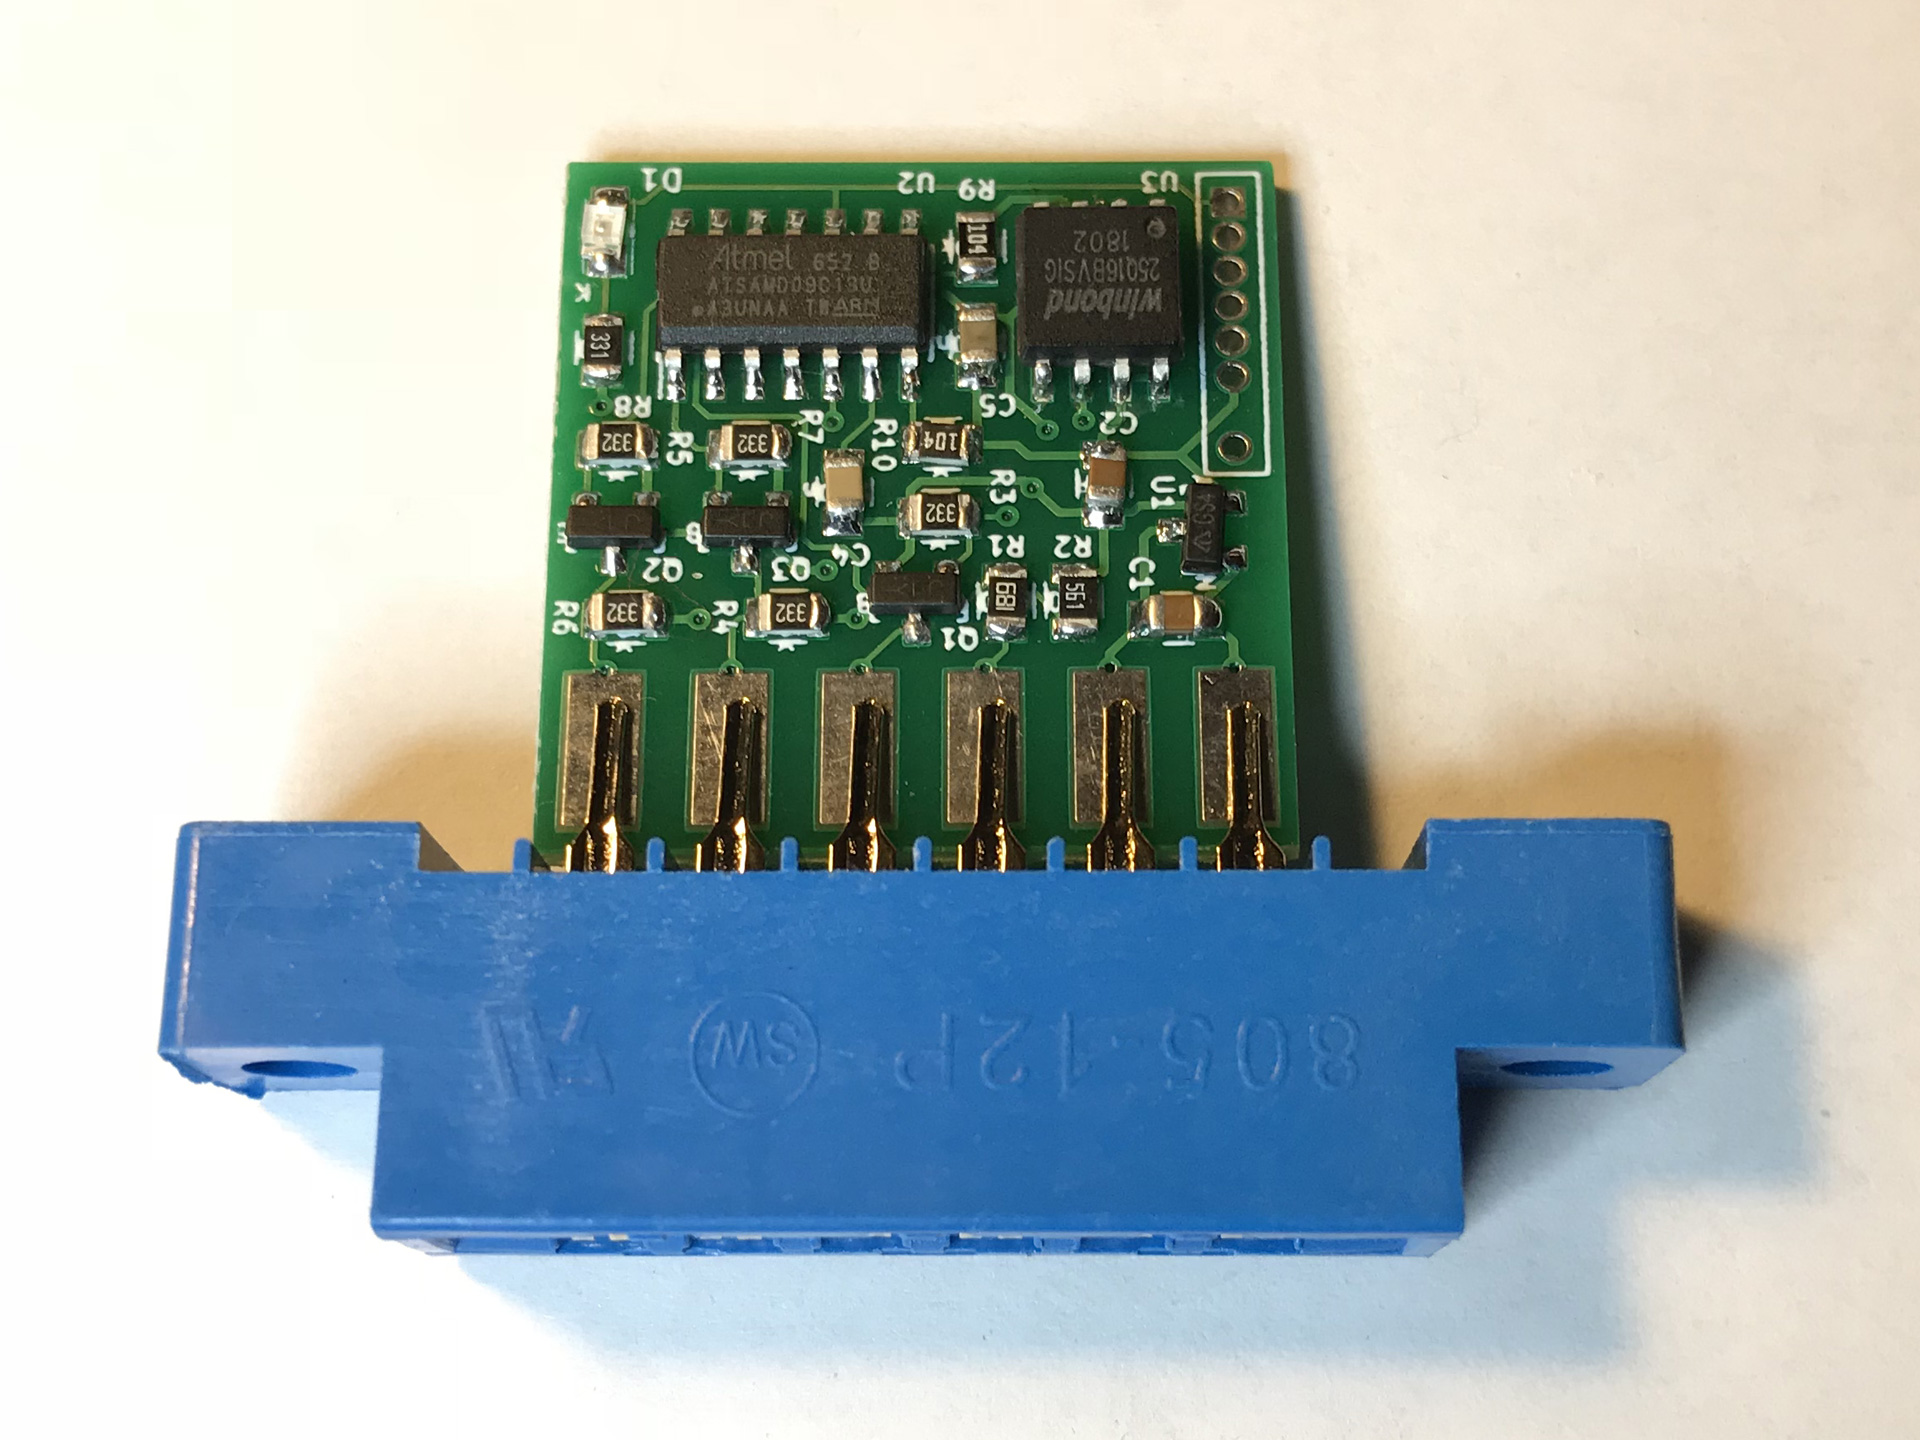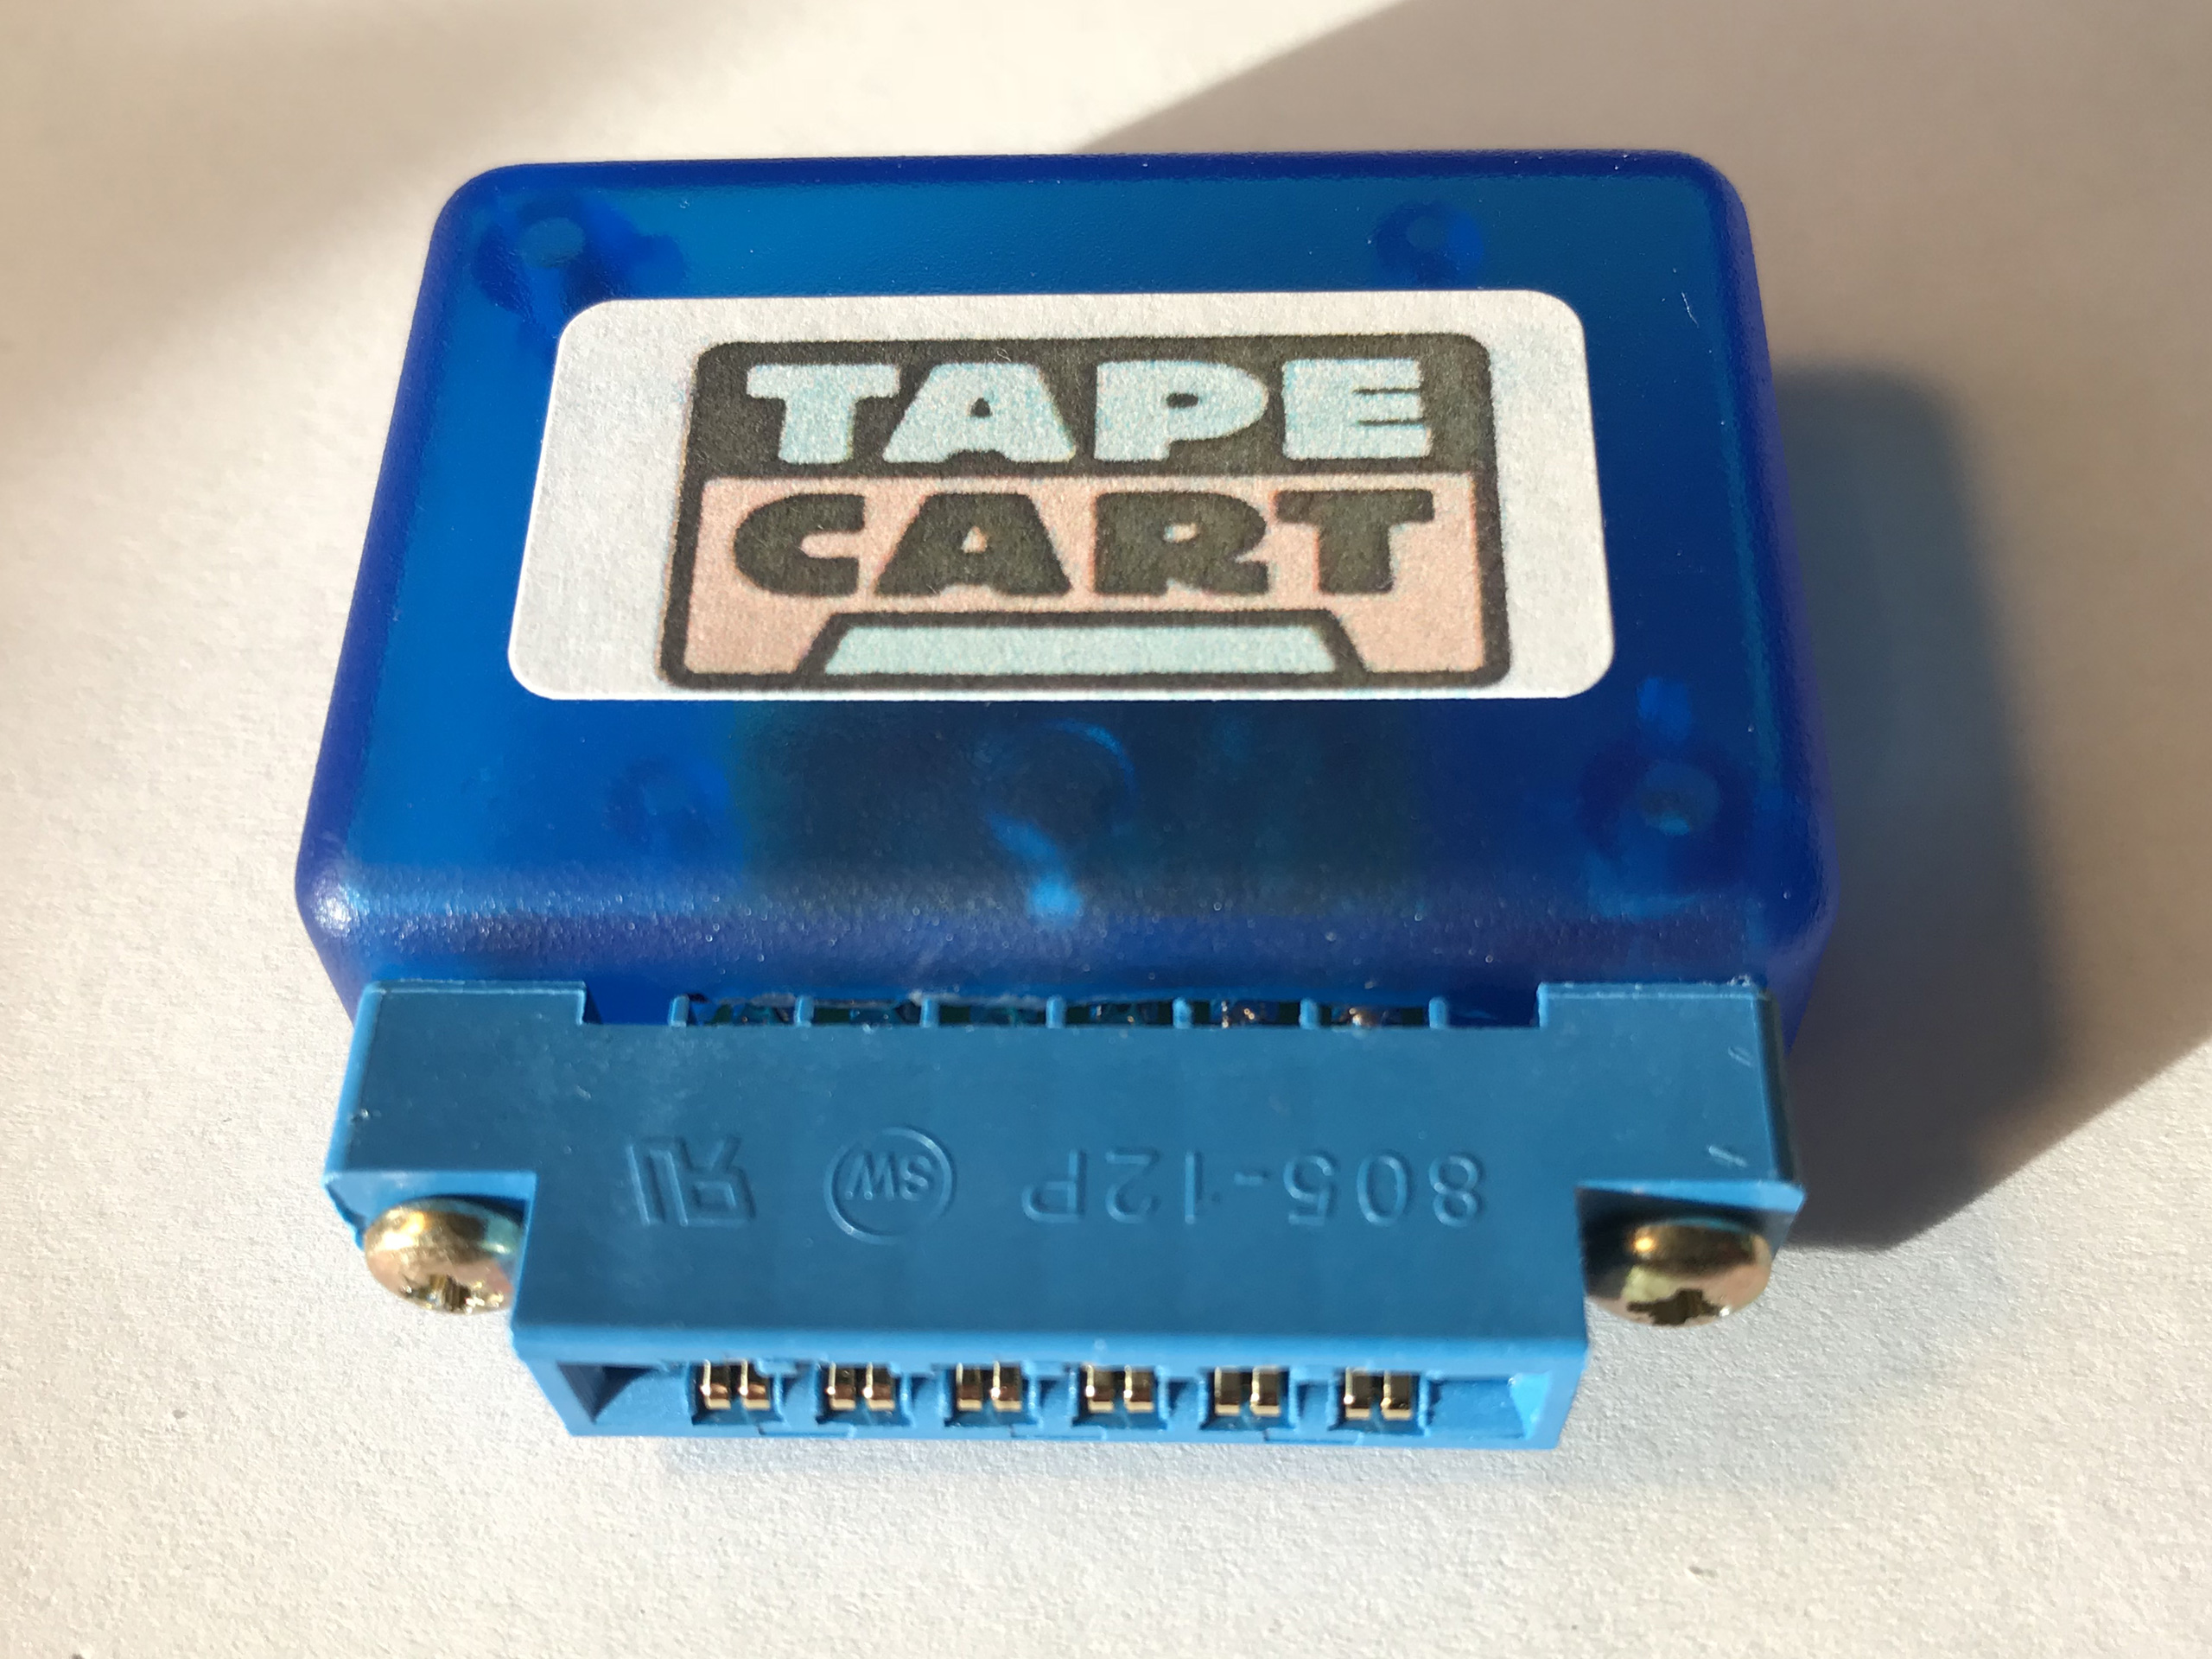
A few weeks ago, I built the through-hole version of the Tapecart based on an ATtiny44. The original and probably the most wide spread variant of the Tapecart is much smaller though. It is built from surface mount components and it is based on the much harder to get 32-bit AT SAM D09 controller.
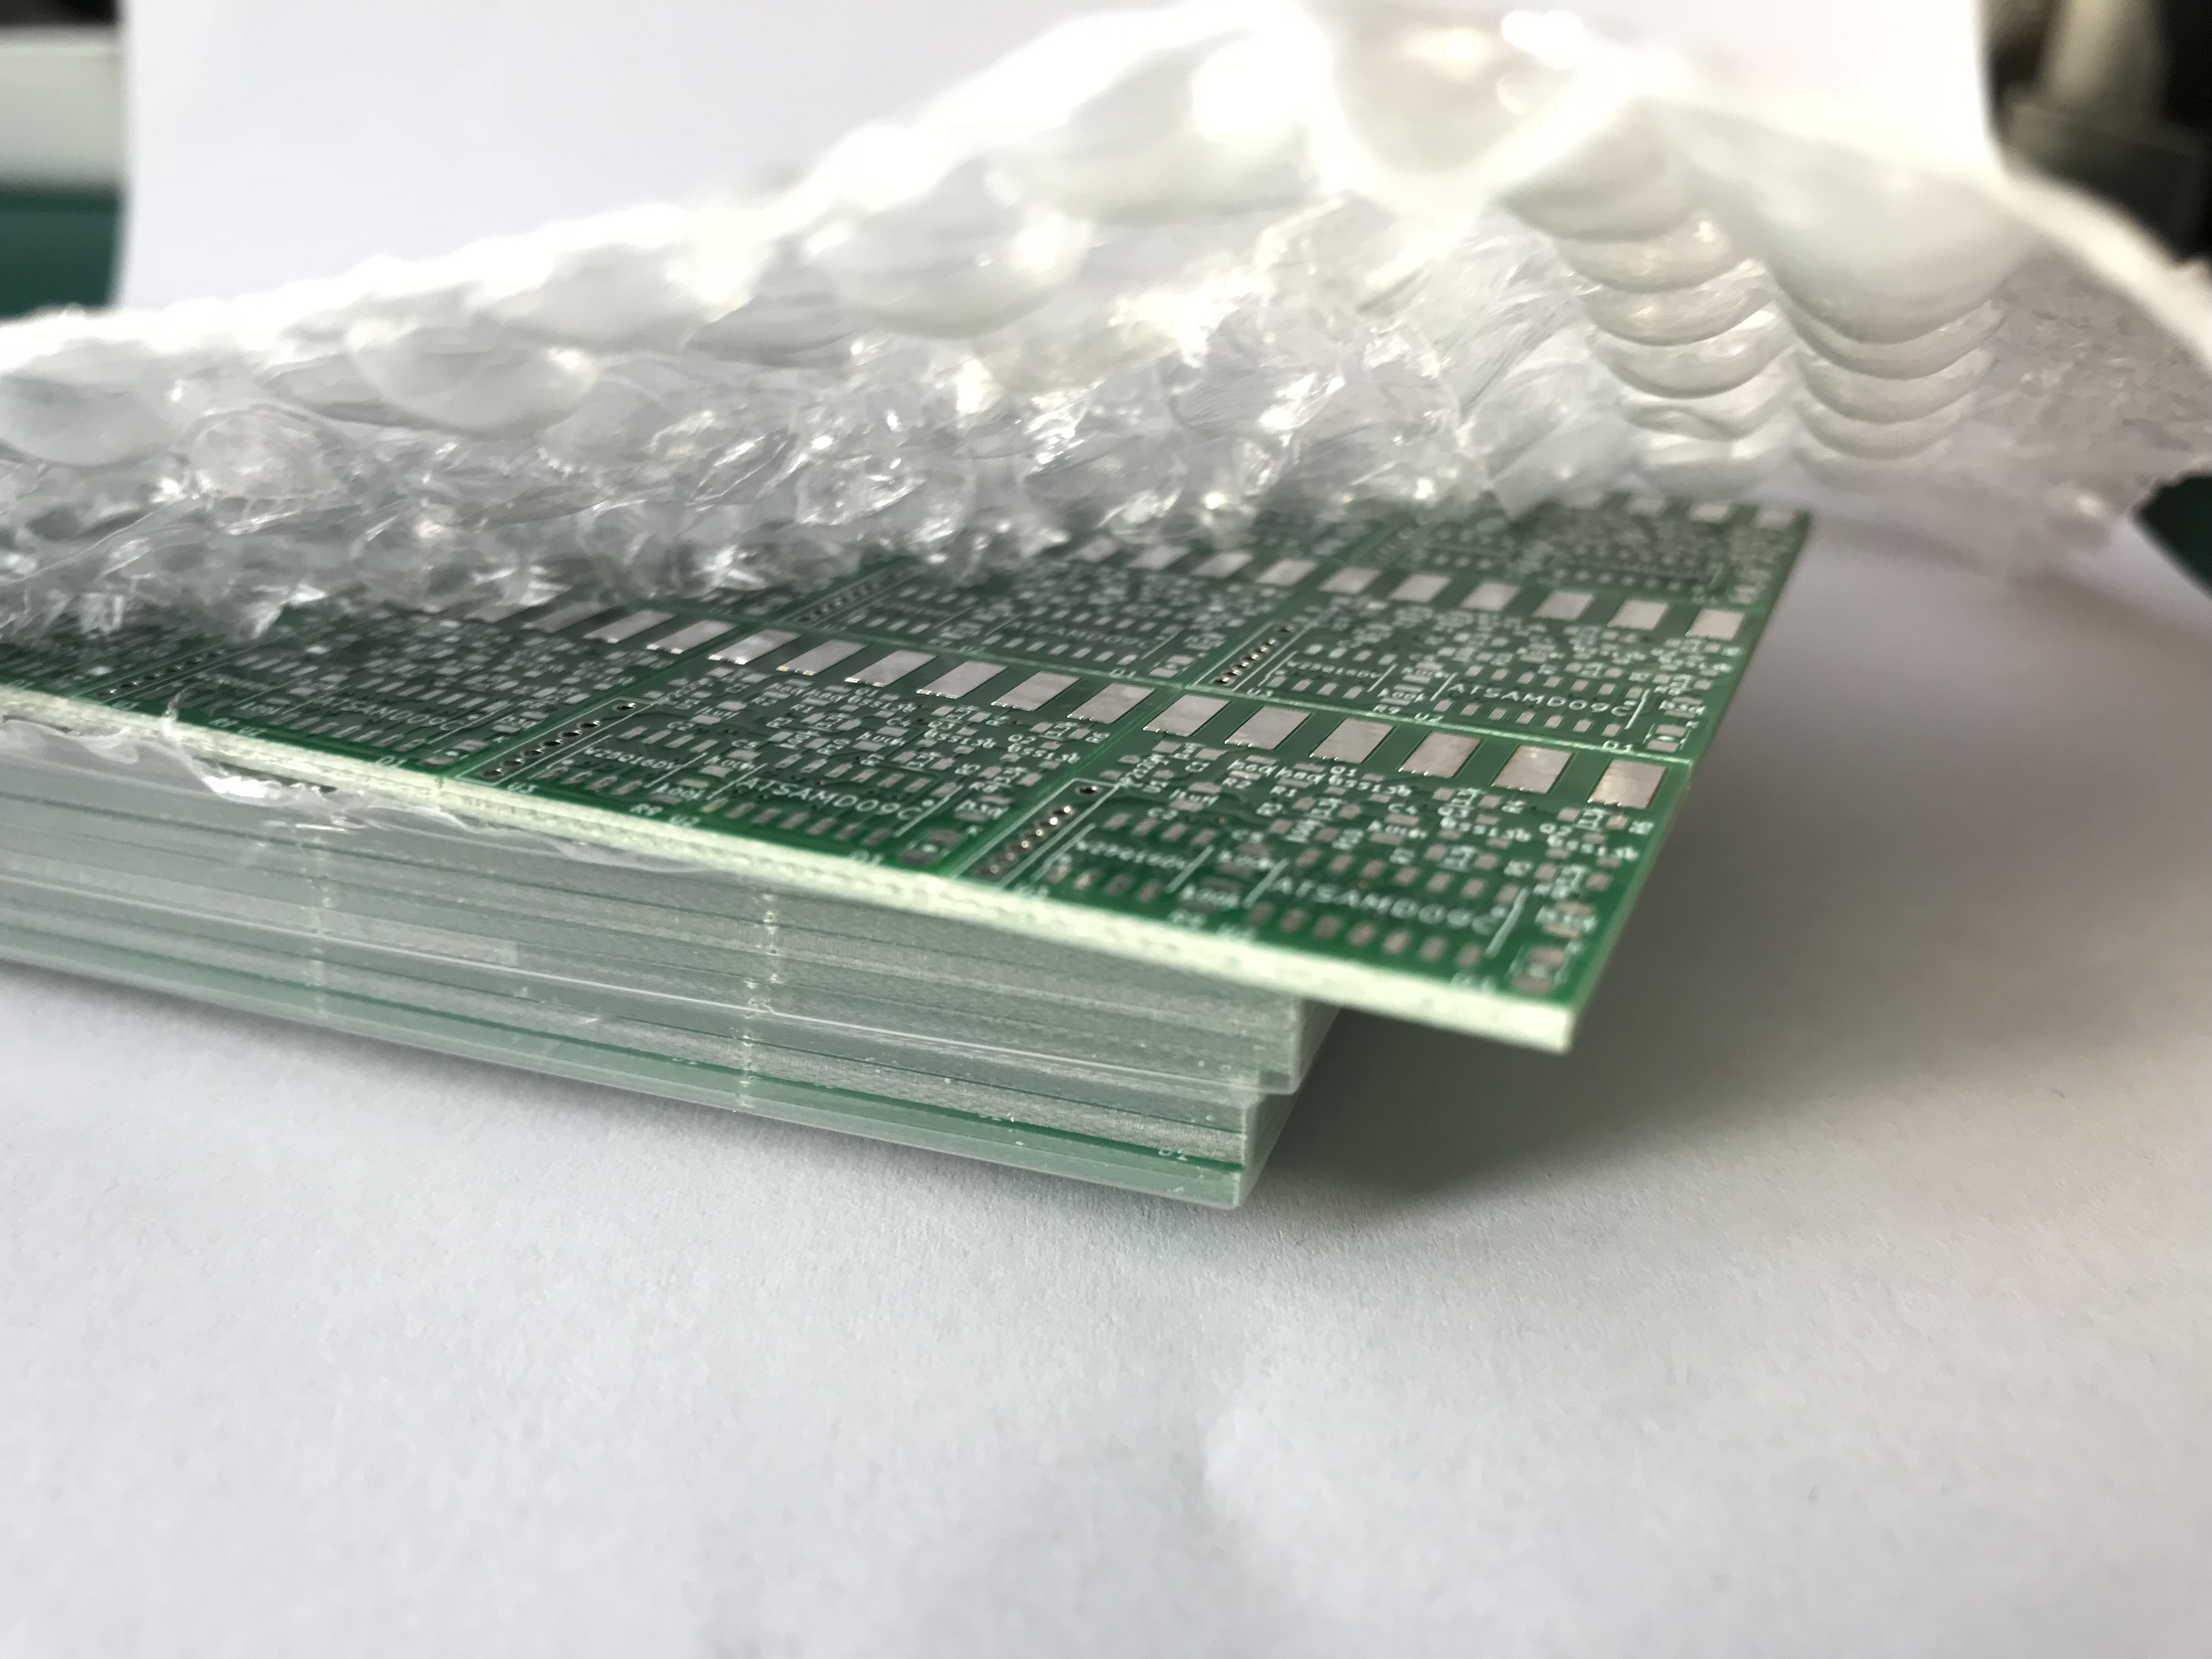
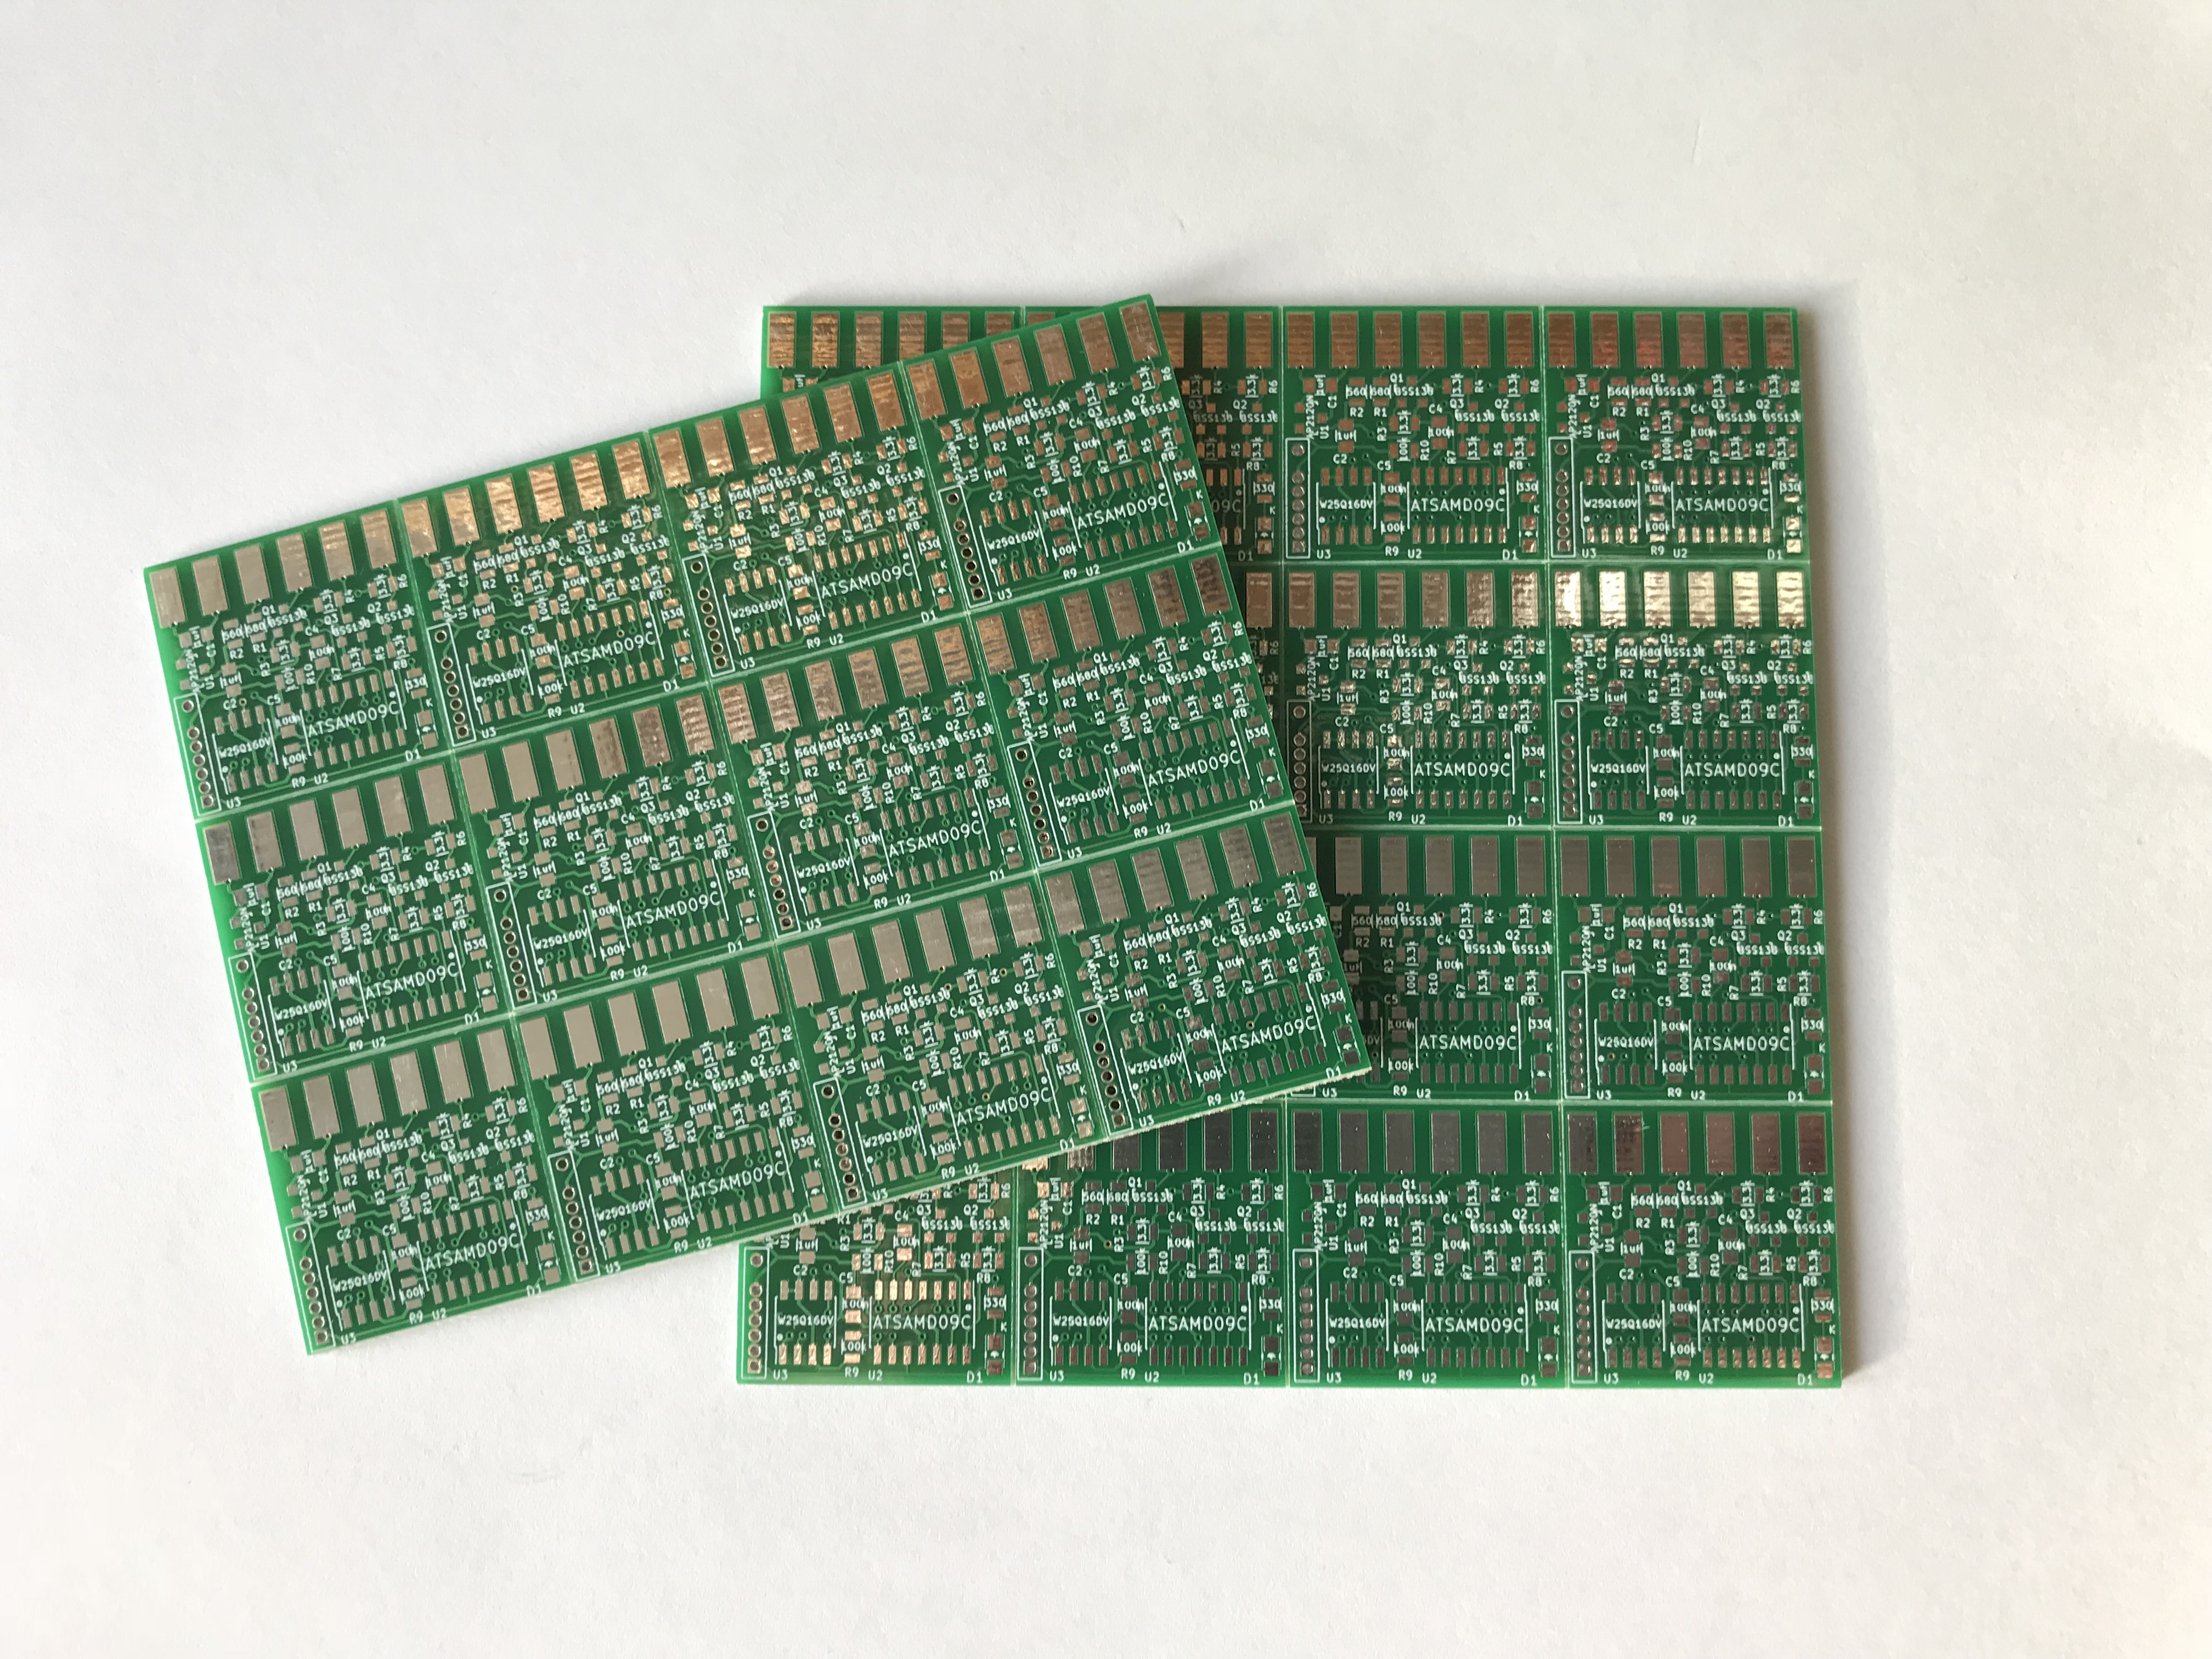
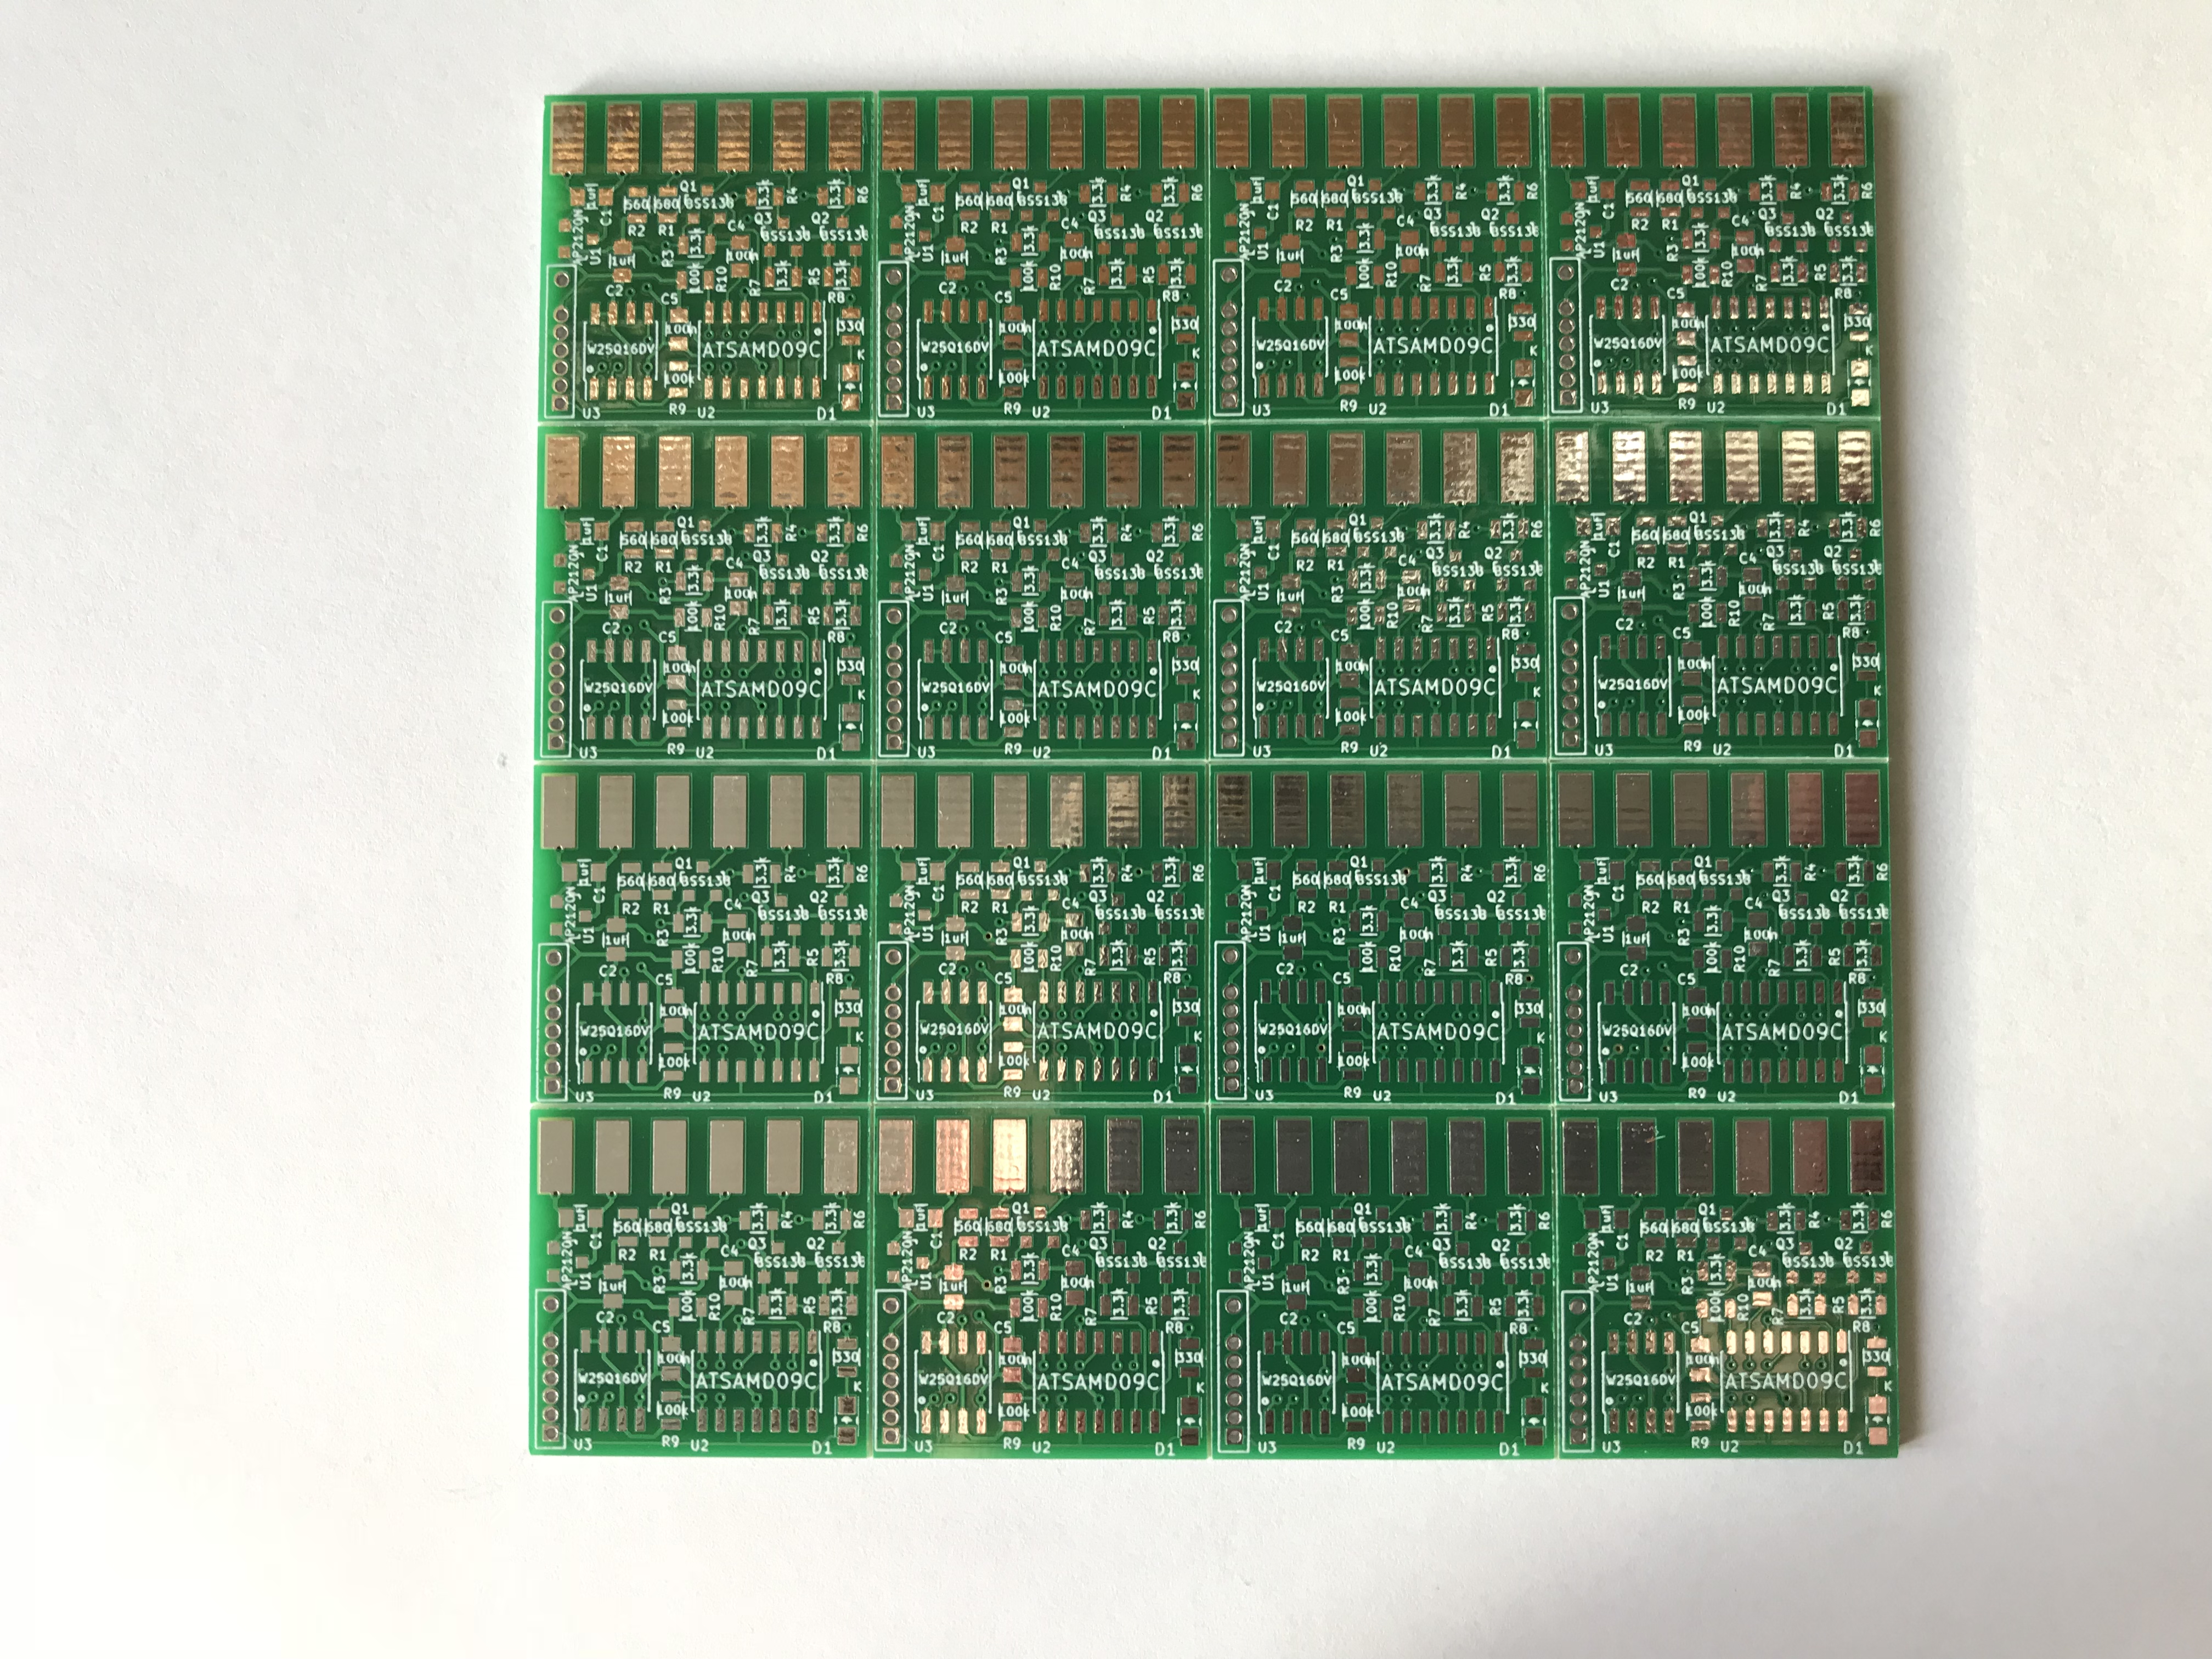
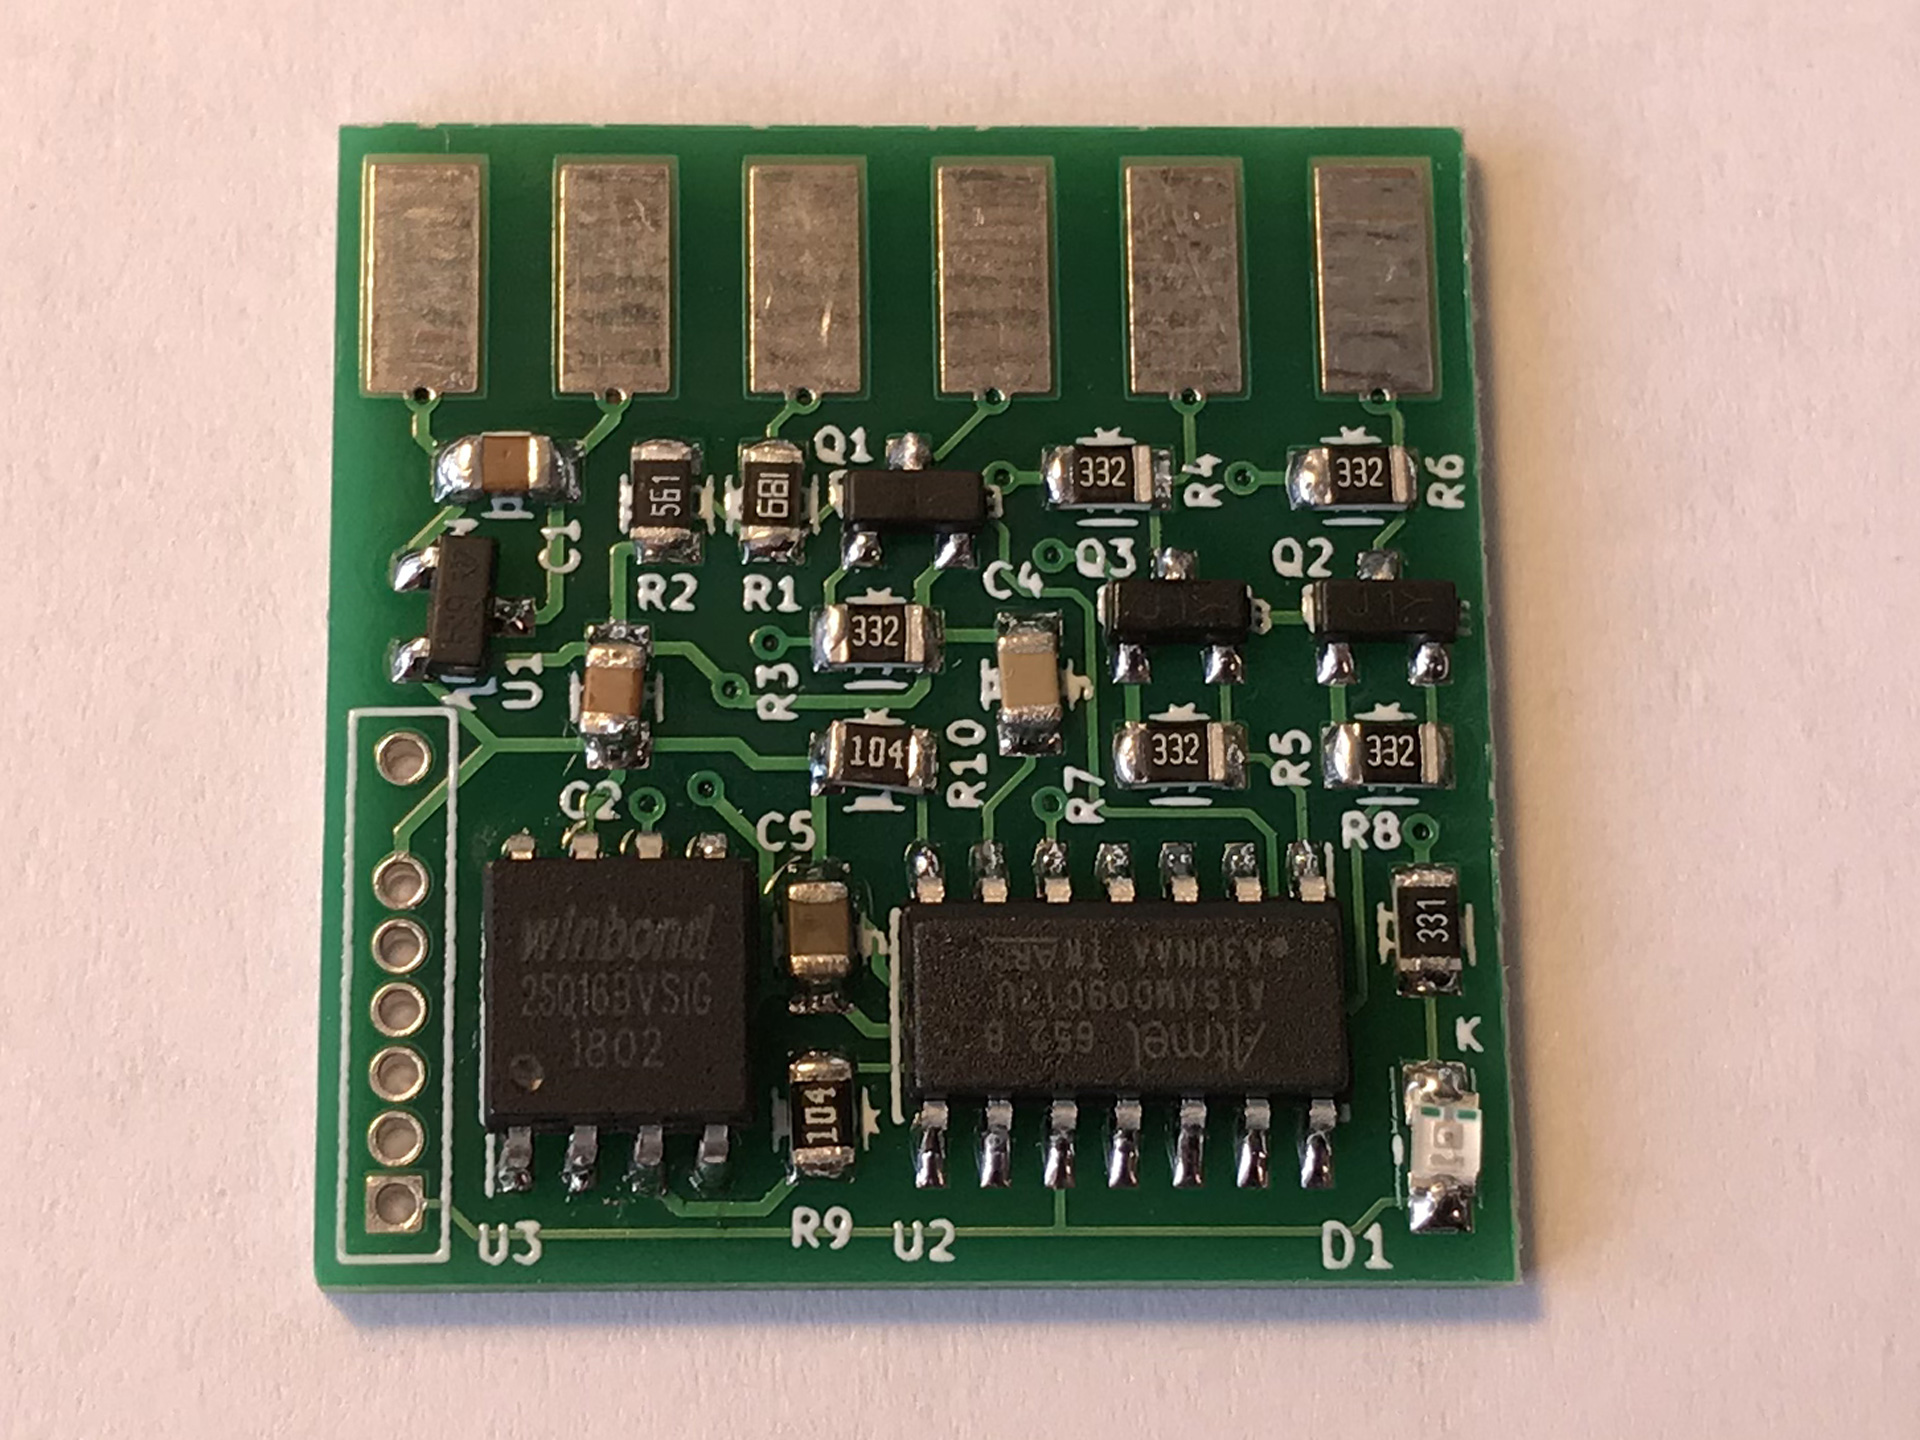
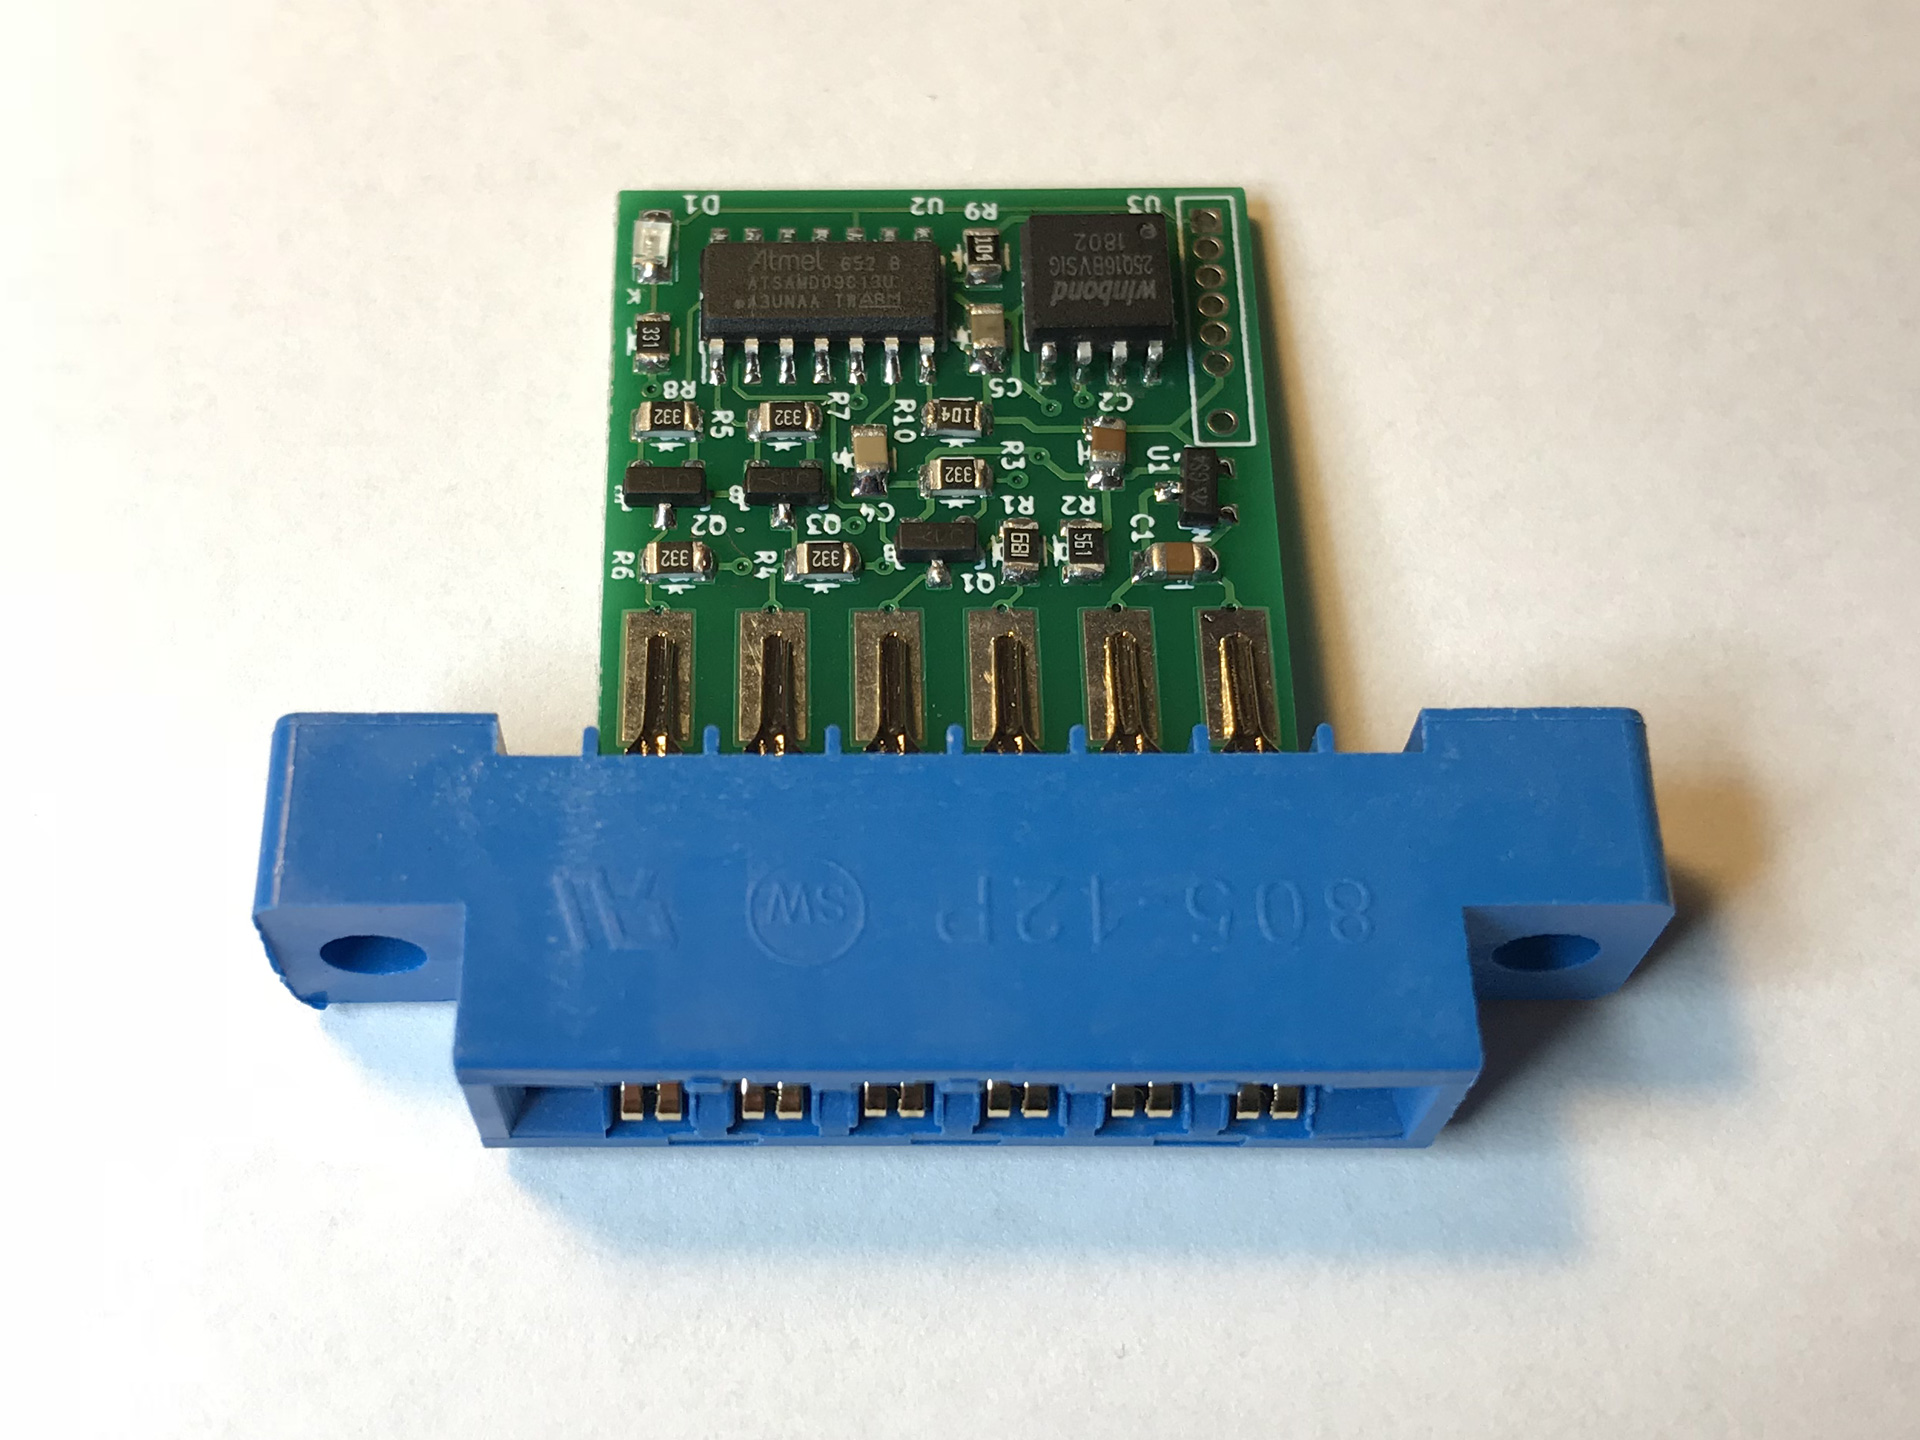
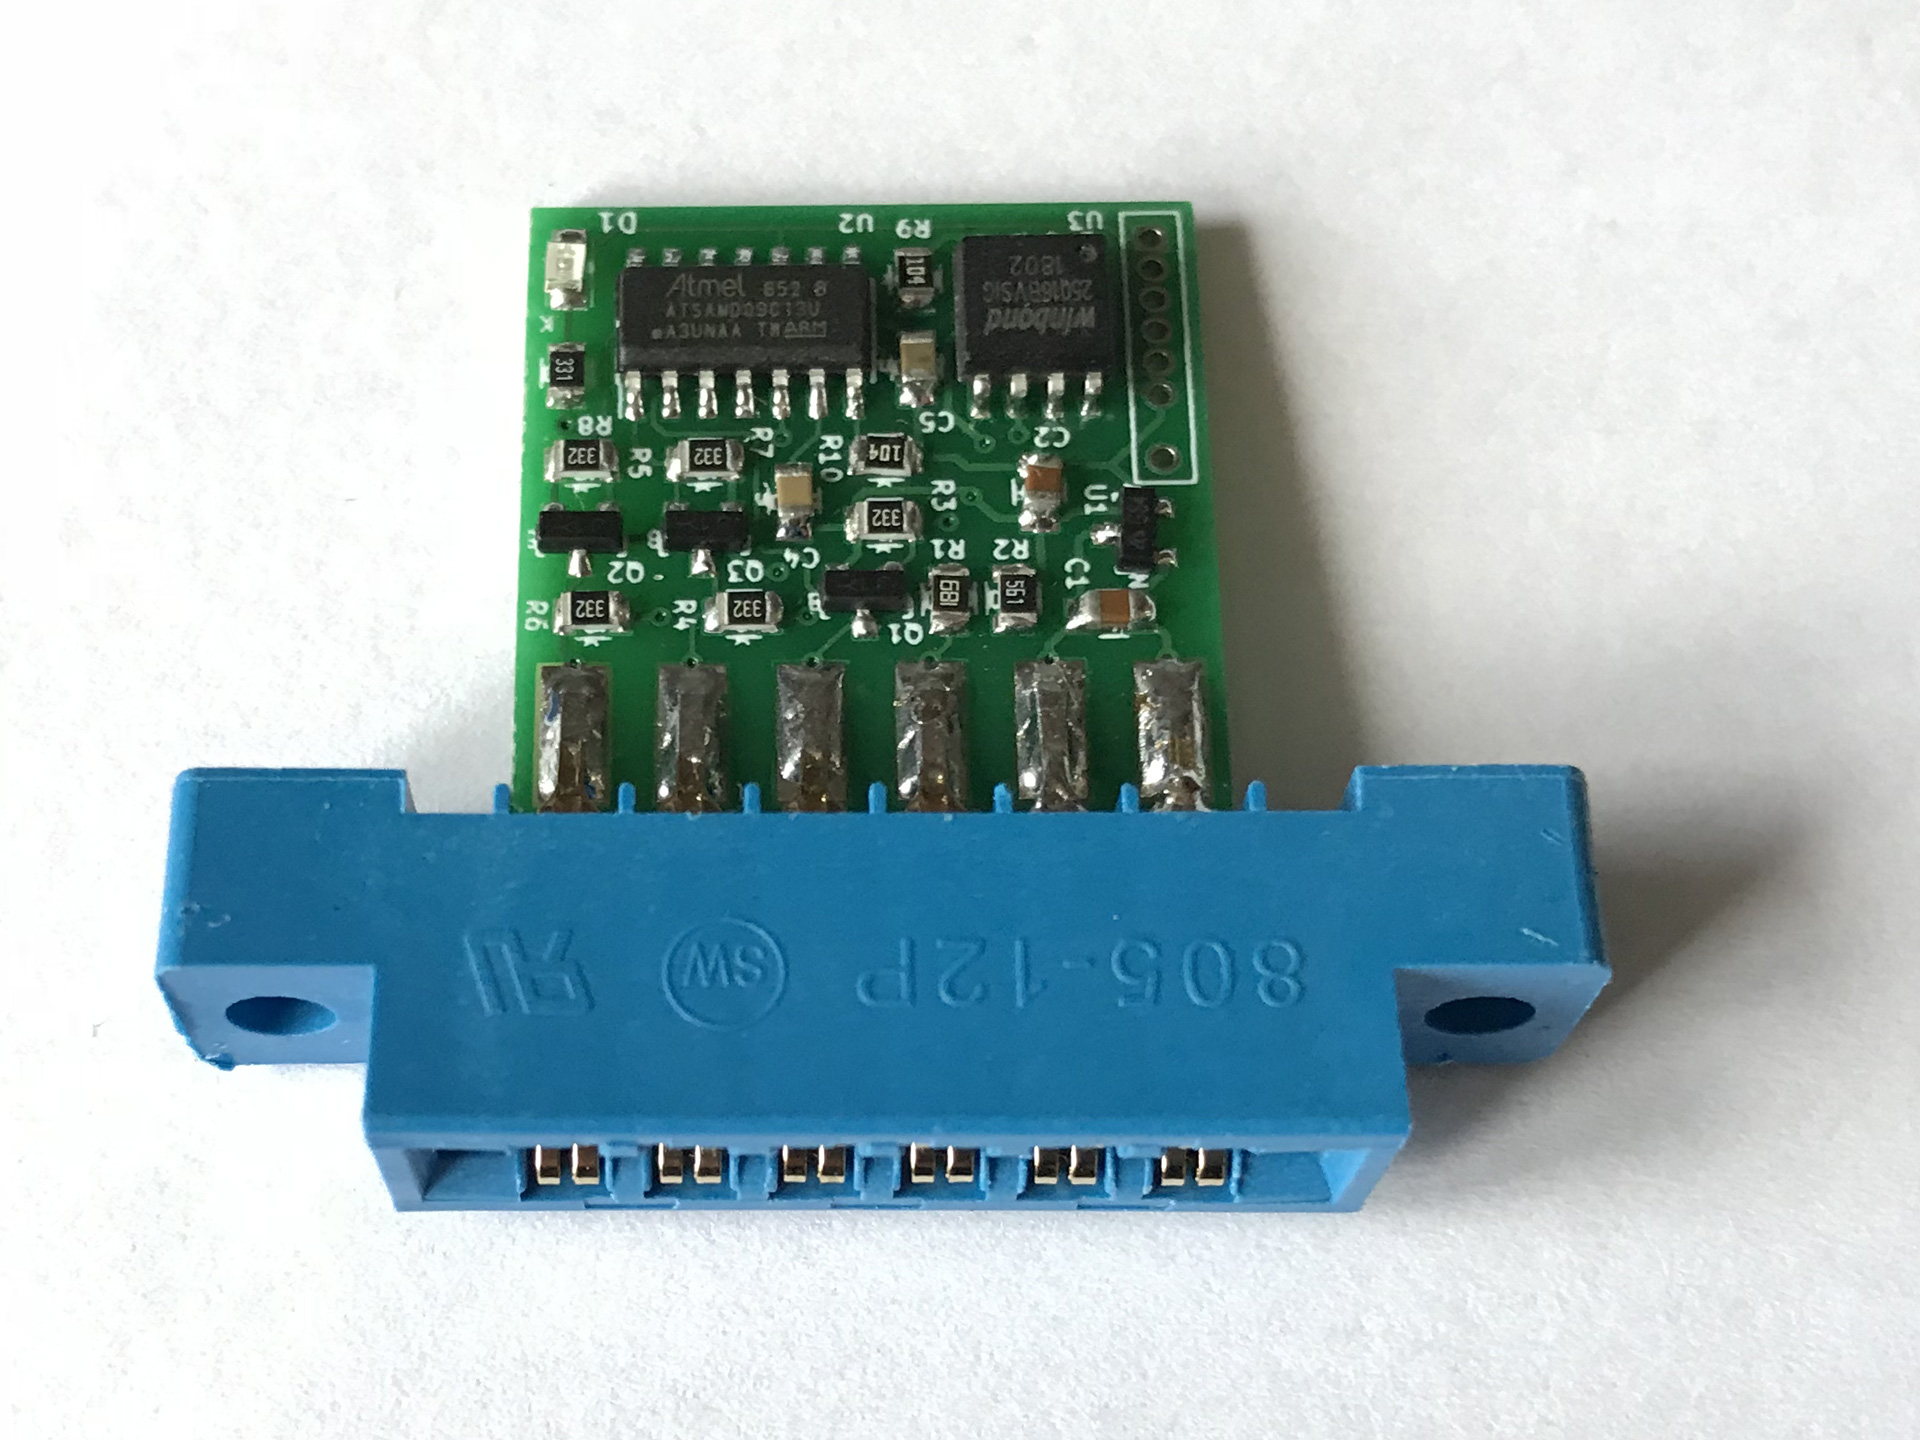
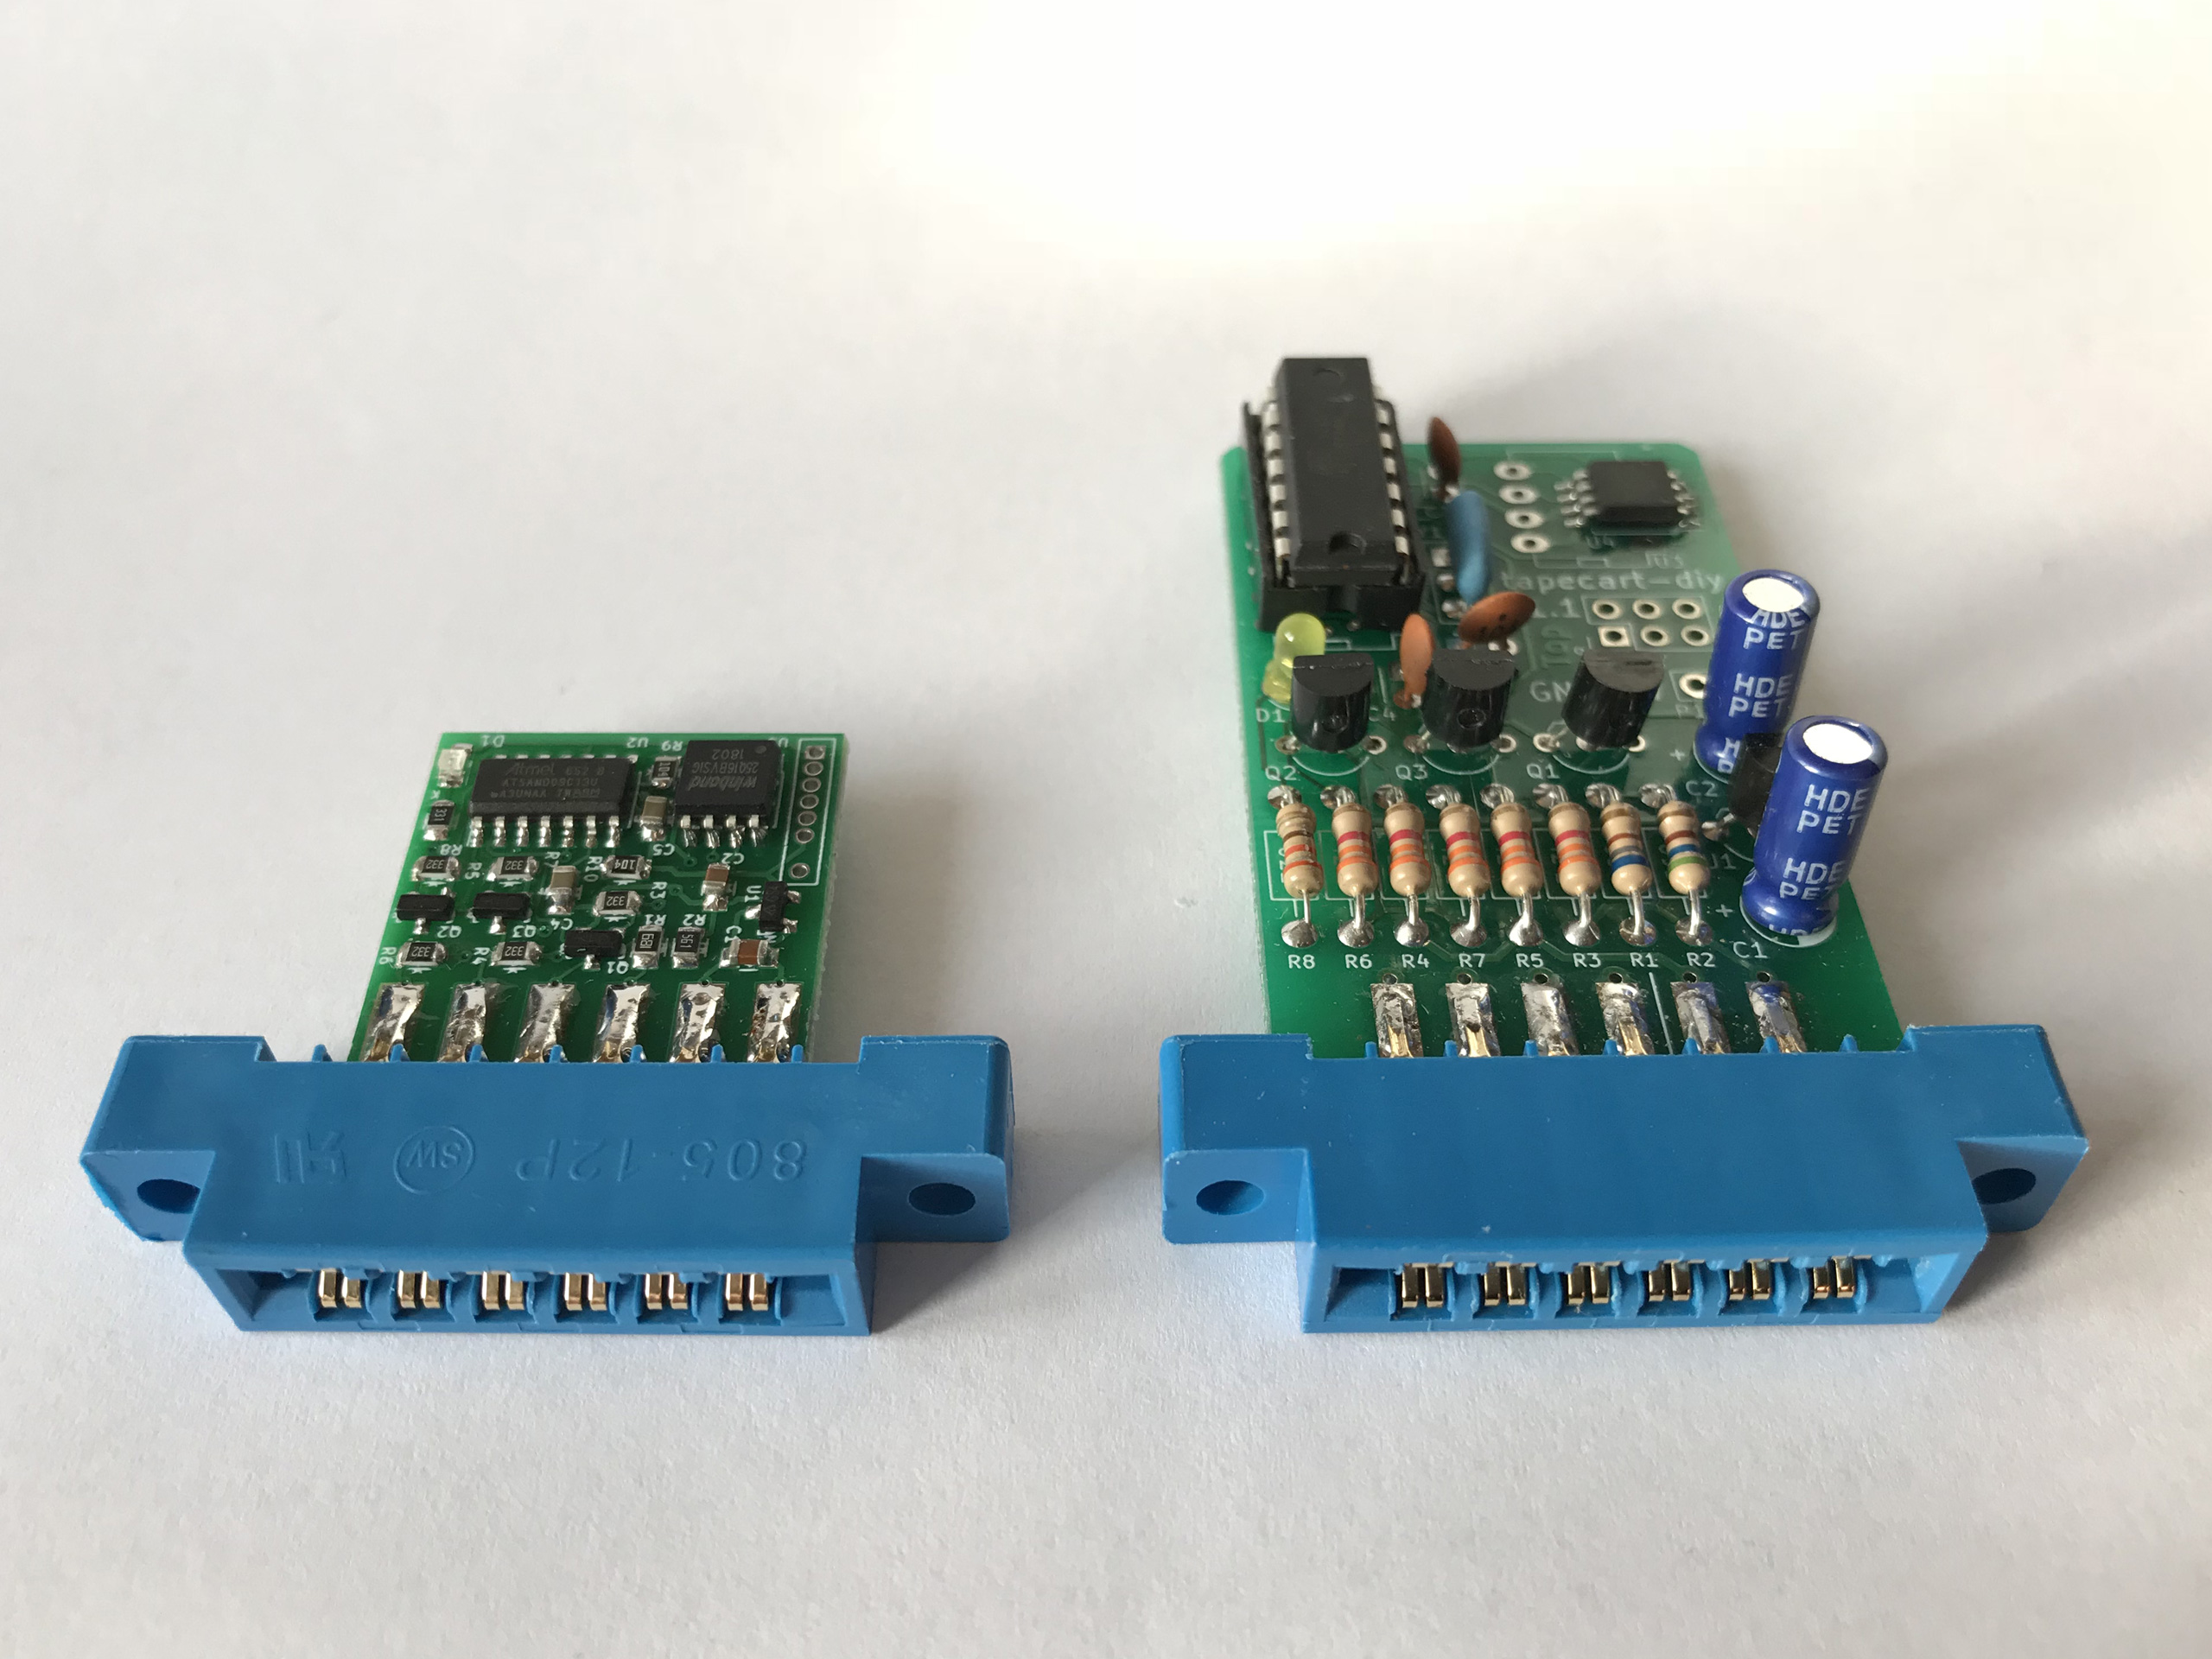 I wanted some of those Tapecarts in my collection so I had “a few” boards made, ordered the components including a matching case and waited for everything to arrive. Soldering the SMD version is not hard, the smallest components have a 0805 footprint.
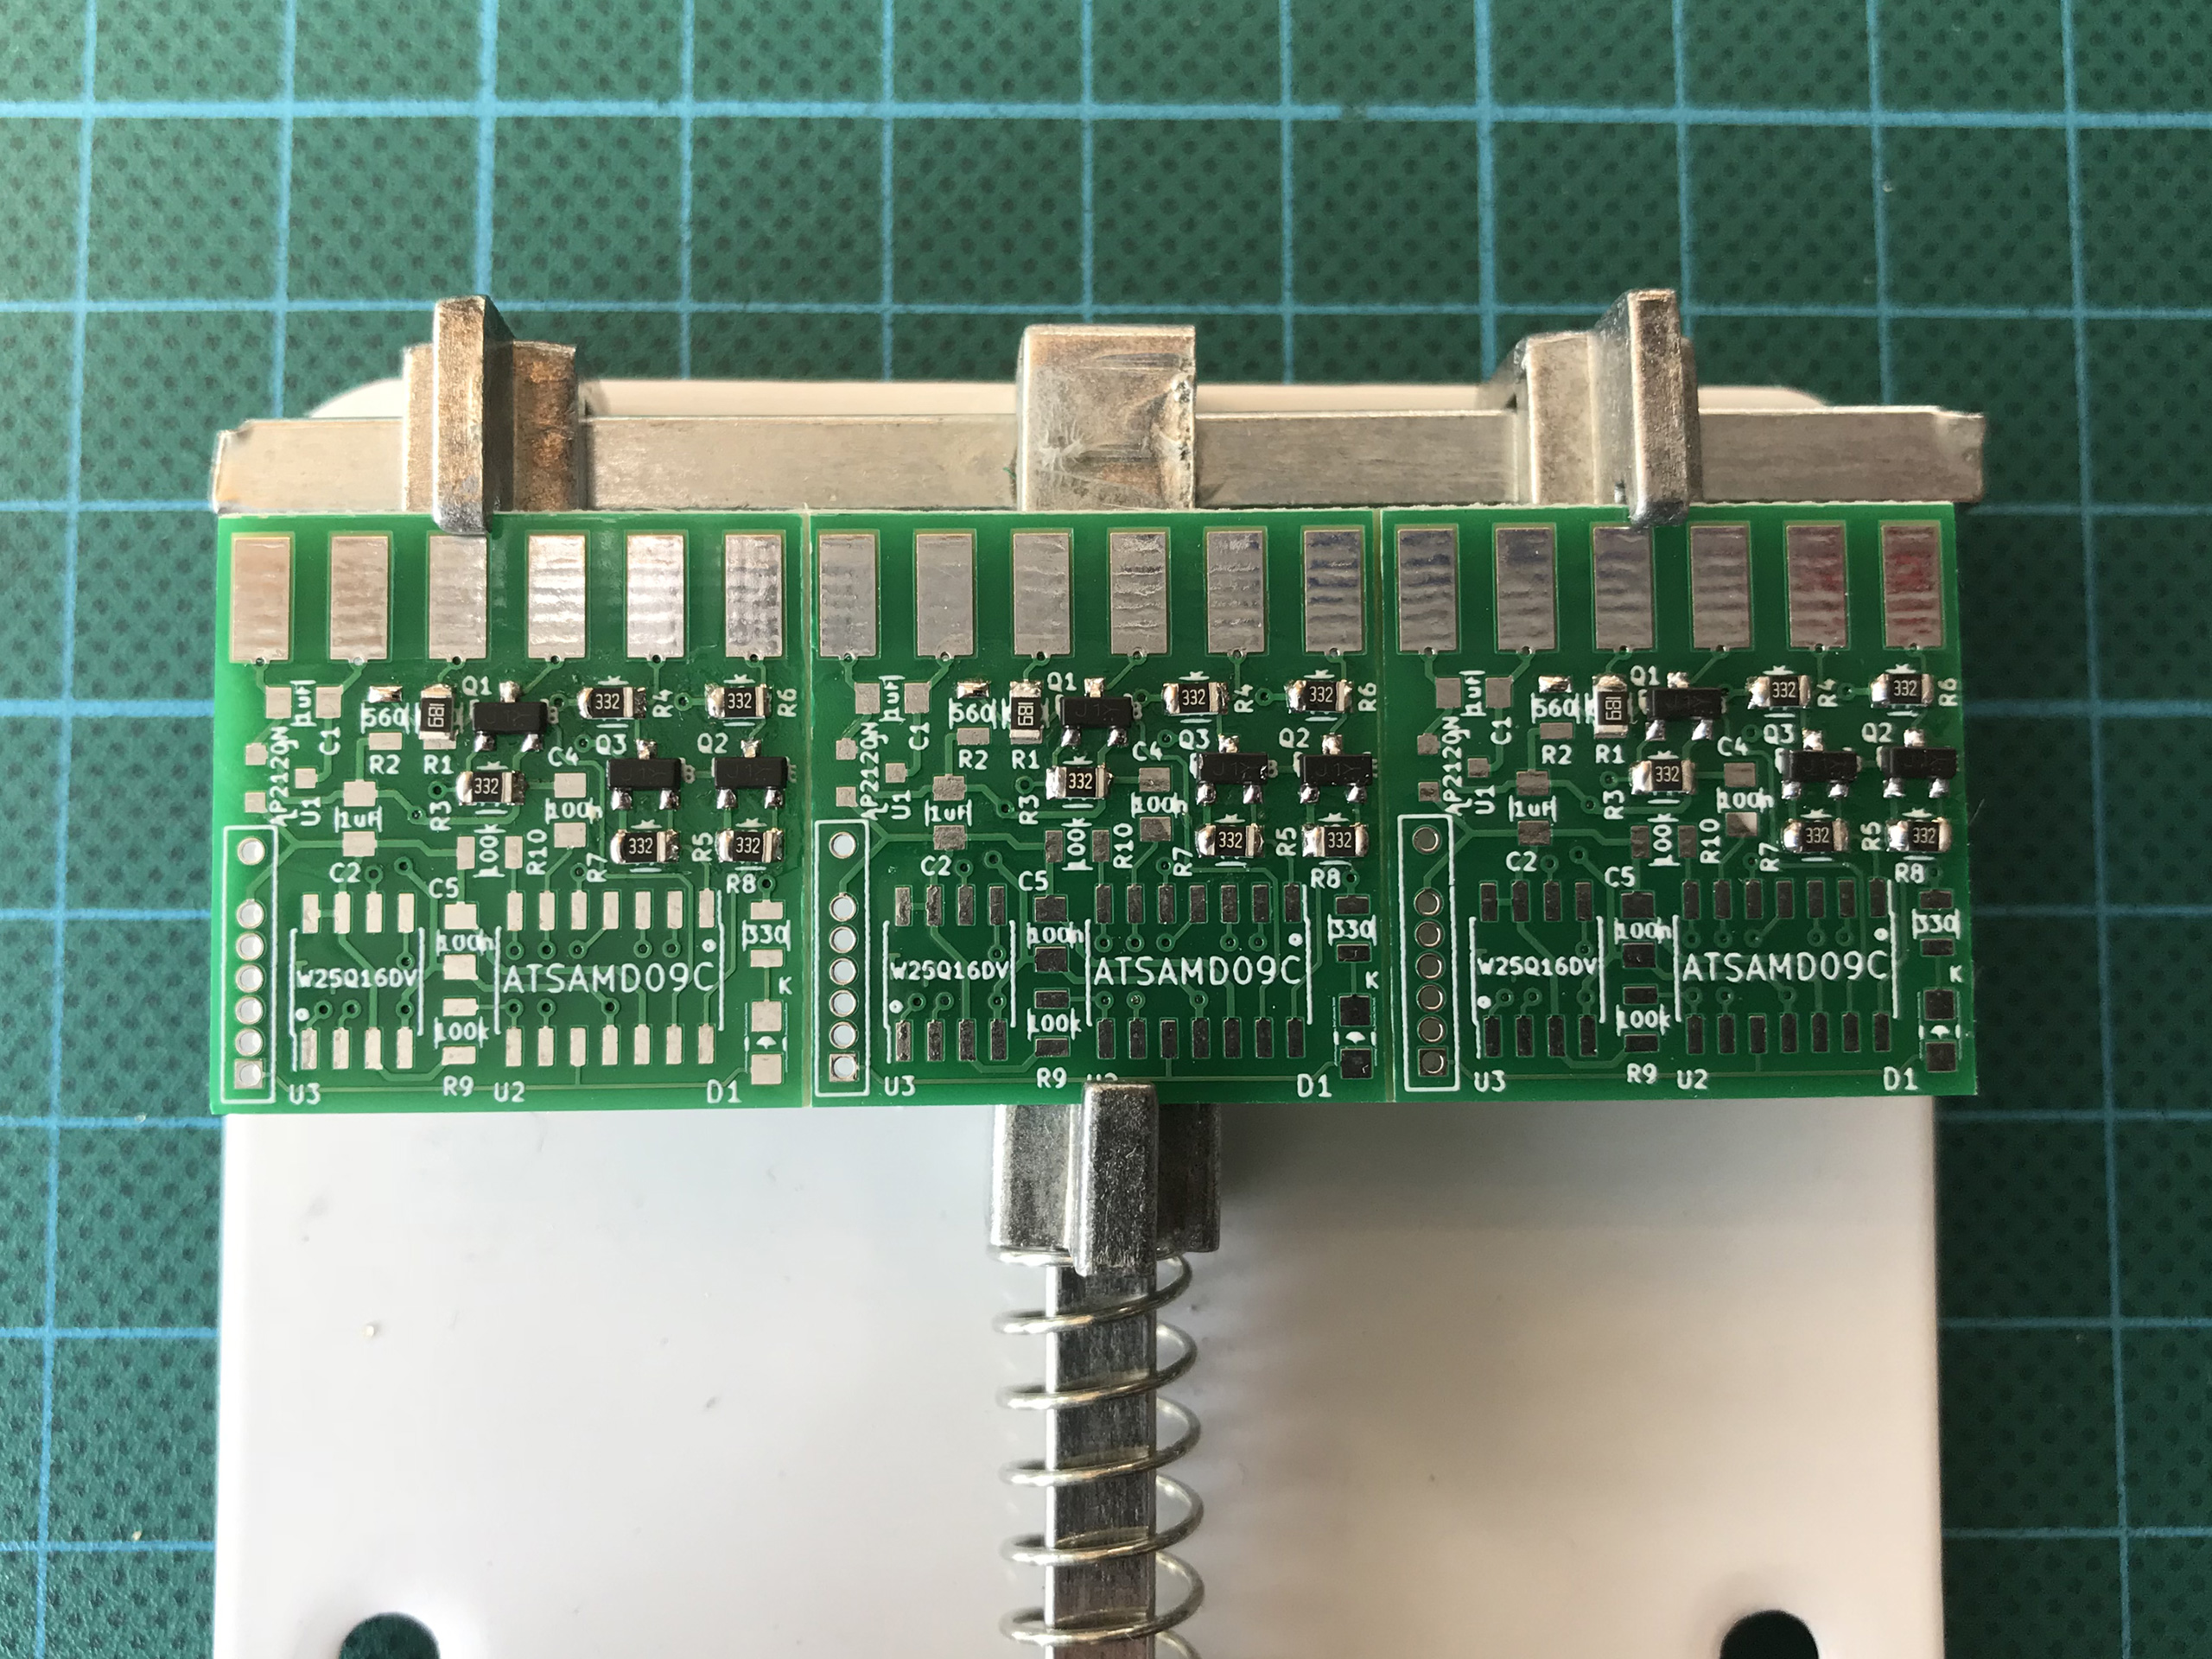
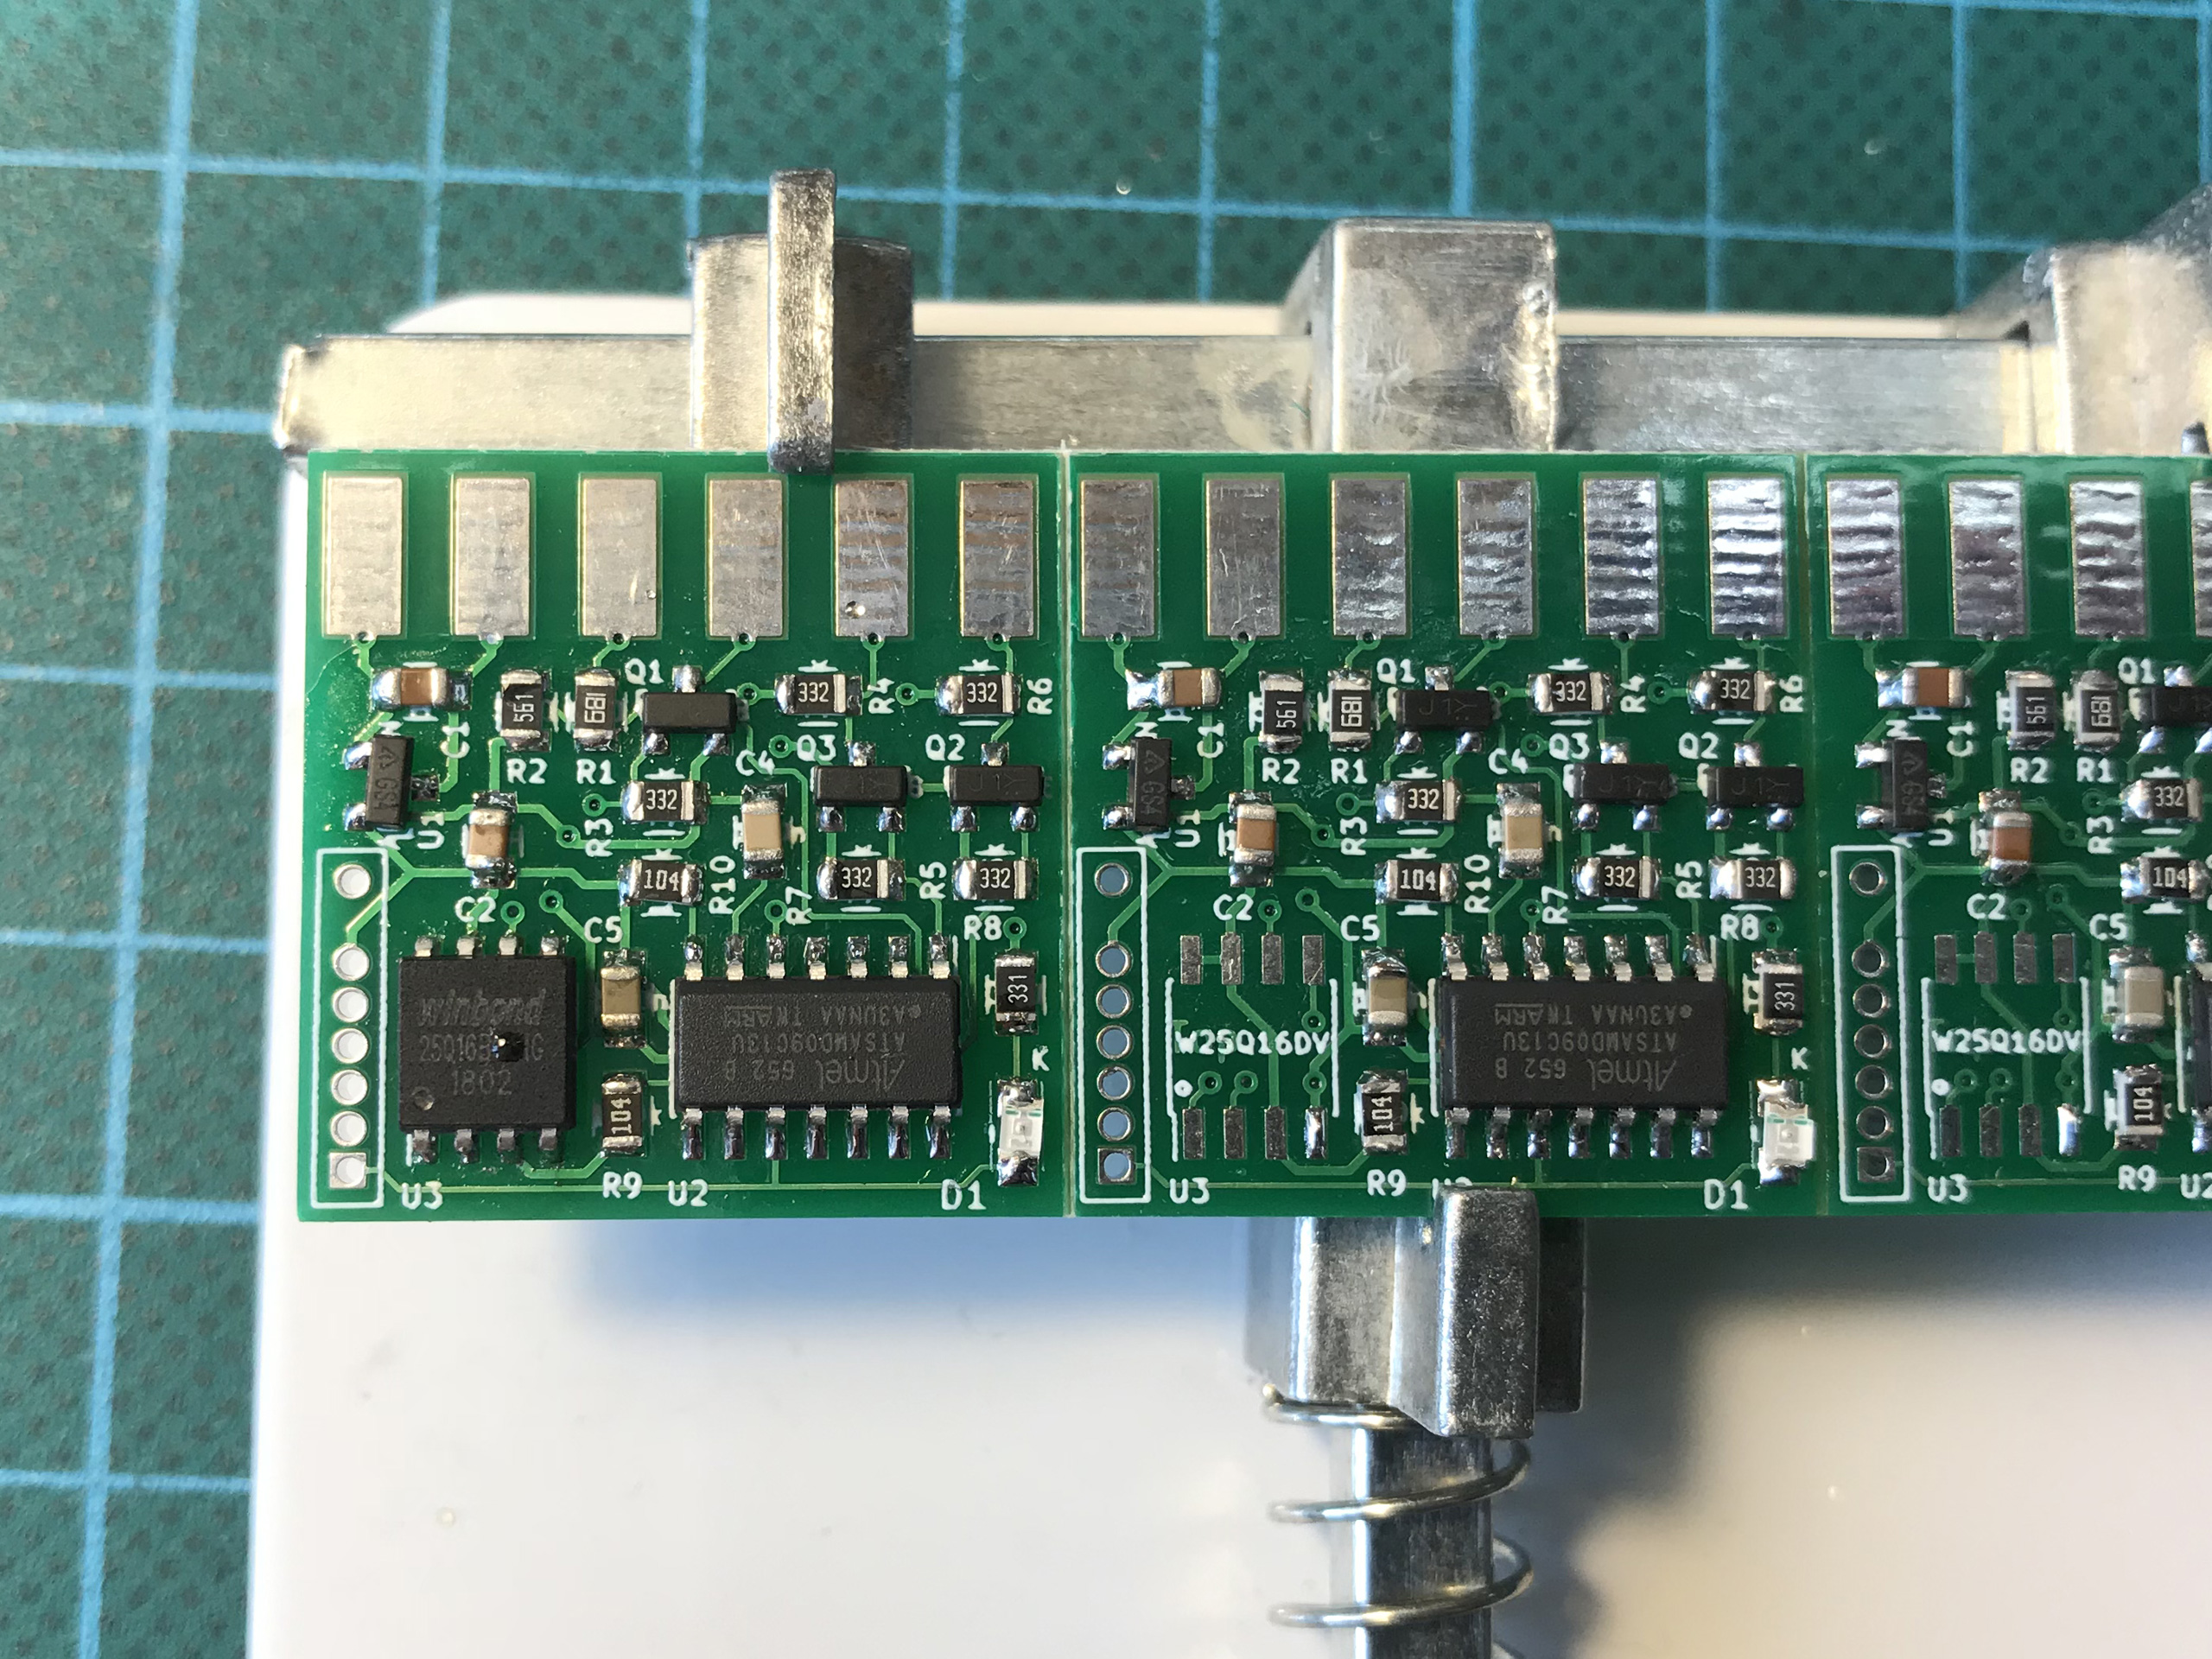
 I missed the fact though that the W25Q16 serial EEPROM comes in two difference SOIC packages. I probably would have needed the 150mil one but I got the one with 208mil. Oh well, after bending the pins a little I was still able to solder them to the boards.
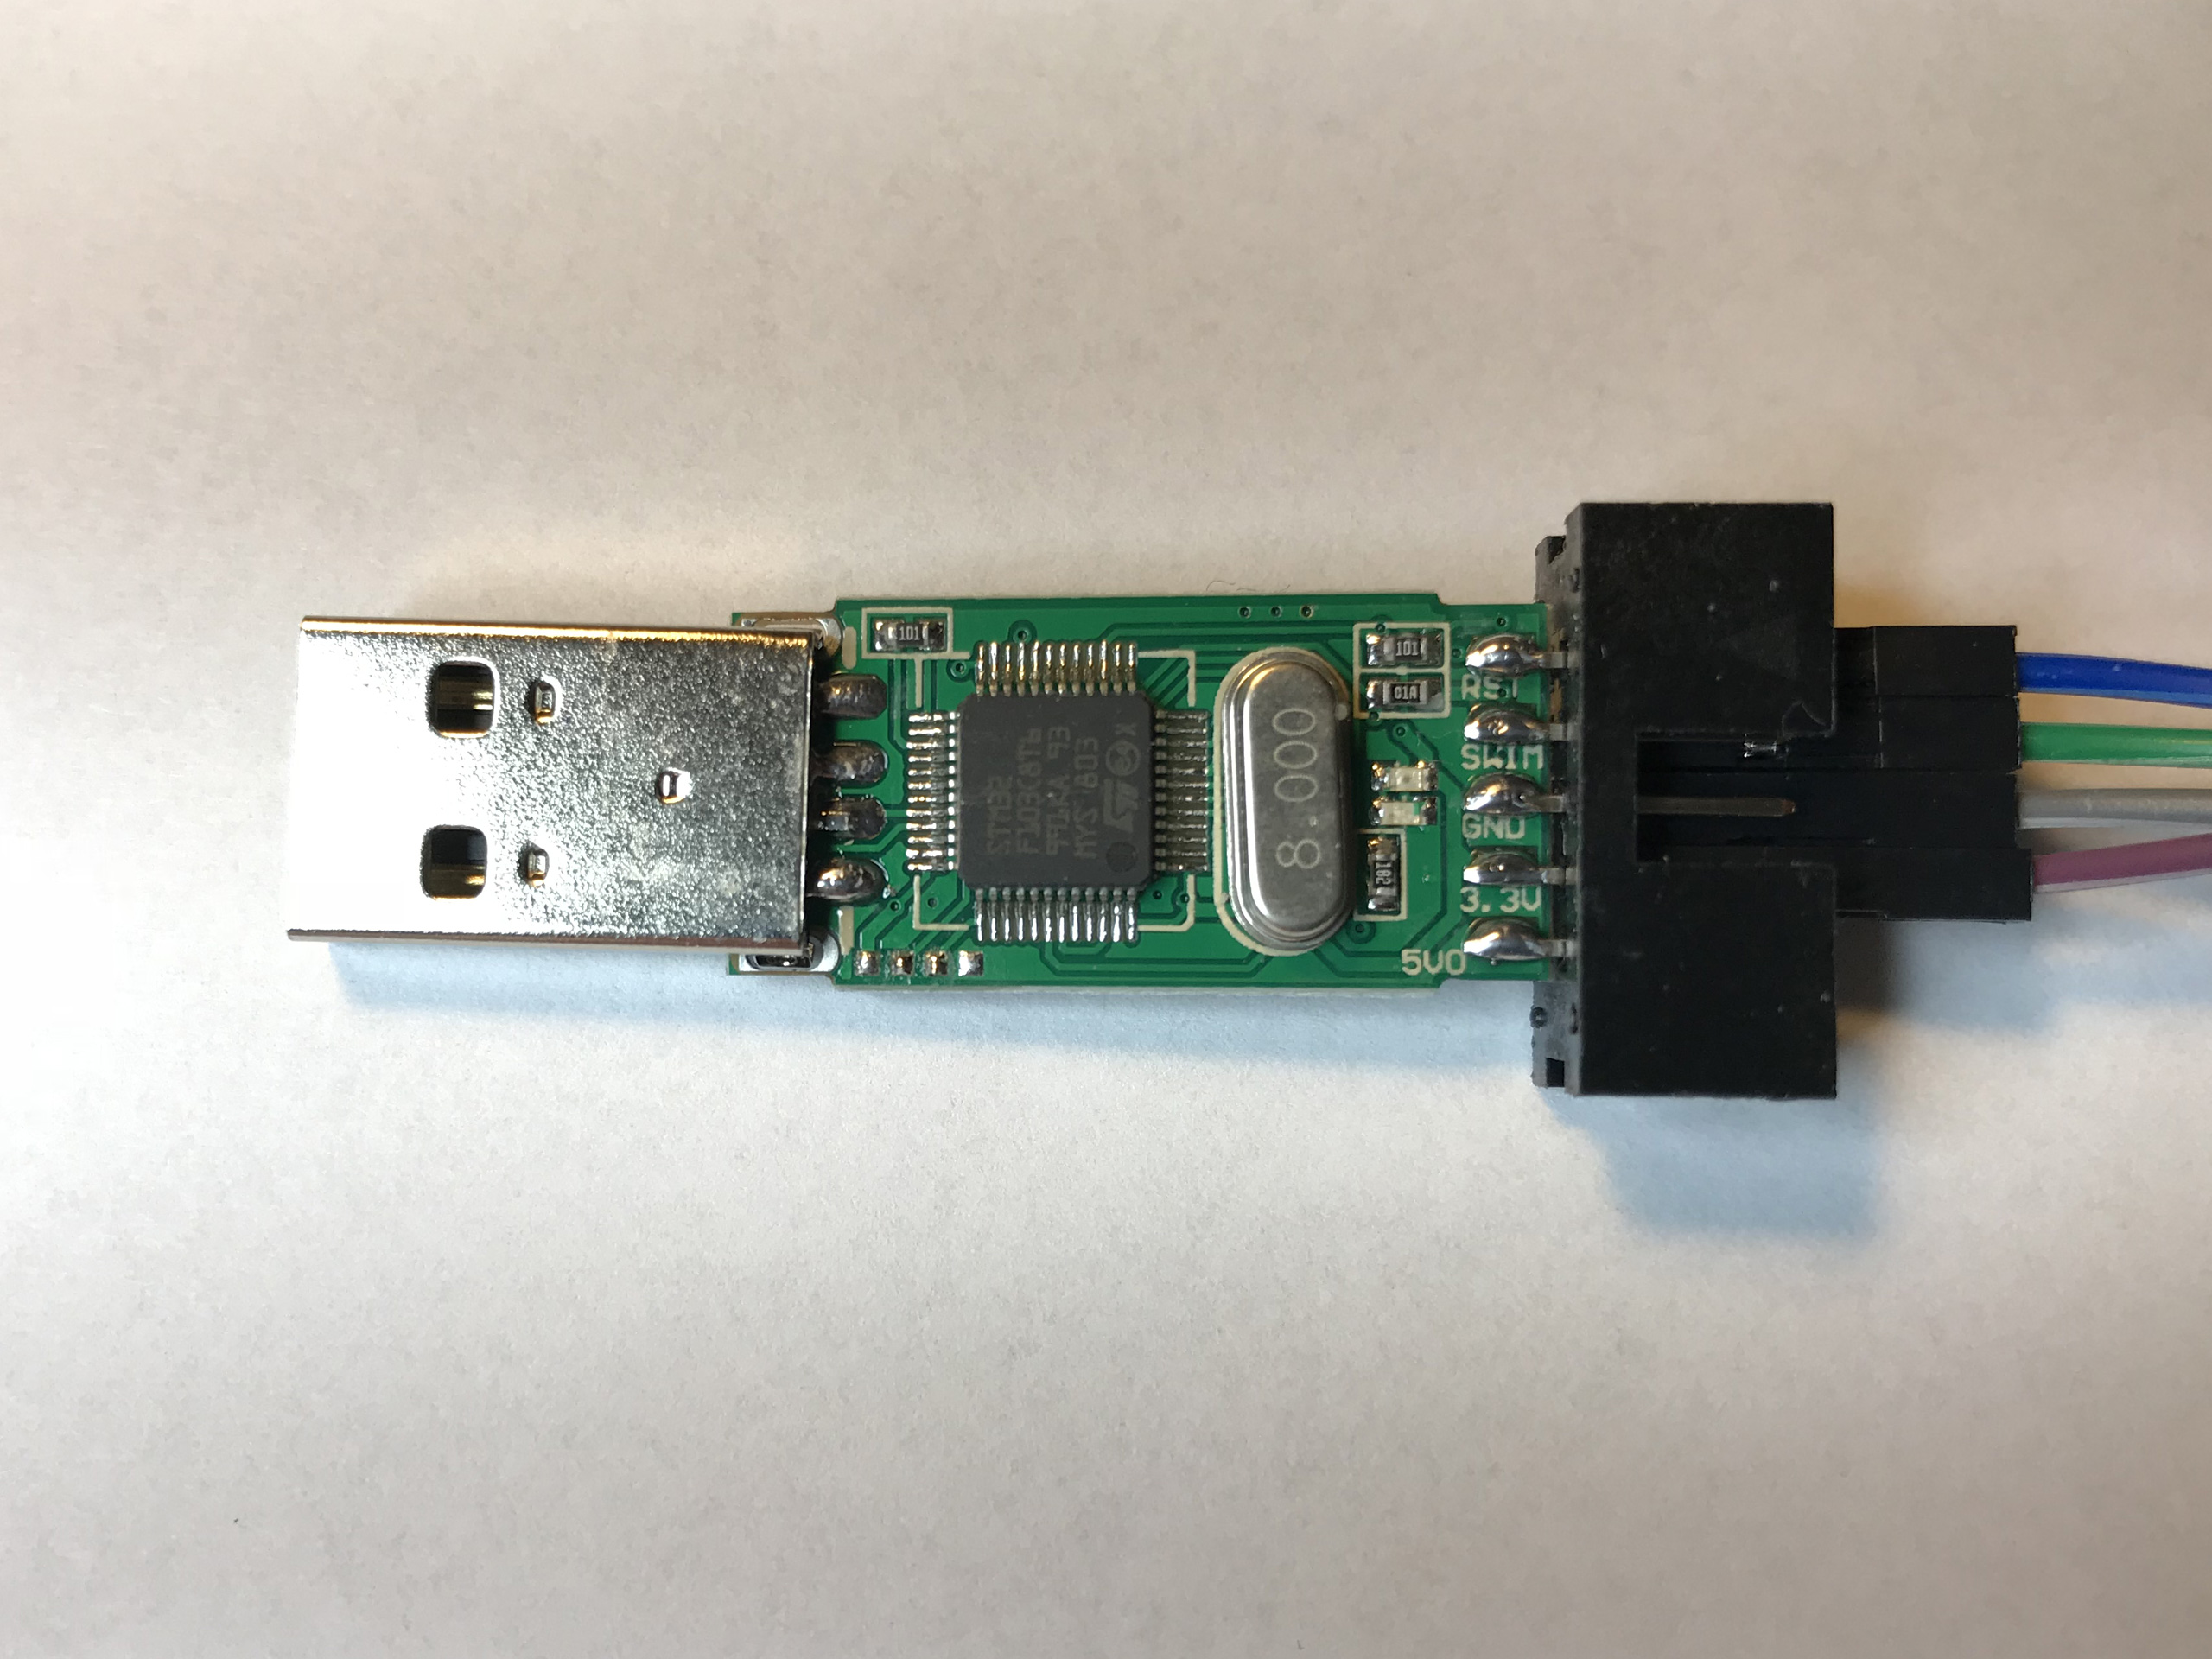
I used an ST-Link V2 programmer to flash the firmware…
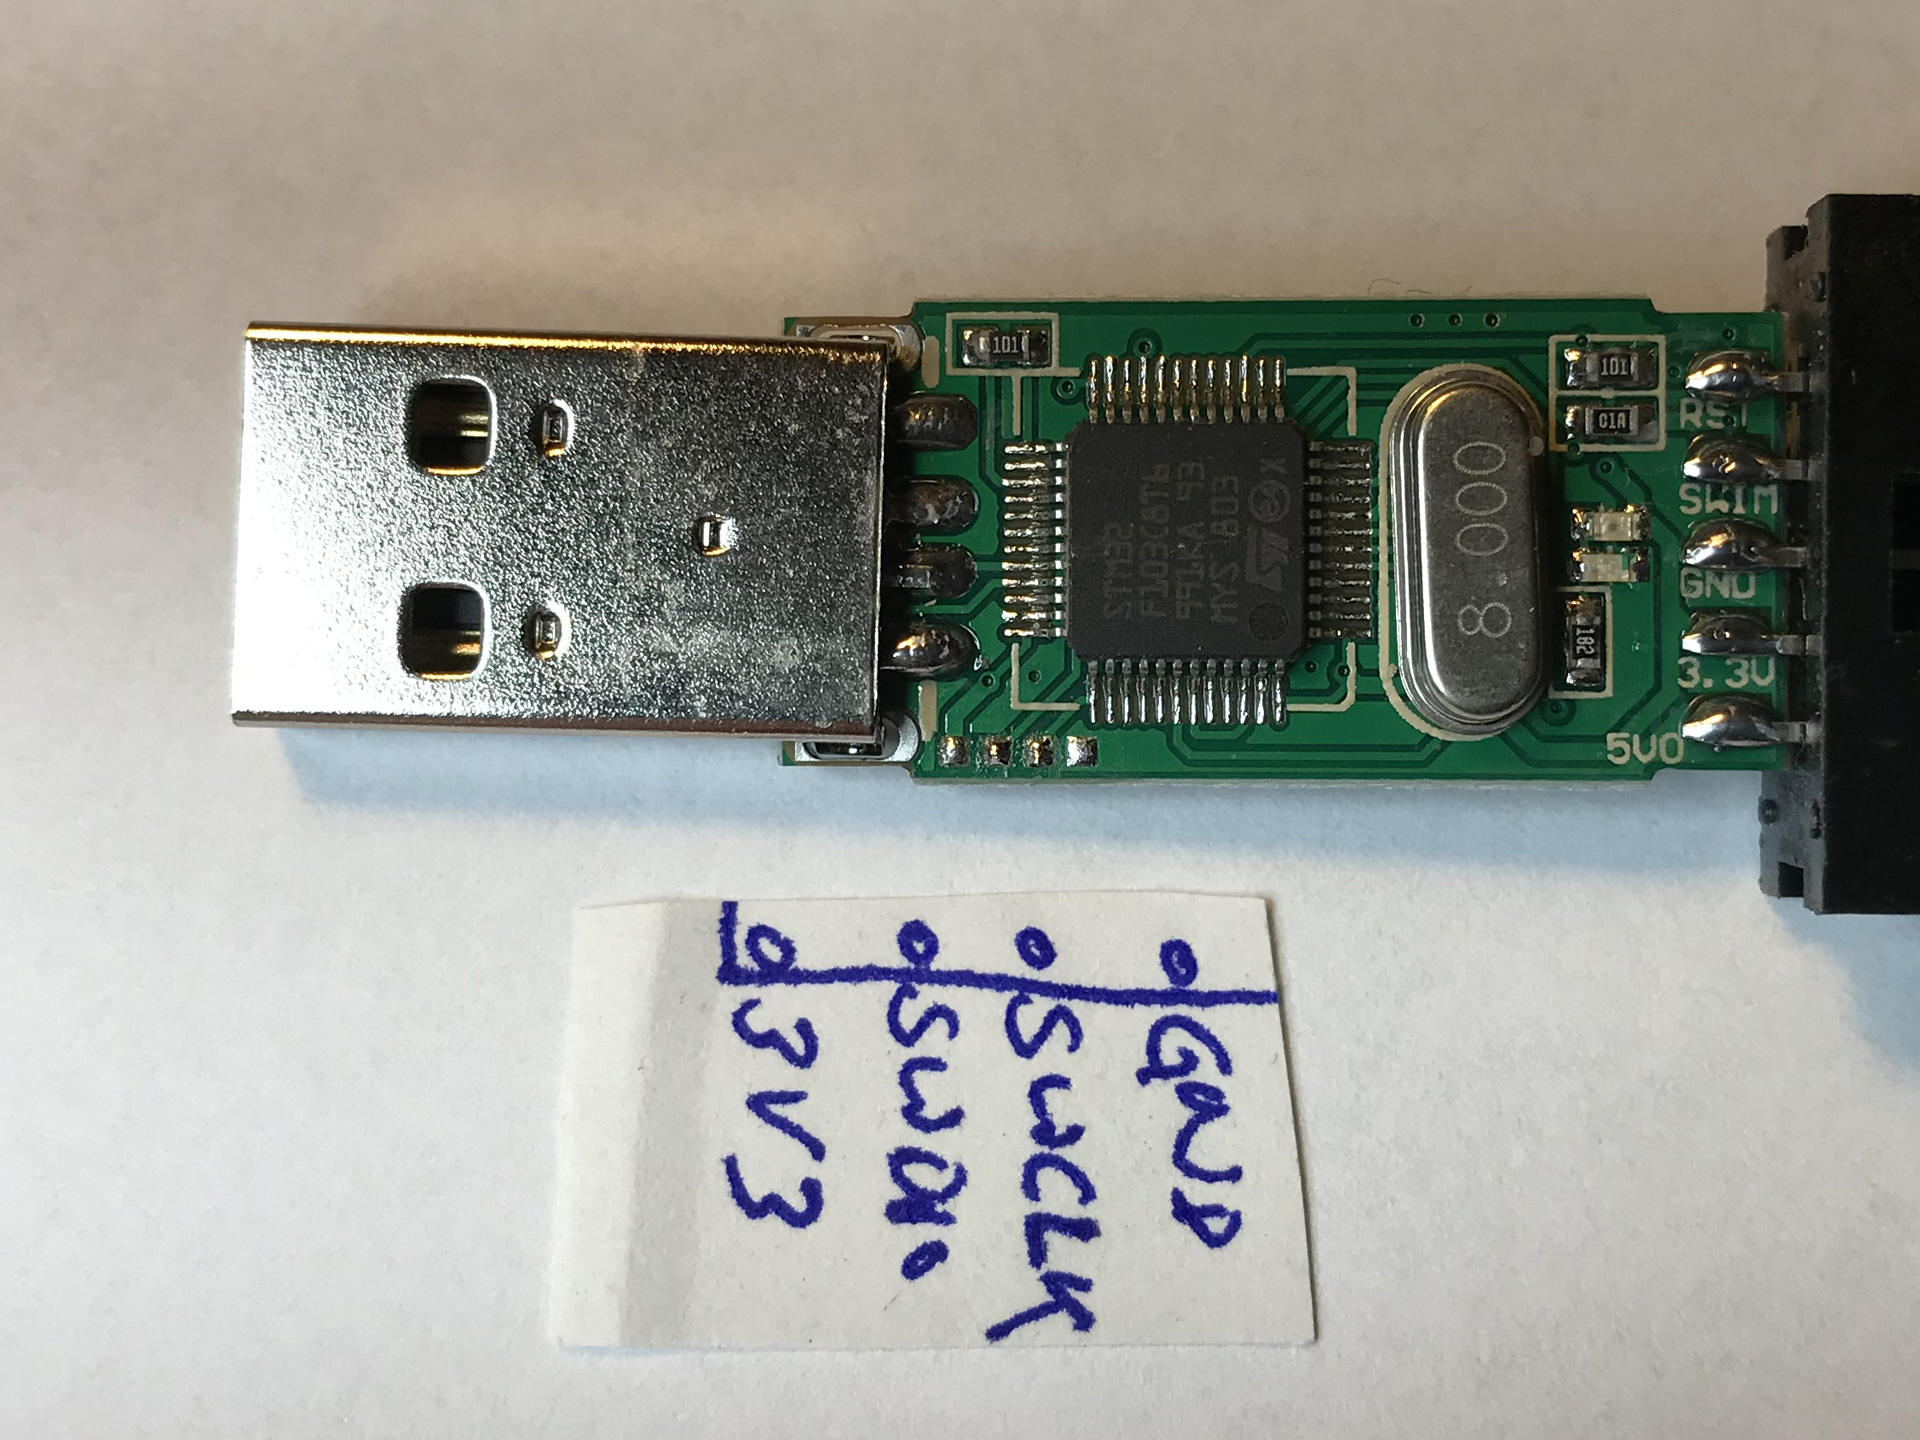
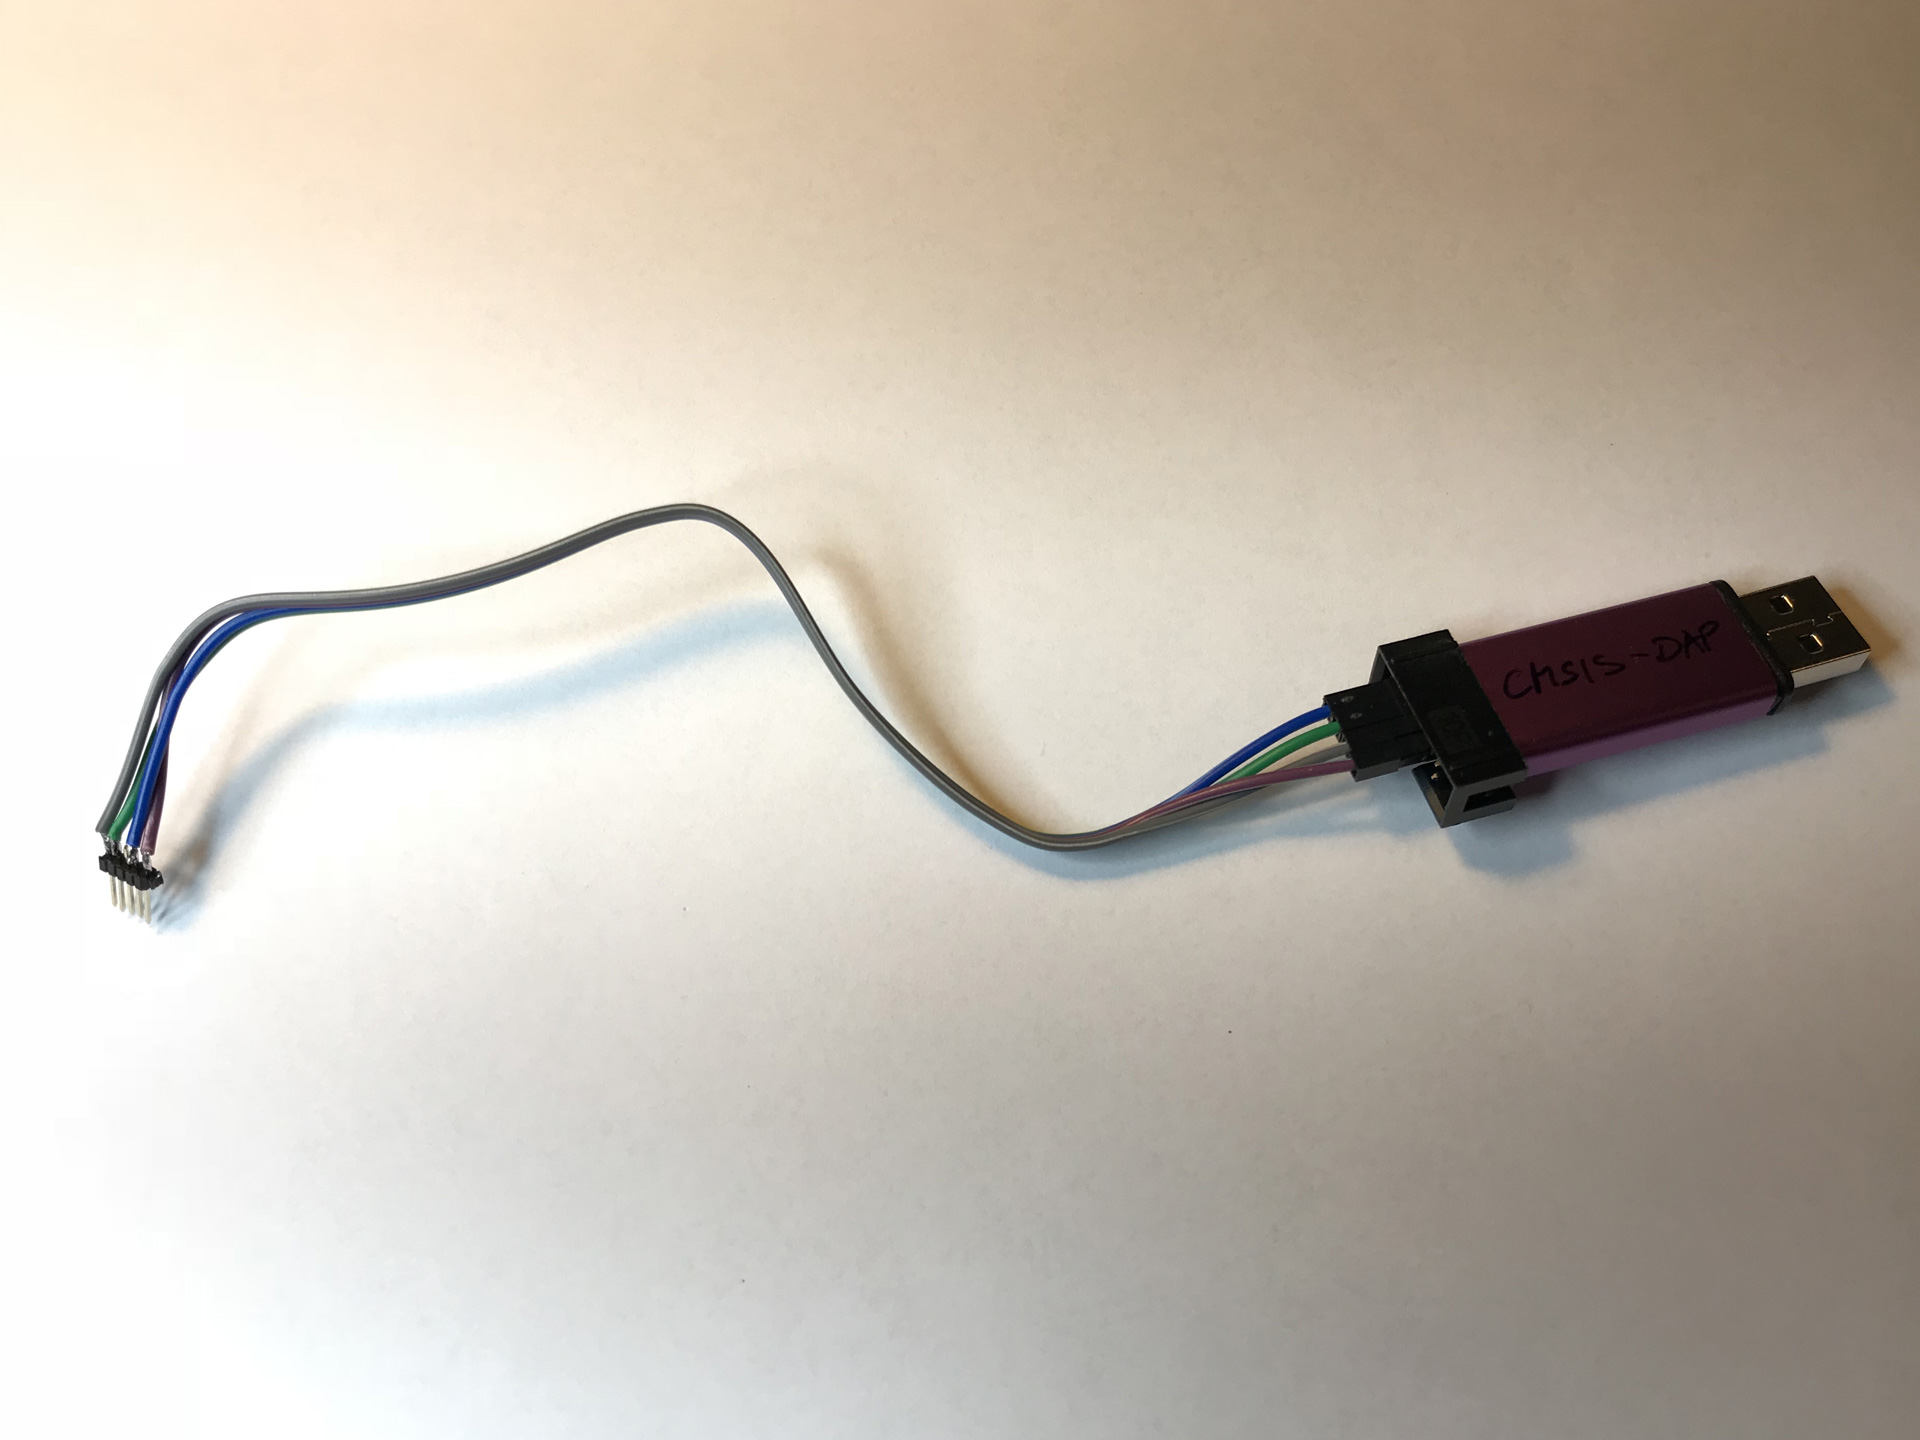
But flashing the firmware to the controller turned out to be a little challenging. The lines for the SWD interface of the controller are available on the 1.27mm pin header of the Tapecart. So I needed both a programmer capable of “speaking” SWD and the software to go with it. The software I chose is called OpenOCD and a Raspberry Pi would have been able to act as a programmer. Instead, I opted for one of the dirt-cheap ST-Link V2 clones available from China (eBay China|eBay Germany).

… after I converted it into a CMSIS-DAP adapter using a second ST-Link V2.
Unfortunately, the ST-Link programmer is reported to cause problems when used with the Atmel SAM controllers. So I ended up ordering a second ST-Link V2 clone that I converted into a CMSIS-DAP adapter using the first one to flash it as described here. This worked well despite the fact that the layout of my ST-Link device differed from that shown in blog post.
$ bin-x64\openocd.exe -f scripts\interface\cmsis-dap.cfg -f scripts\target\at91samdXX.cfg -c "program tapecart.bin verify" -c reset -c shutdown
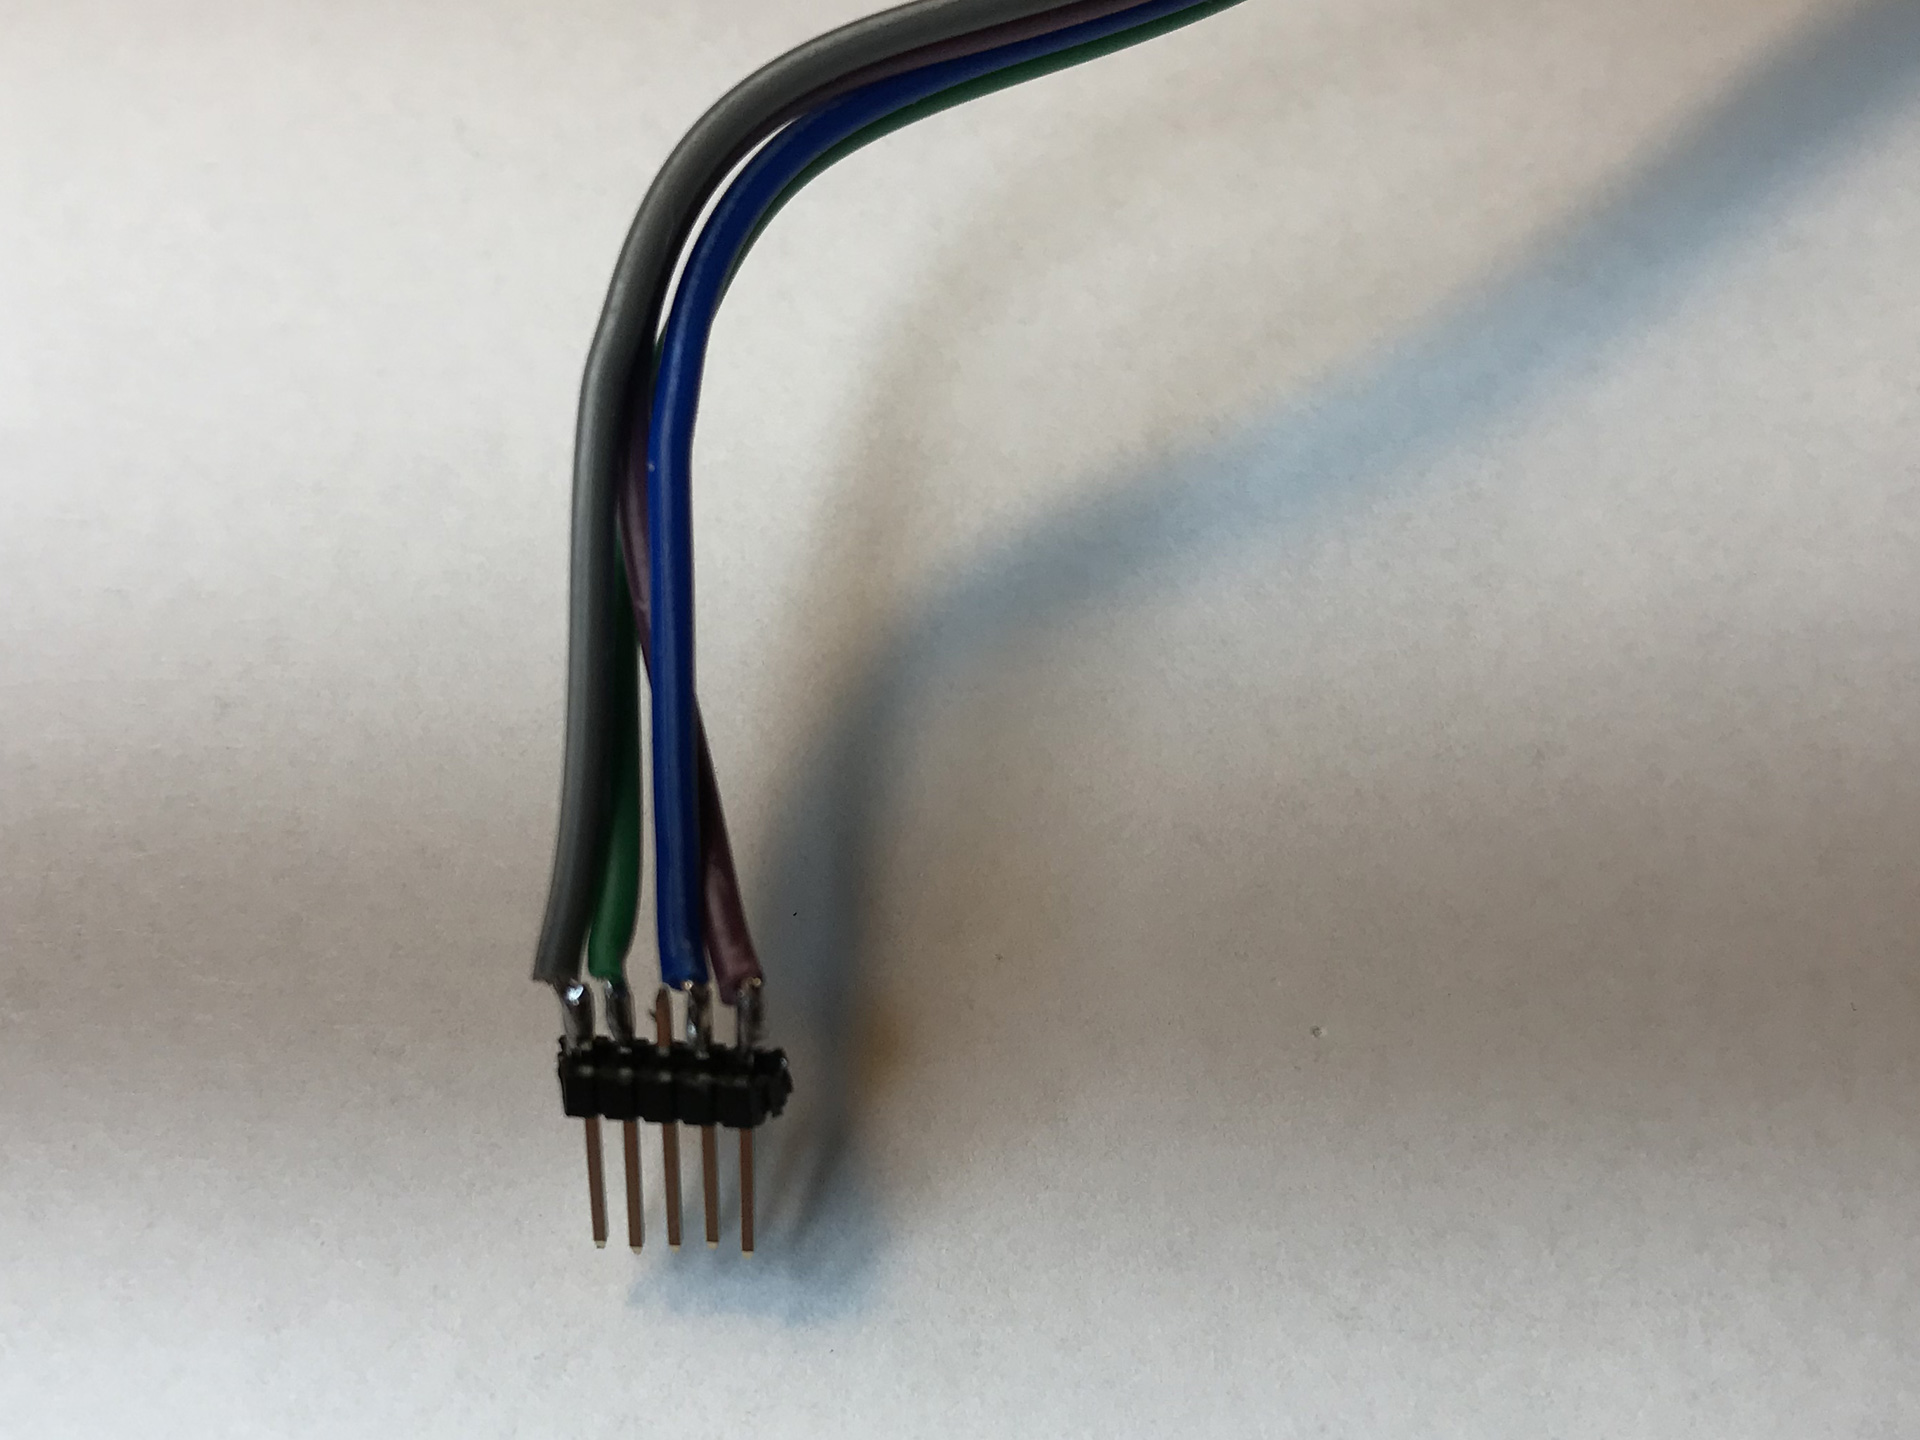
Then, I soldered a make-shift adapter cable and flashed the firmware to the Tapecarts I had built using OpenOCD.
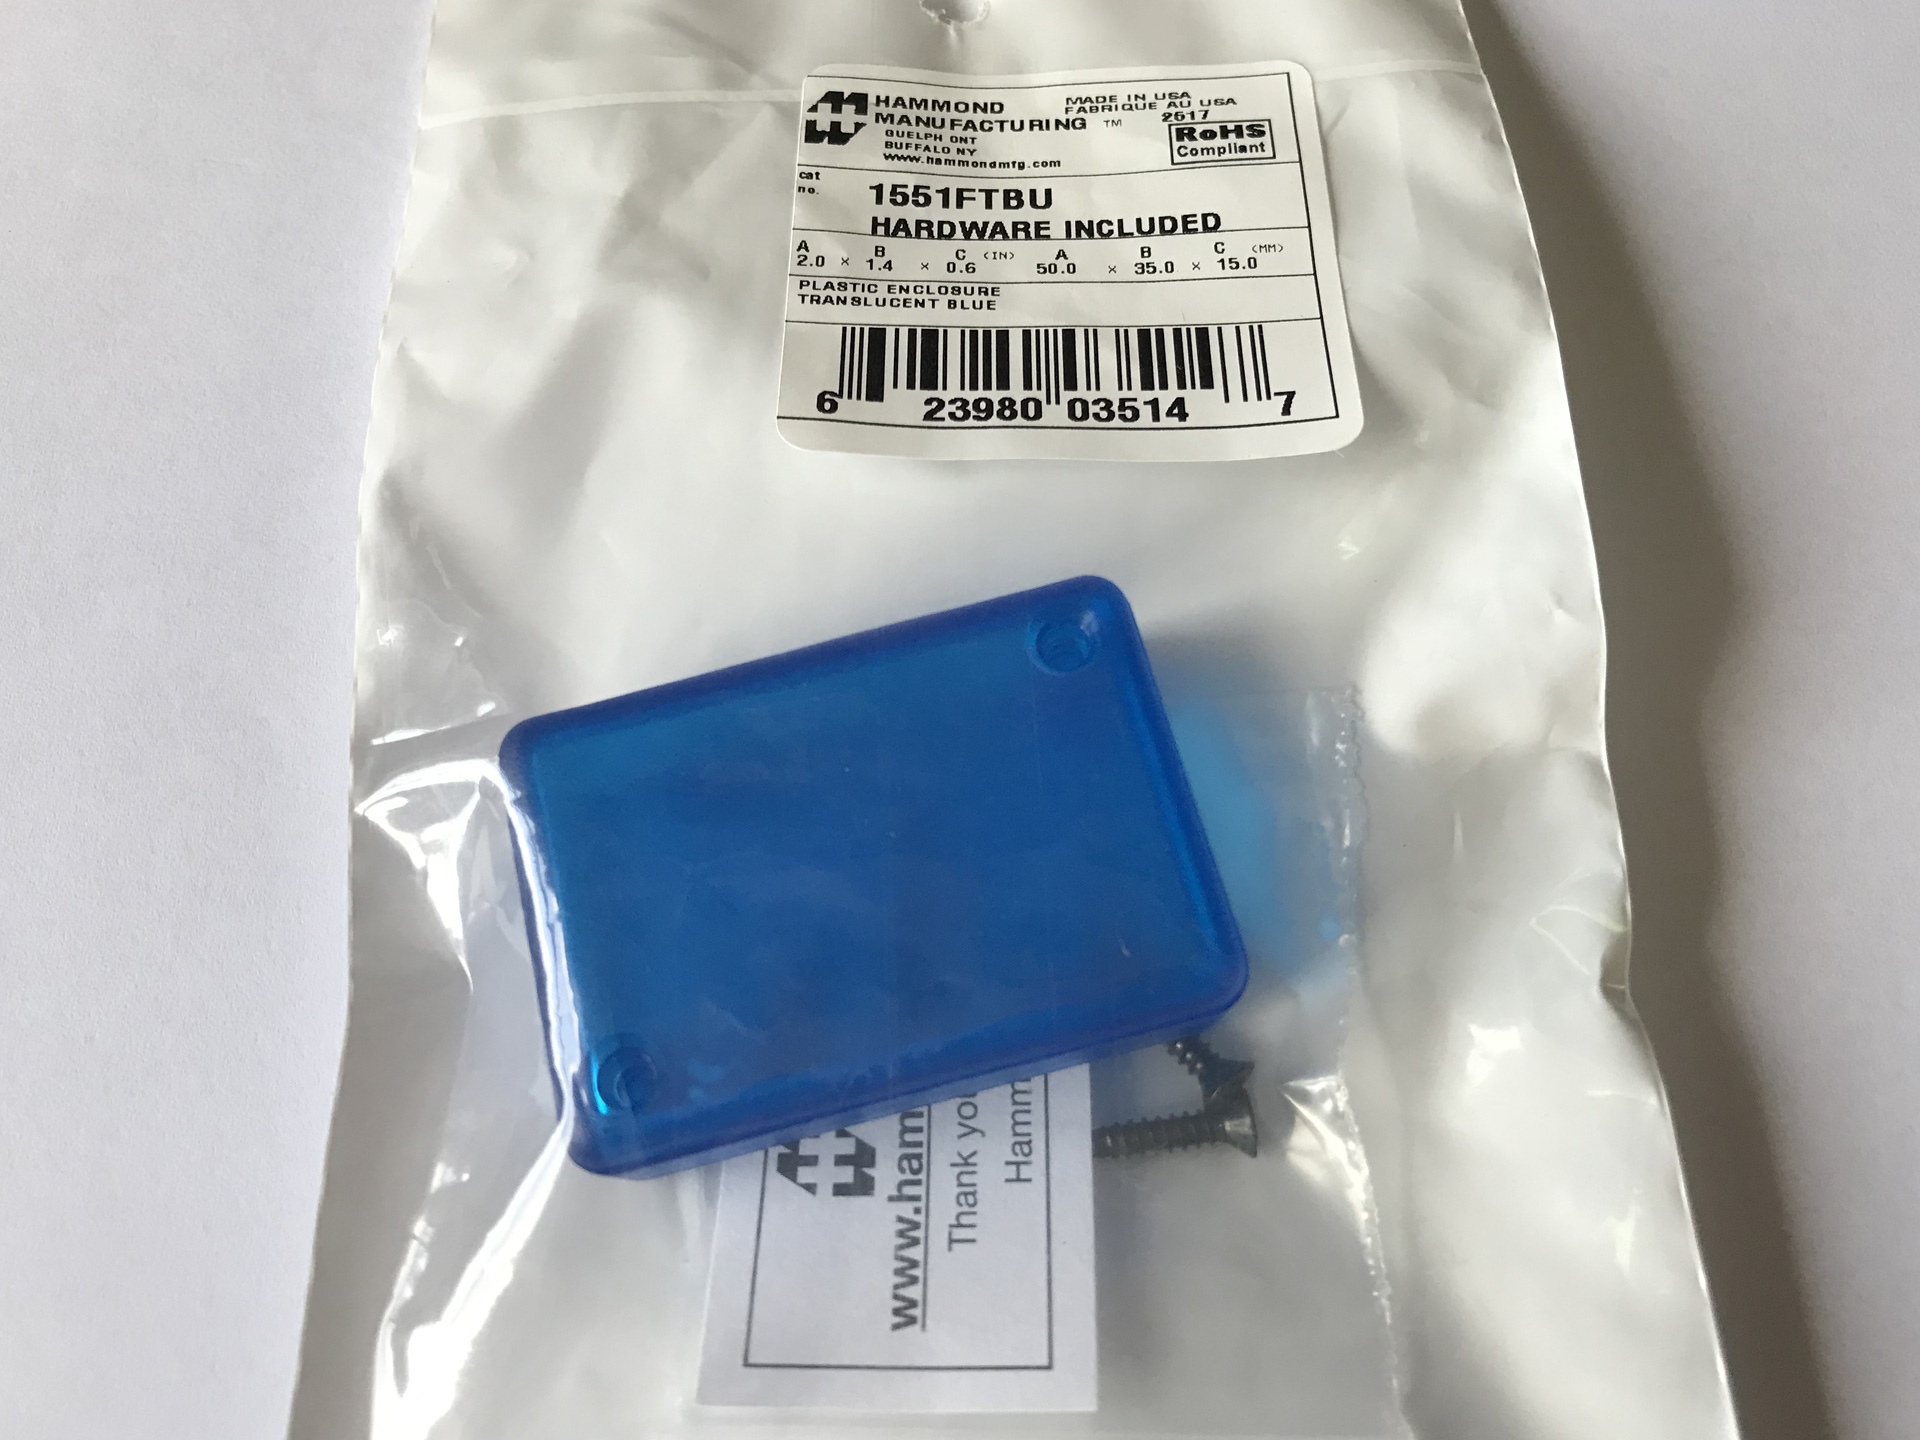
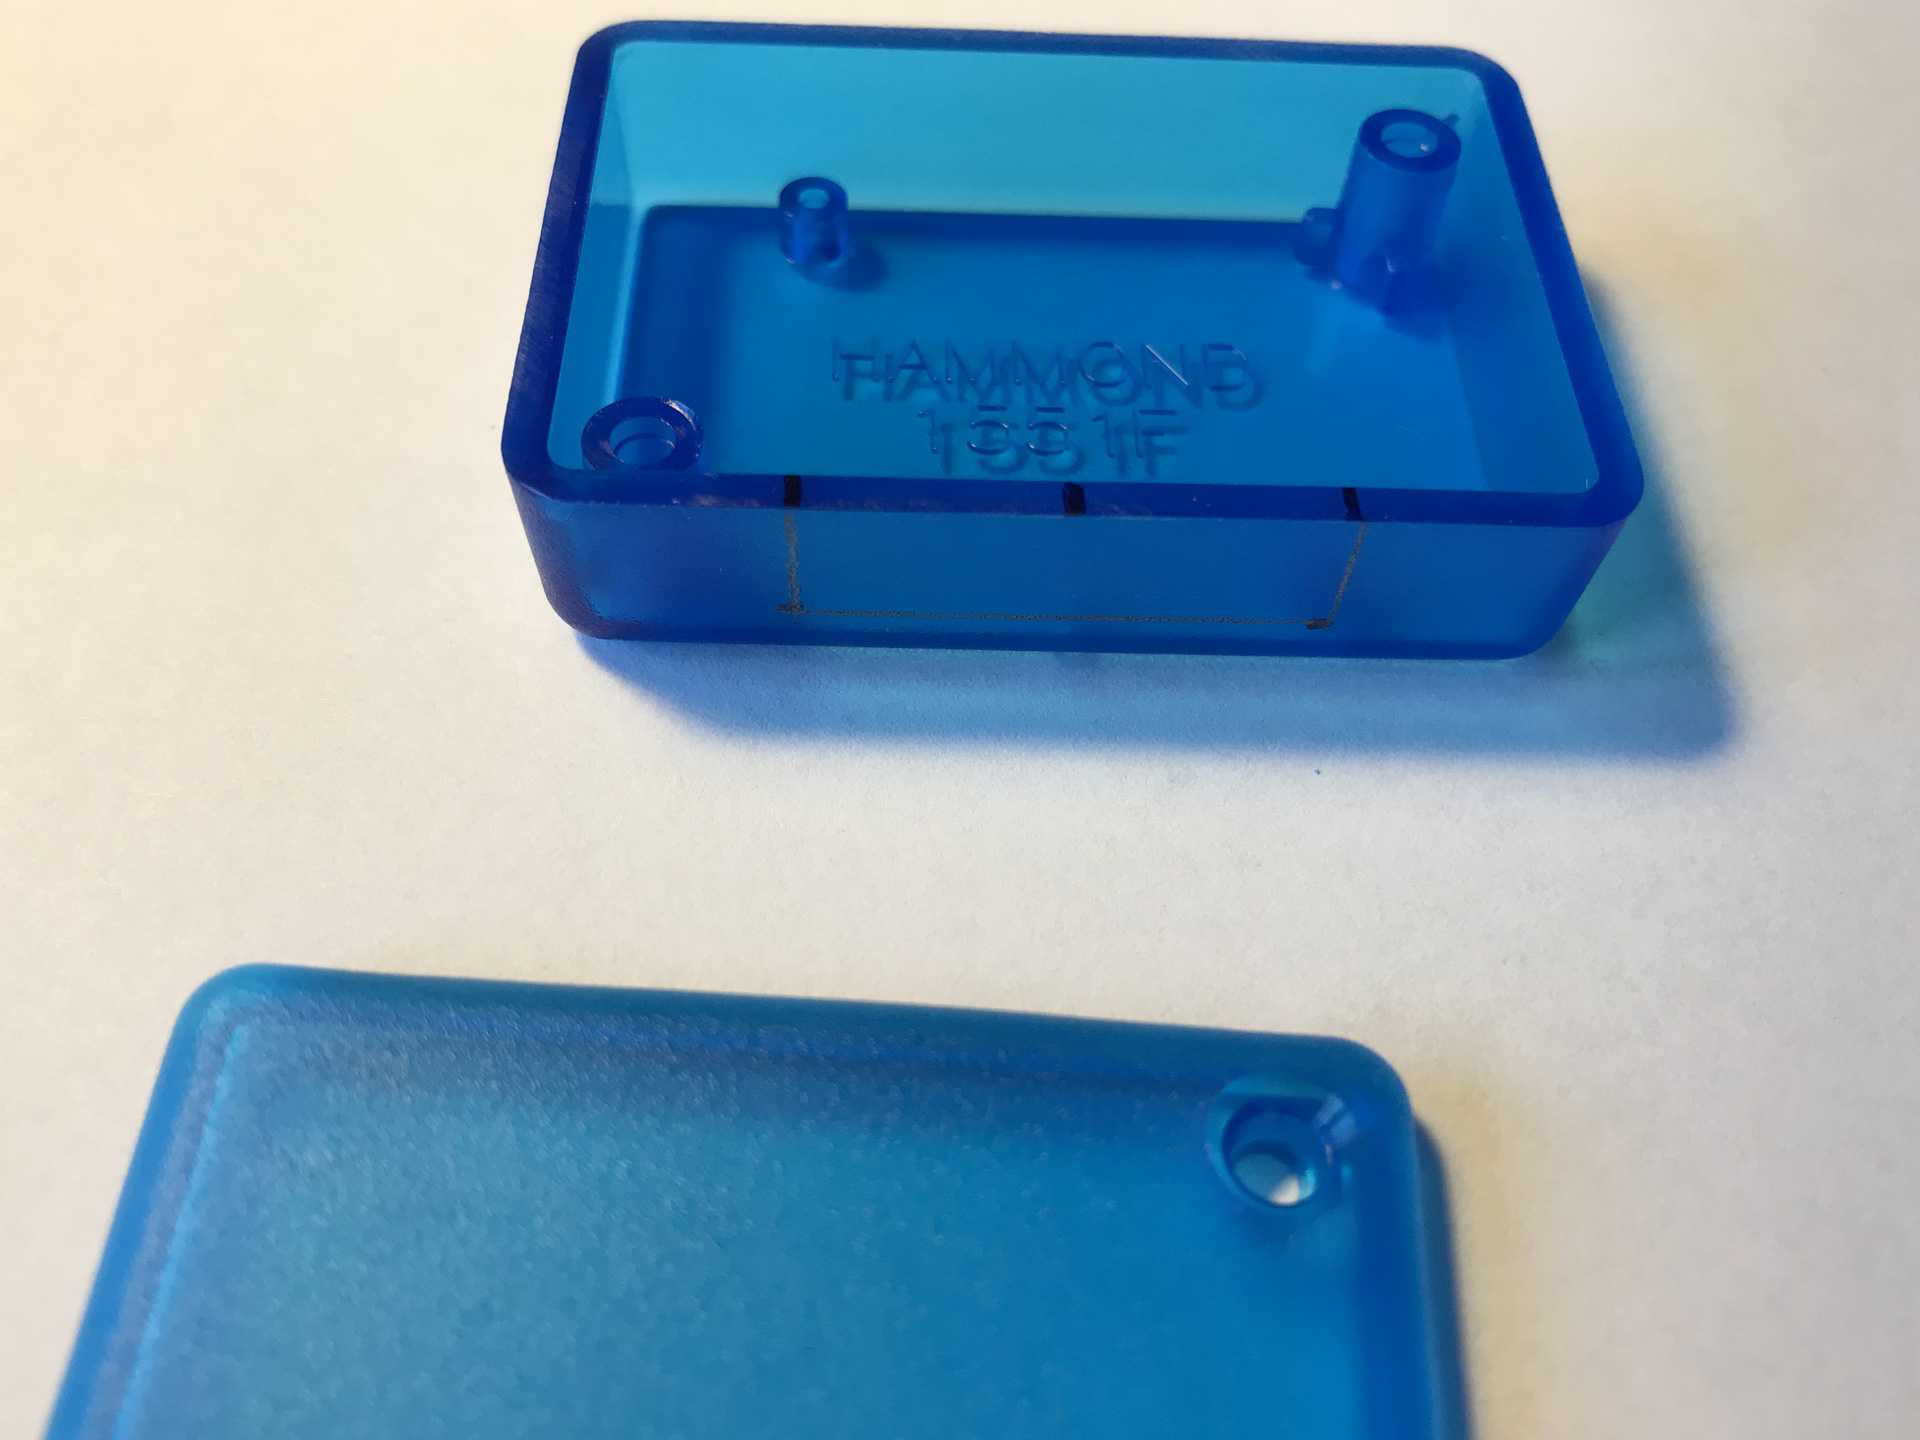
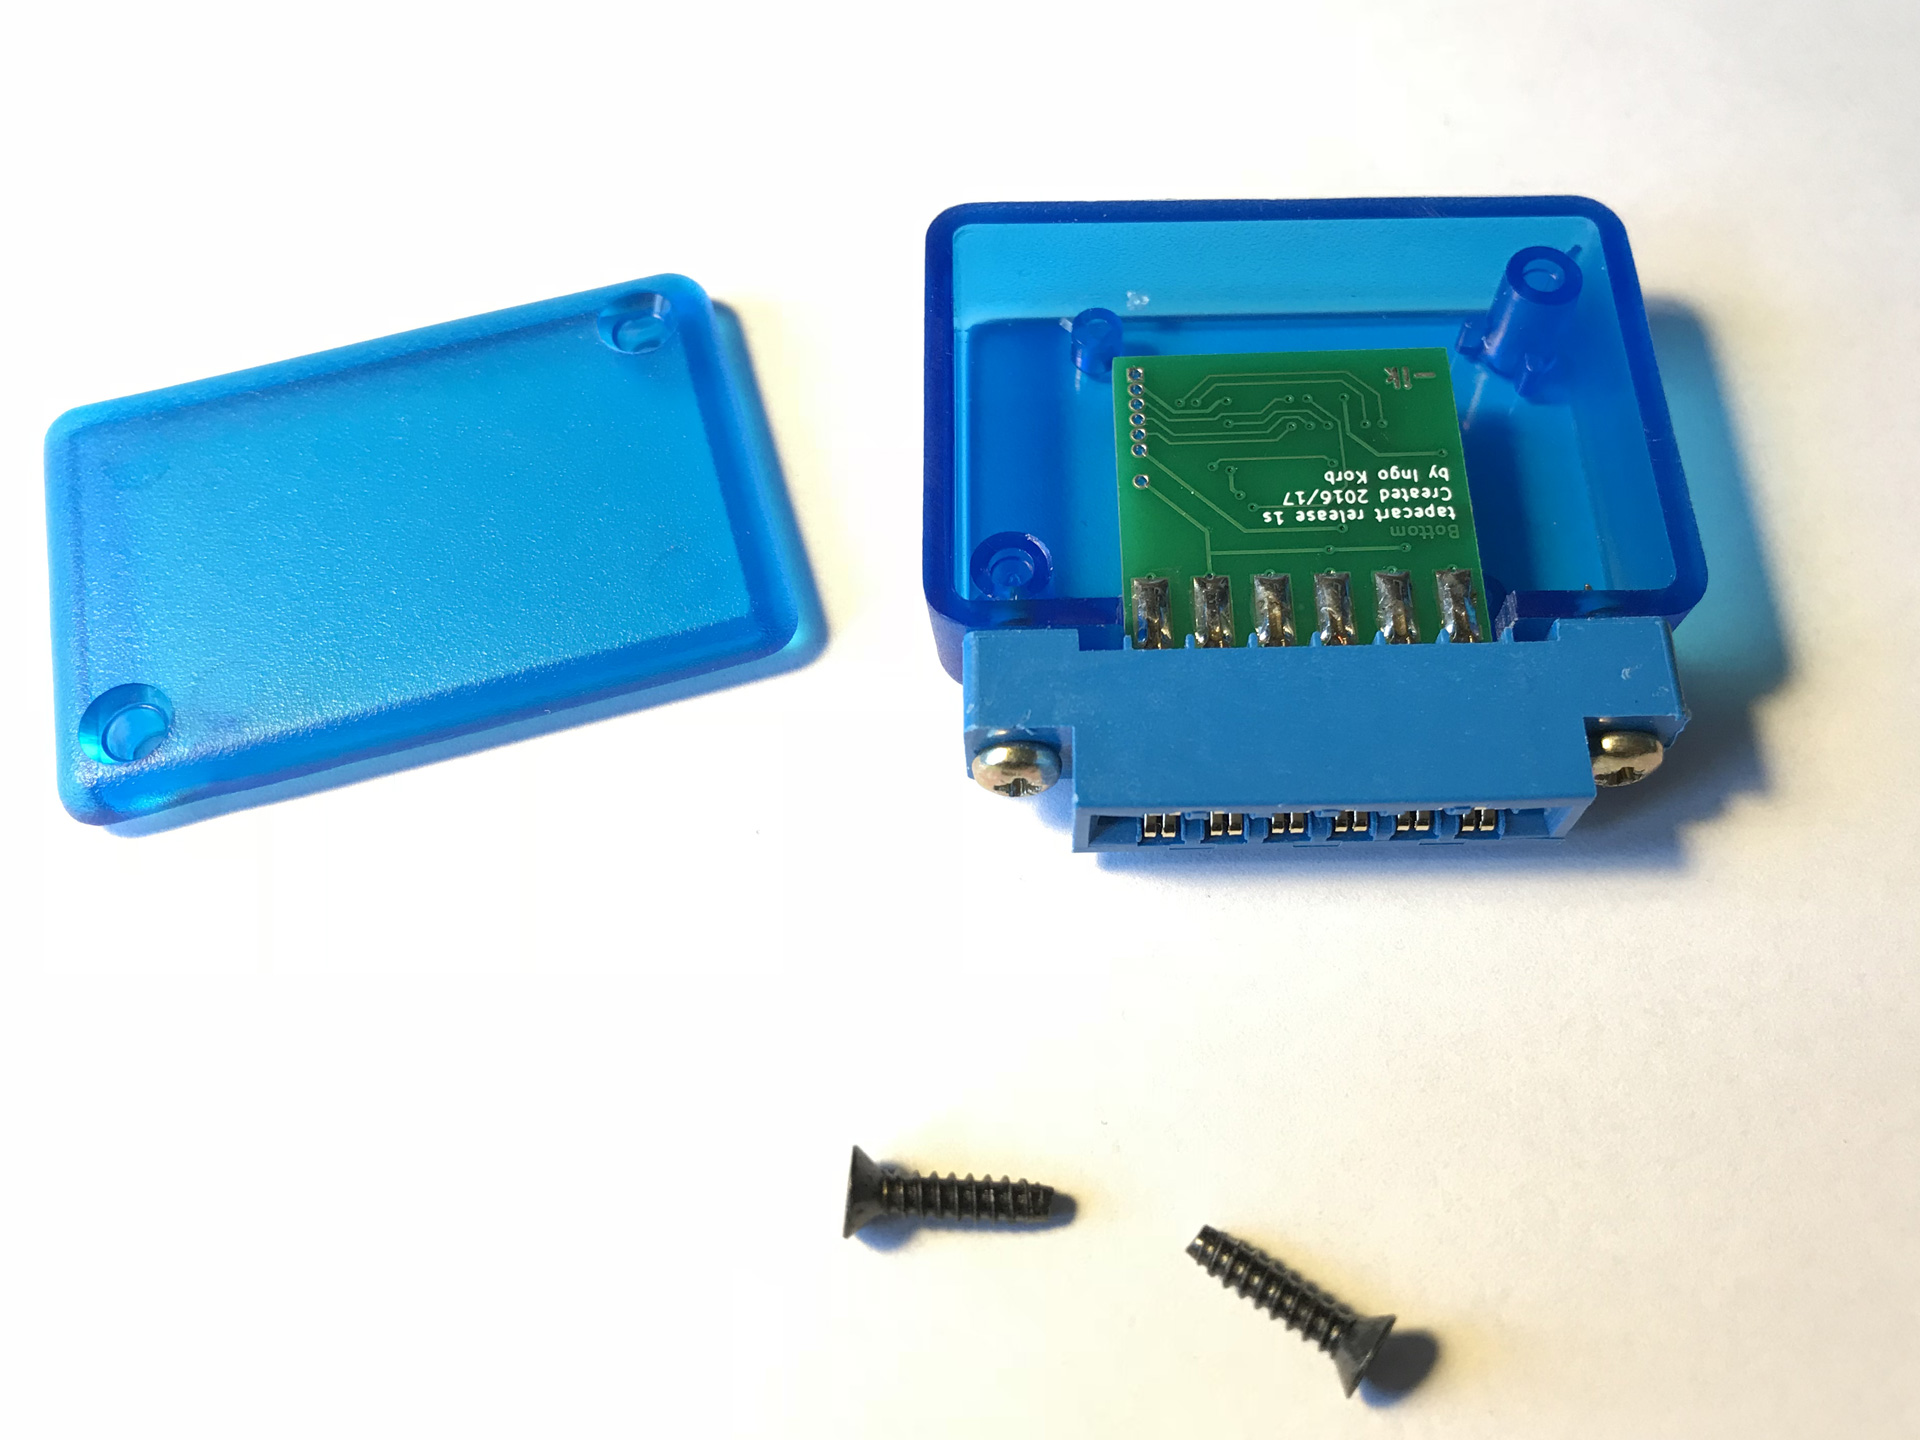
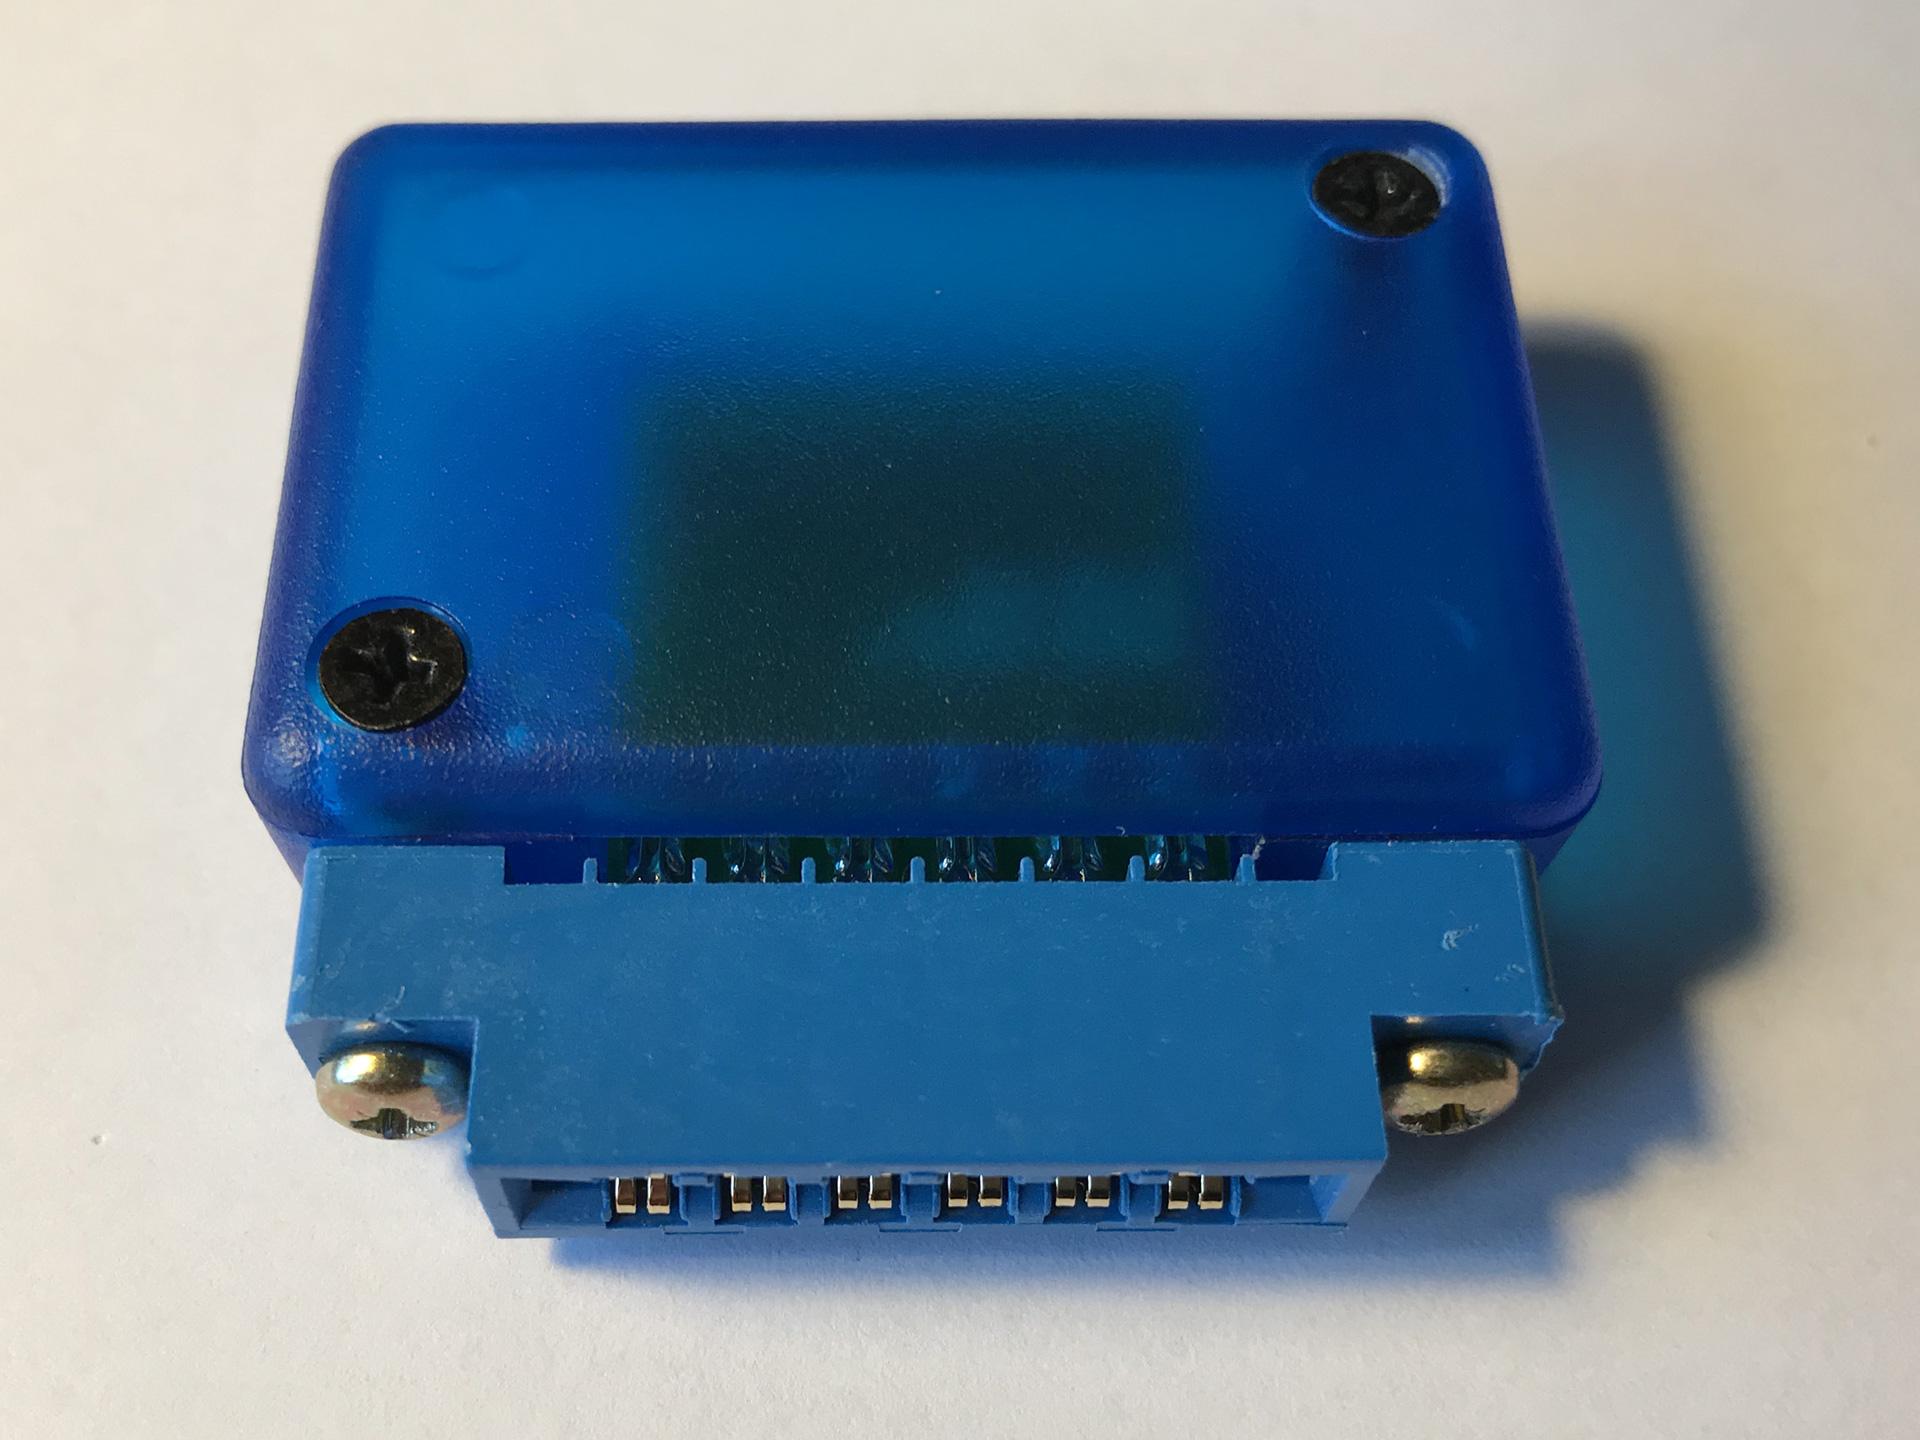
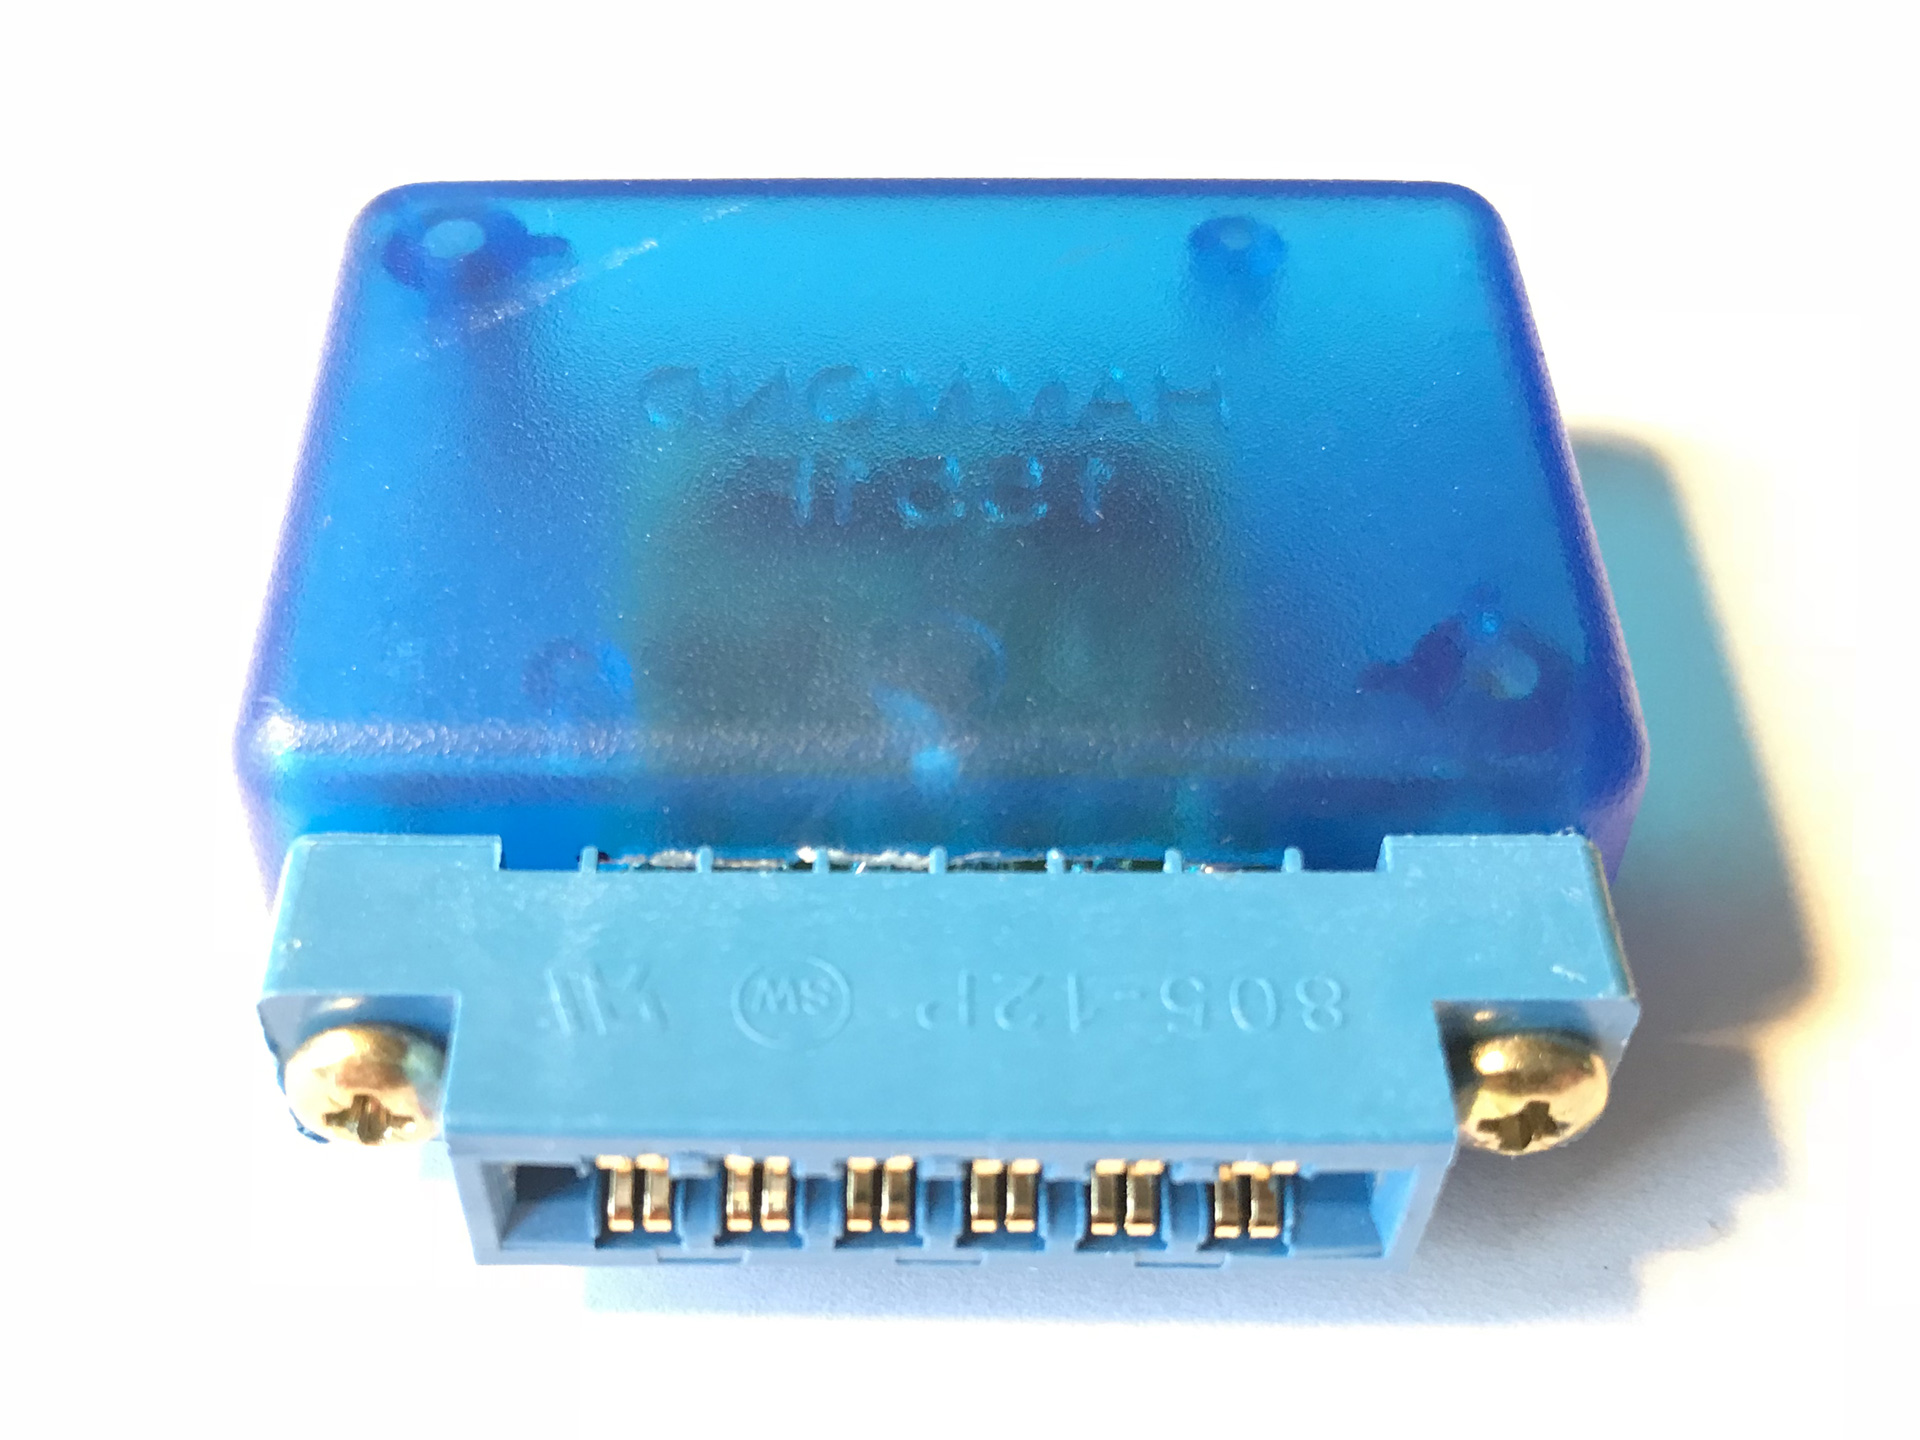
 Finally, I prepared the case I had ordered for this project and use my TapecartFlasher to fill the new devices with some useful content.