
In my last post I repaired the mainboard of an old Commodore 64 I had retrieved from the attic. After replacing quite a few components, the board was working again for most practical purposes. One issue remained to be investigated though: under certain circumstances, some characters on the screen would change their color seemingly at random.
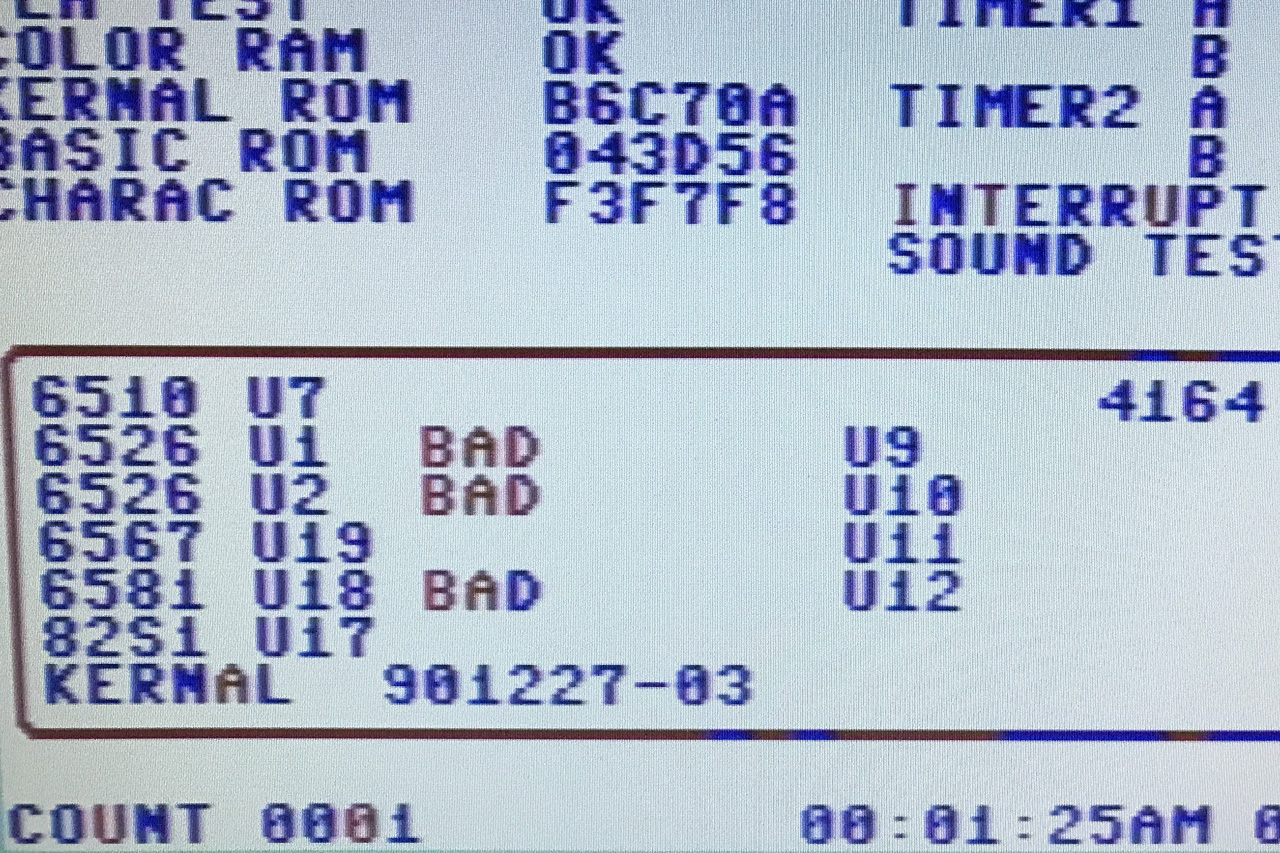
Random characters changing their color.
This was already visible in the diagnostics output but turned up again later in a graphics adventure I tried. Besides the VIC chip itself, the static color RAM U6 or the 4066 quad switch logic IC U16 seem likely causes for this problem.
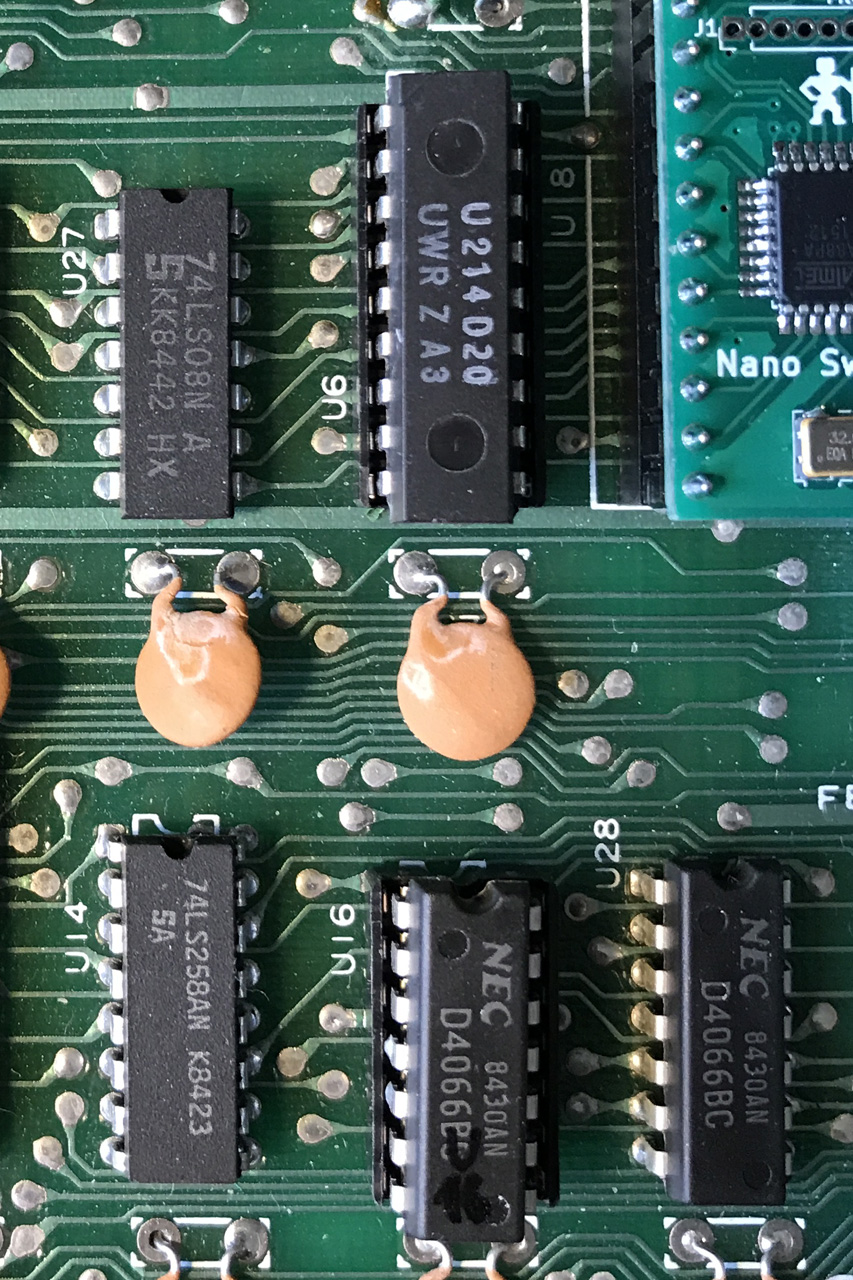
The color RAM replaced.
So, once I had acquired replacements for these two, I desoldered them and swapped them out. Swapping U16 didn’t make a difference, but after I replaced the SRAM U6 the color errors were gone as far as I could tell! I still had the suspicion though, that the original color RAM might be alright after all and that it might be my cheap EPROM based PLA replacement that was causing this problem through timing issues.
Detecting PLA glitches.
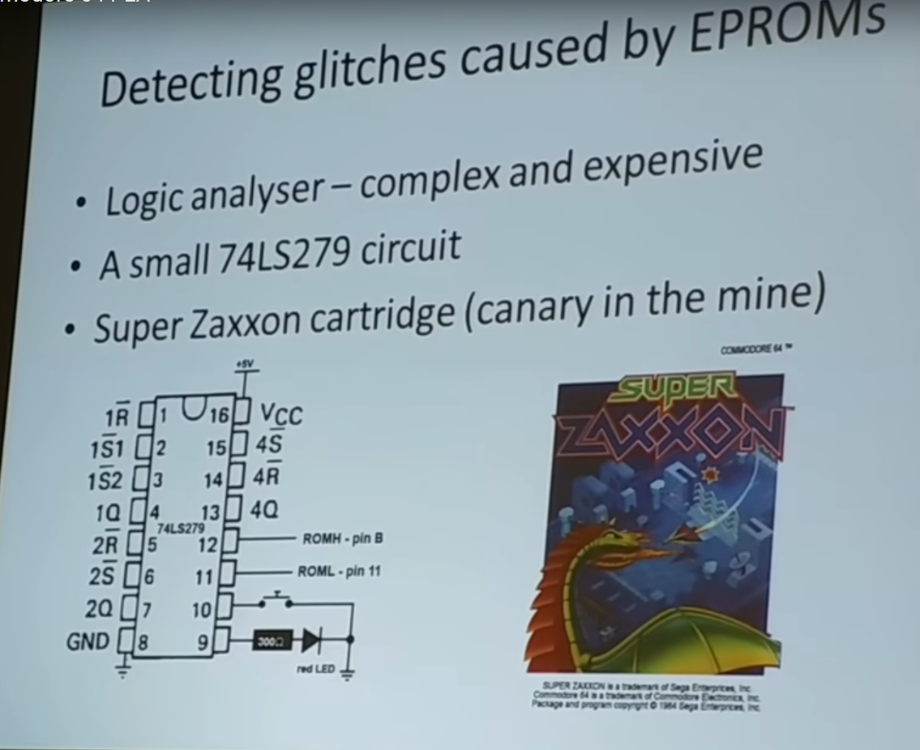
So I was wondering how to test the pseudo PLA further. When discussing this on Forum64 someone pointed me to a video by MindFlareRetro that features interesting information and a talk on the PLA as well as the problems caused by replacing it. In his talk, Eslapion suggests two options for detecting glitches caused by EPROM replaced PLAs: the Super Zaxxon game cartridge or a simple circuit based on a 74LS279 latch IC.
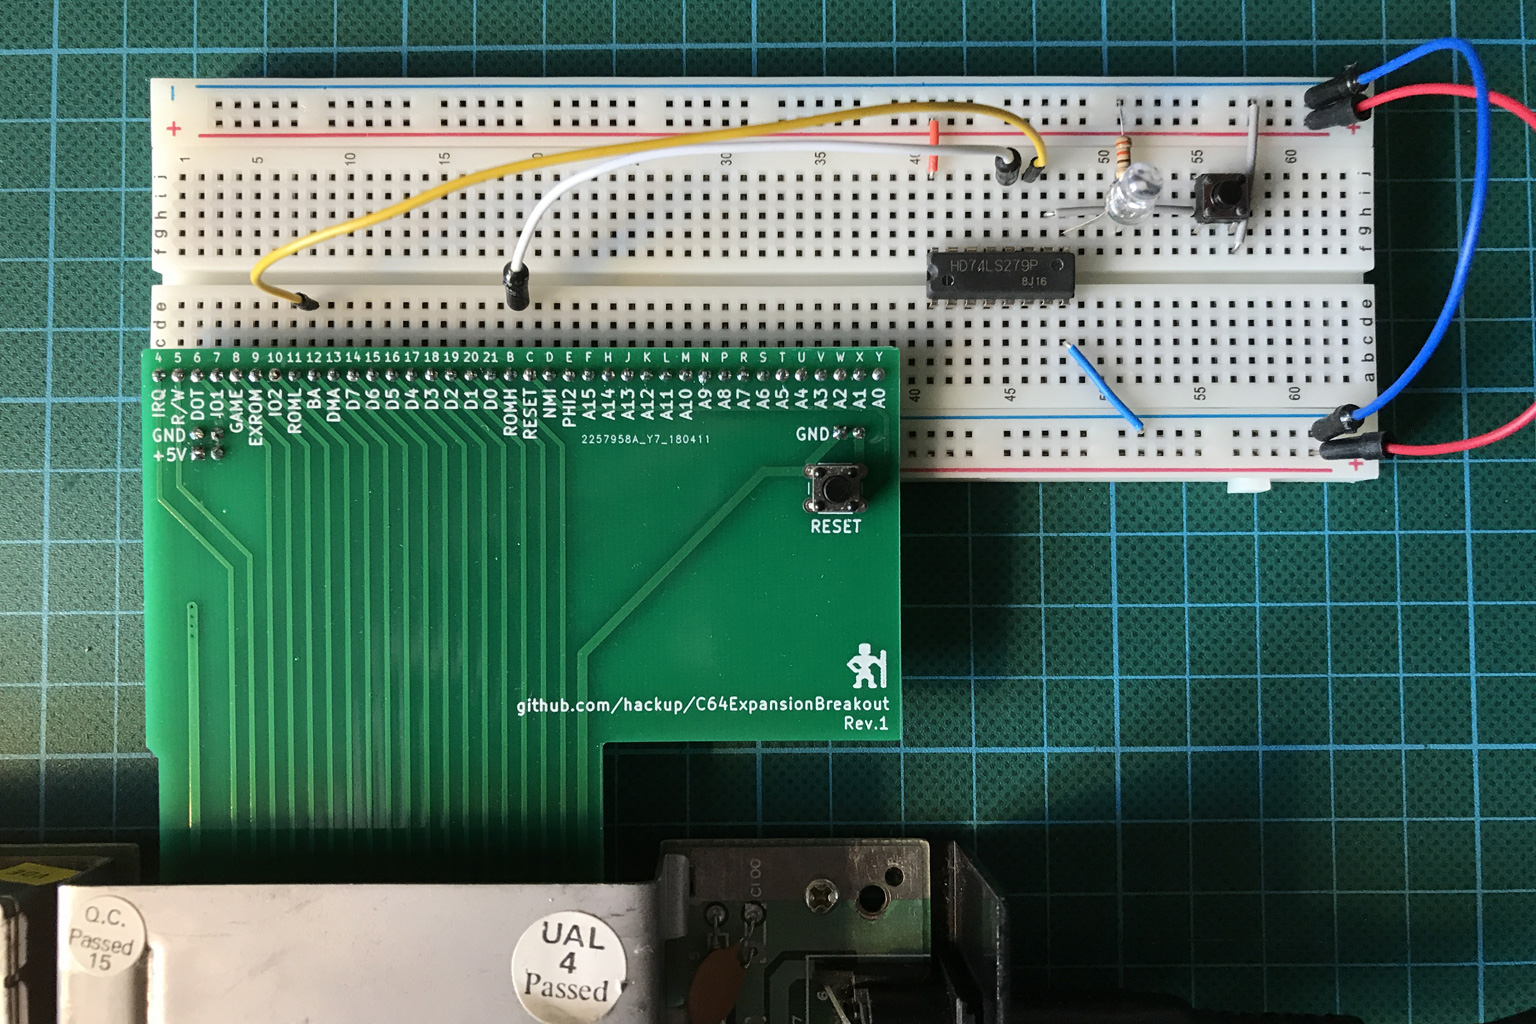
PLA test circuit on a breadboard.
I don’t own an Super Zaxxon cartridge and haven’t had the time yet to try and build my own replica. But the 74LS279 test circuit was easy enough to build. The /ROMH and /ROML lines are running directly from the PLA to the expansion port. As Eslapion explains in his talk, the C64 will use these lines when powered on to detect cartridges. But they shouldn’t change afterwards during normal operation.
Unfortunately, this was not what happened with my replacement PLA as you can see from the short video above. Soon after I switched on the C64 and reset the latch on the test circuit, the LED turned back on again. This clearly indicated that my EPROM PLA glitches quite frequently on those two lines and probably does the same with other signals it generates.
So, it was quite likely that the original color SRAM was not really broken but just having a harder time coping with the PLA glitches than its substitute. When I received a better PLA replacement later — a “PLAdvanced” — I was able to confirm this.
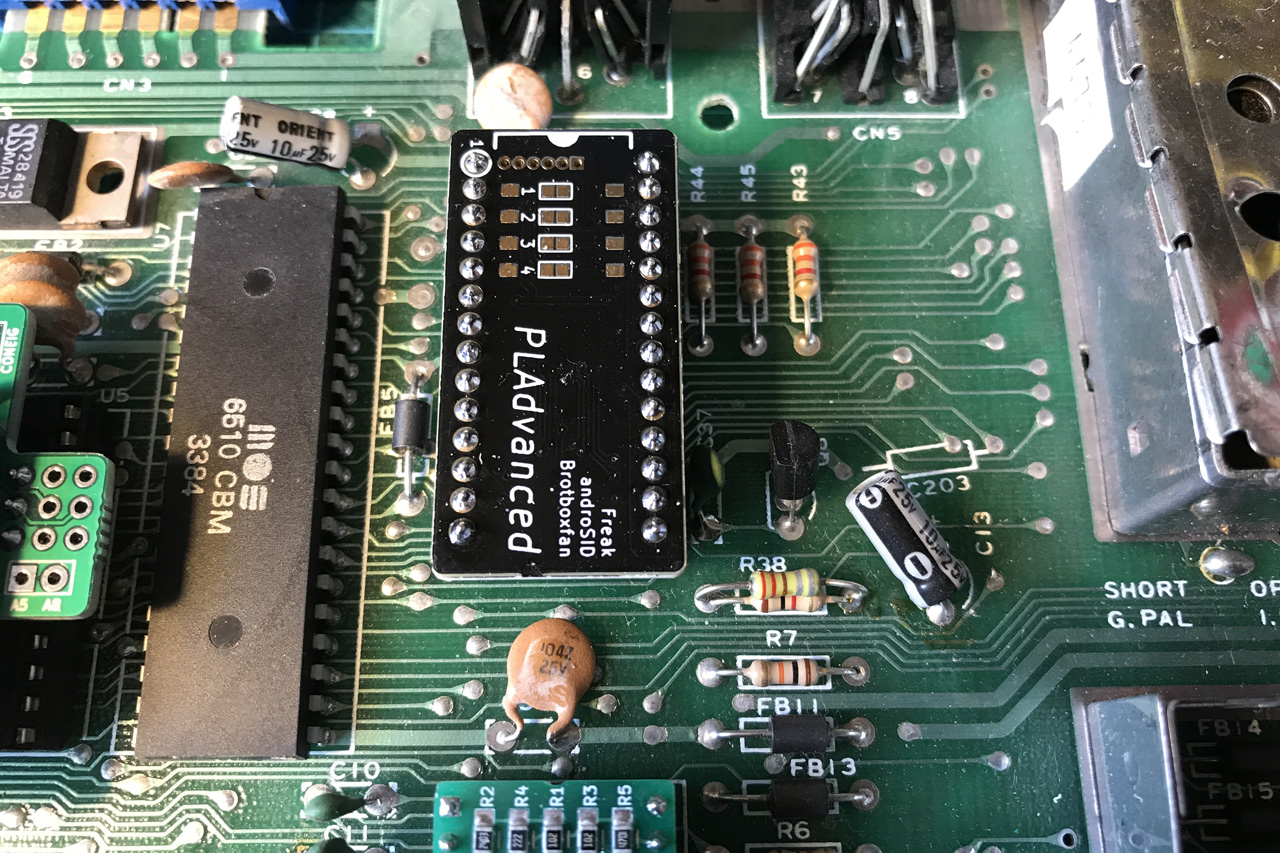
The PLAdvanced in place.
That device passes the PLA test circuit without any issues. And with the PLAdvanced in place, the original color RAM is working fine, too.
I might still build a Super Zaxxon replica later for further testing. Just for the fun.
A very interesting project; nice work! Oh, and thank you for the link back to my video.
/\/\FR
Pingback: Super Zaxxon Replica | hackup.net