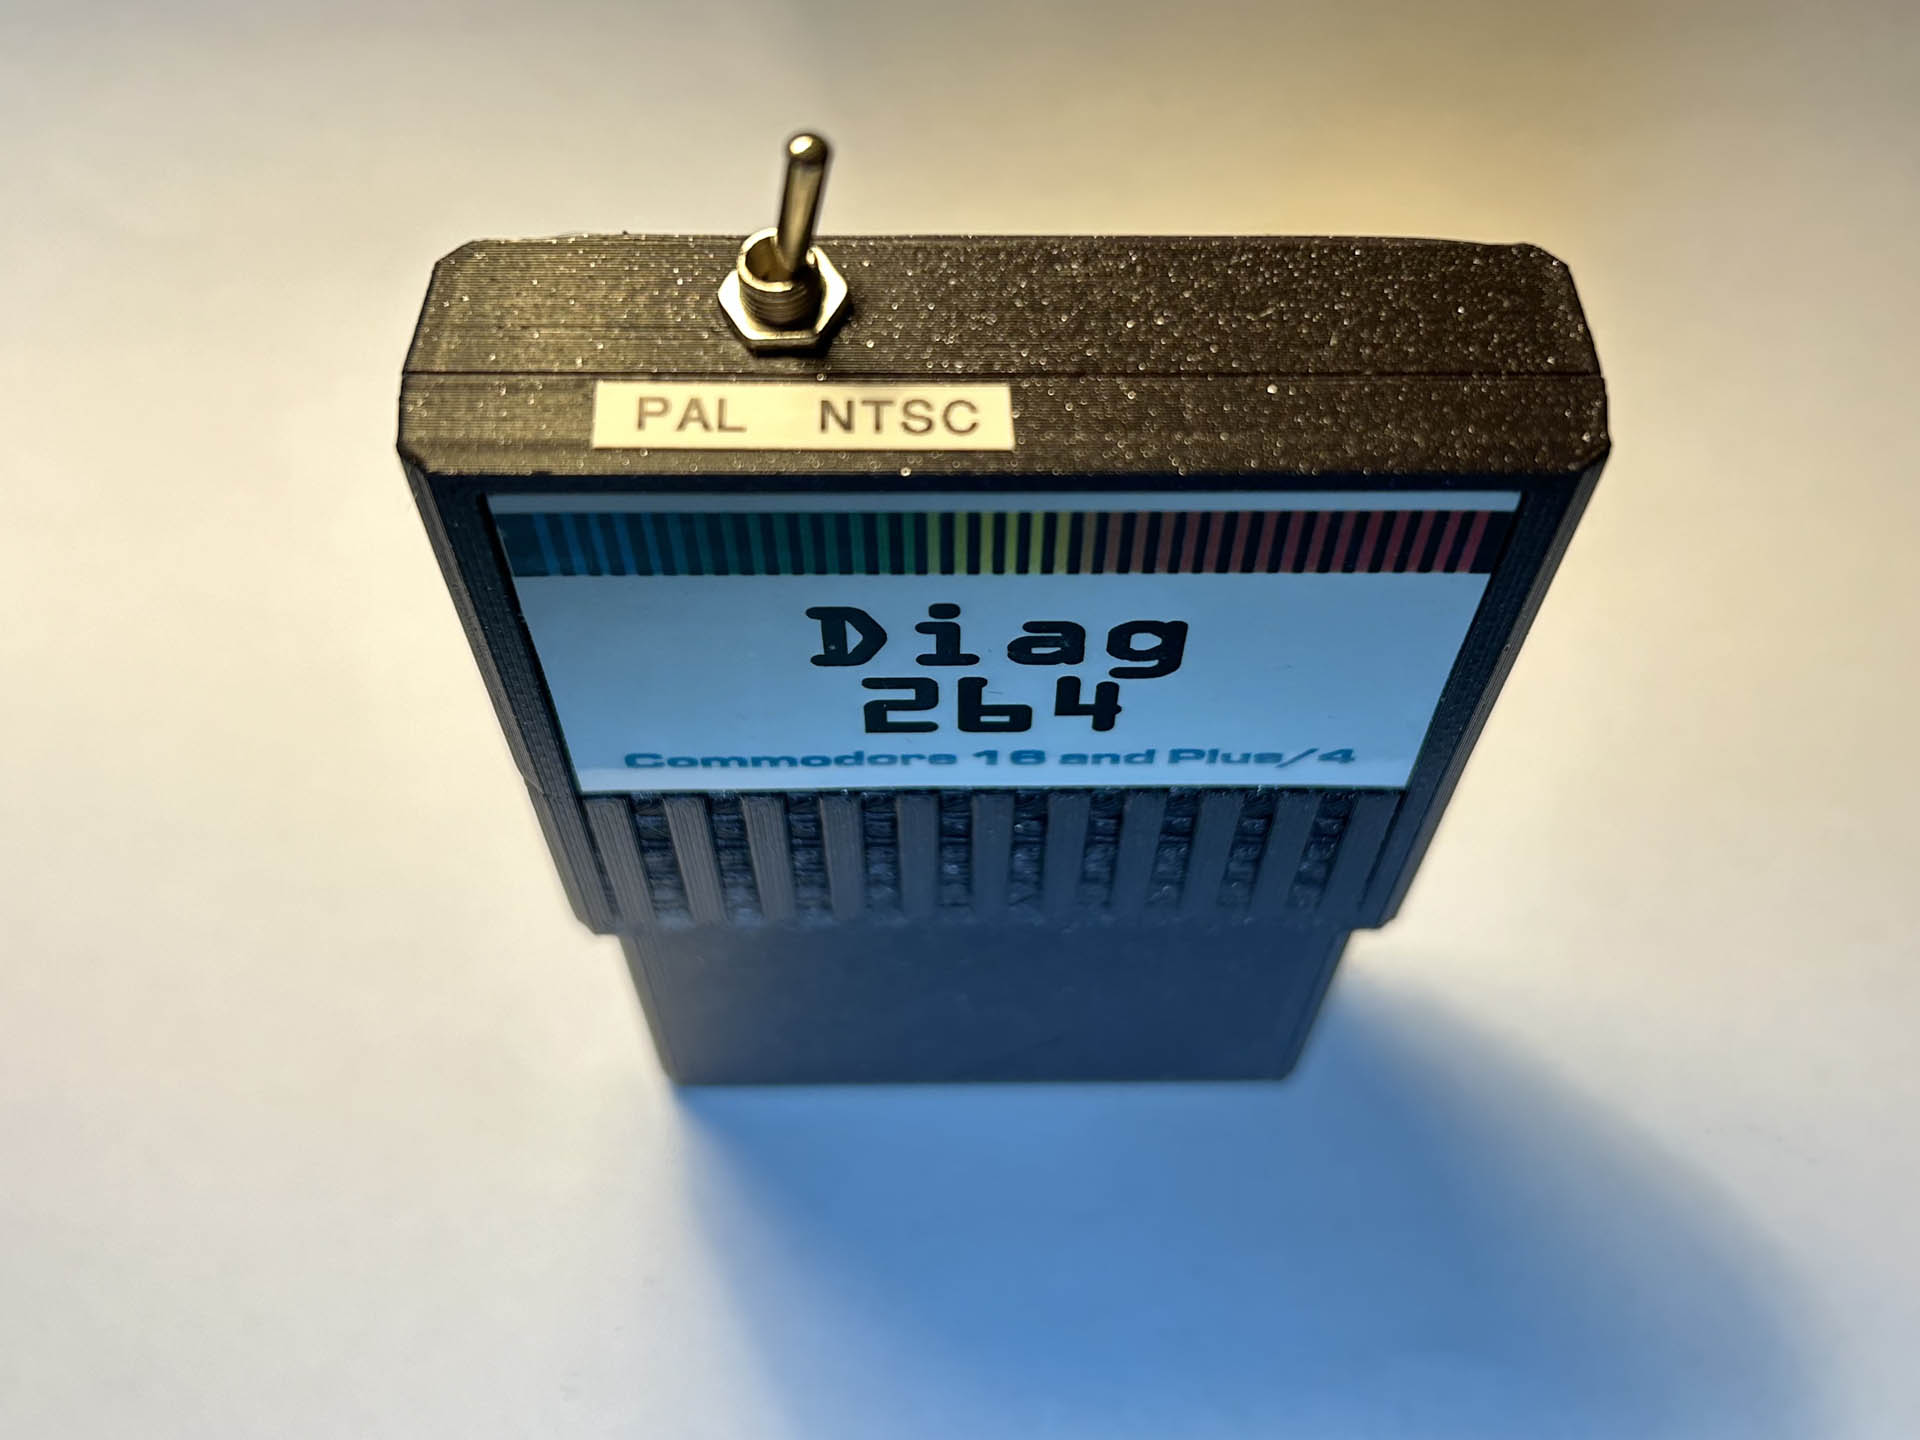
As I mentioned a while ago, I had the opportunity to repair a bunch of broken boards for Commodore C16 and Plus/4 computers. This led to a couple of new projects, the ROMulator and the PLA264. To help with the actual repairs, I built myself a Diag264 test harness.
All I wanted was a housing for my Diag264 cartridge, but it took me a few detours.
So, I also needed a cartridge to hold the diagnostic ROM. The Diag264 page suggests either modifying an original cartridge or using the OpenC16Cart. Destroying an original cartridge didn’t feel right, so I went with the latter option.
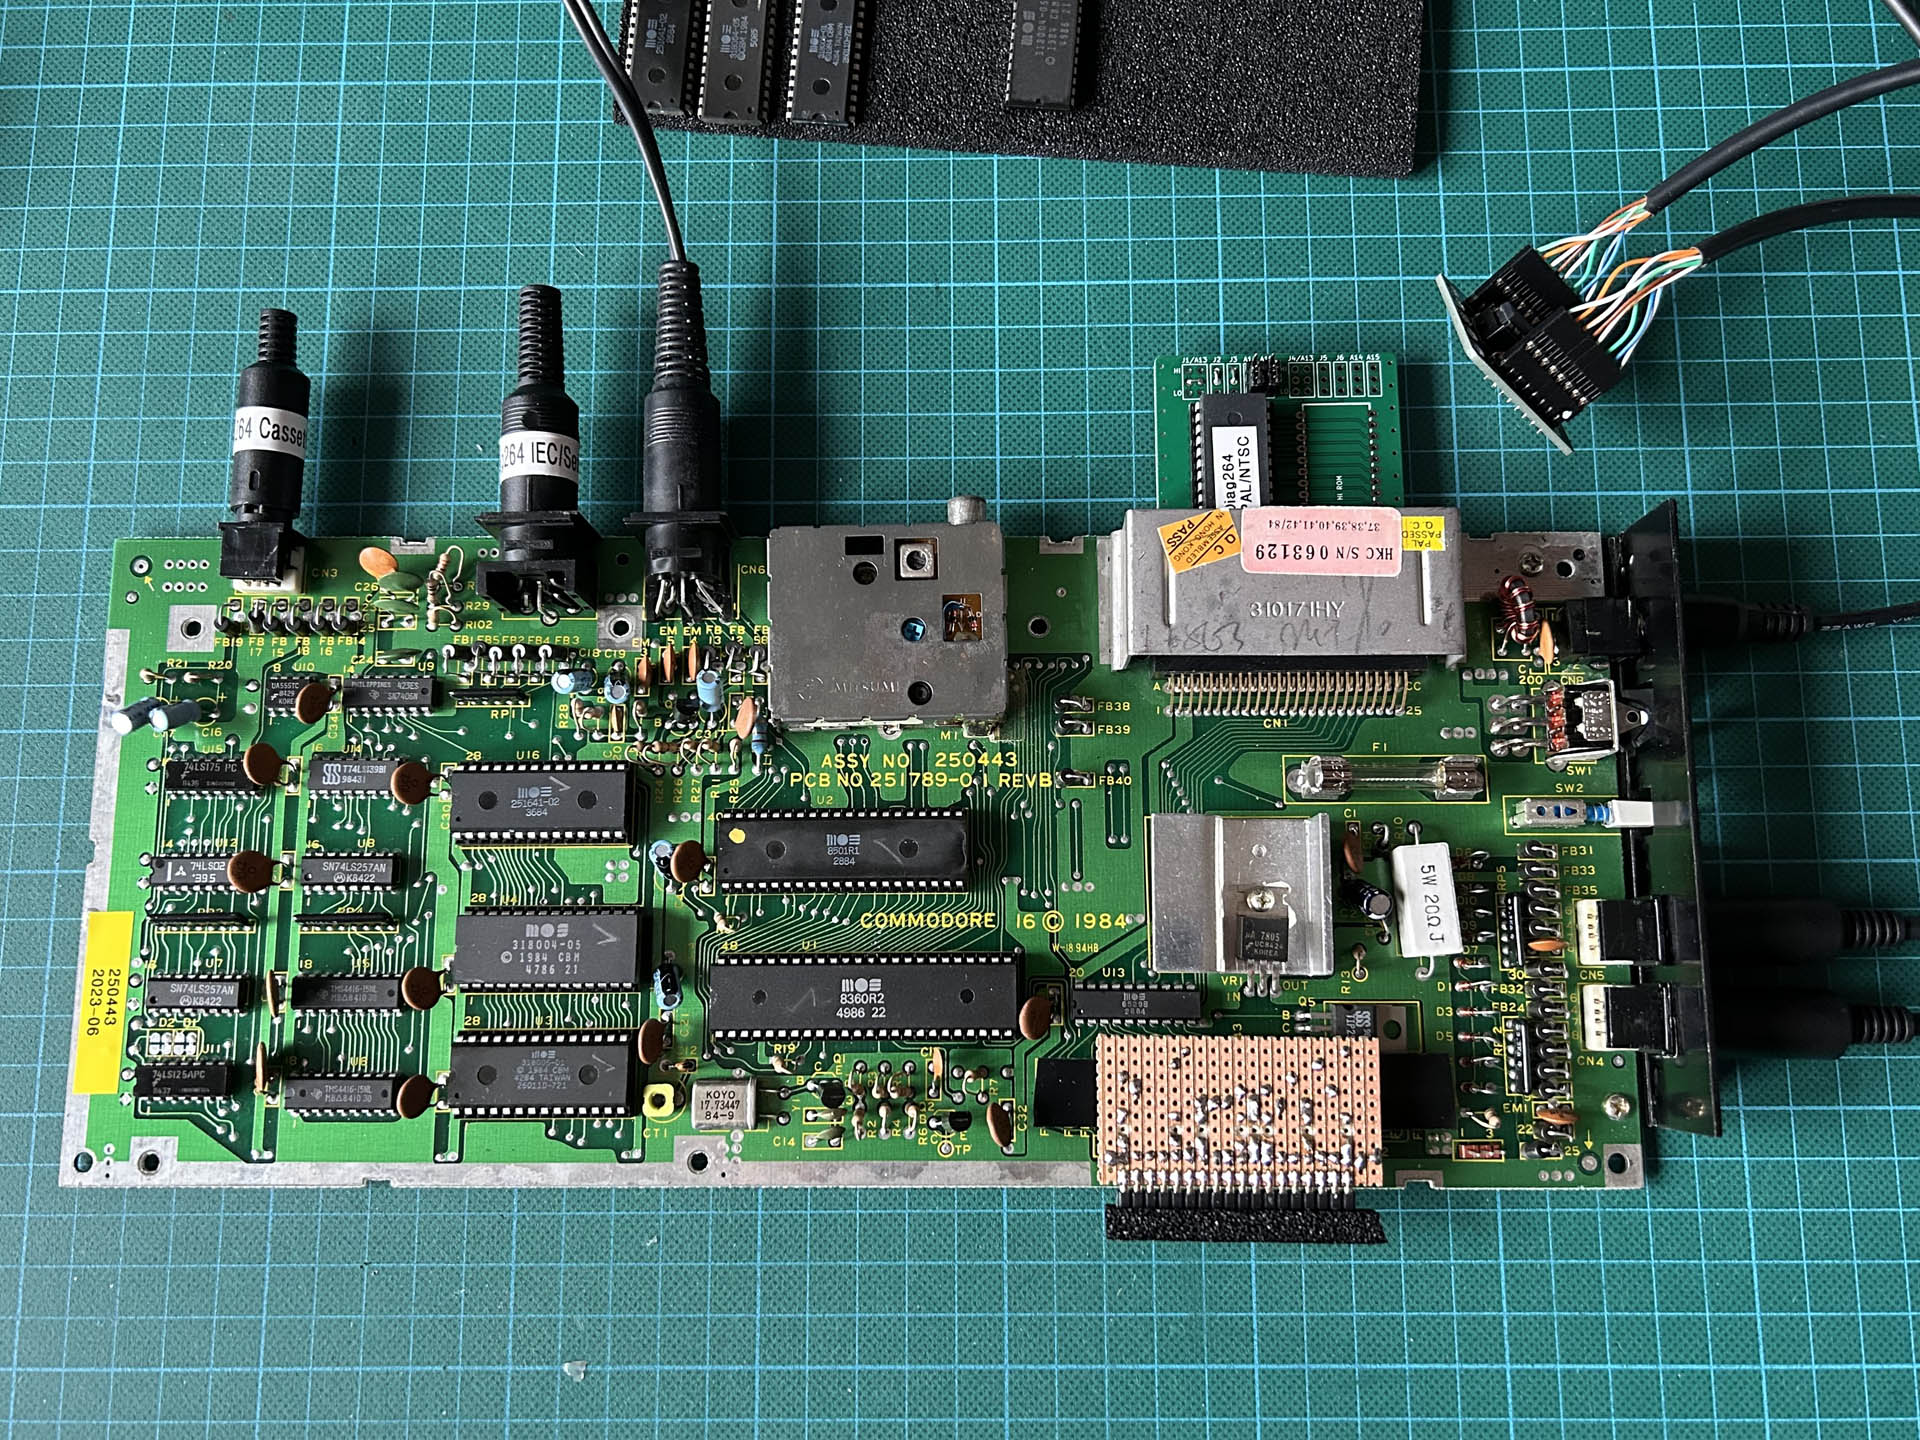
Checking a repaired C16 board with the Diag264.
First, I wanted a case.
This worked well and helped a lot with the repairs, but I also wanted a case for the cartridge I had built. I found a replica of the original cartridge cases on Thingiverse, but since it was an exact copy of the original’s extravagant shape, it was awfully hard to print on an FDM printer.
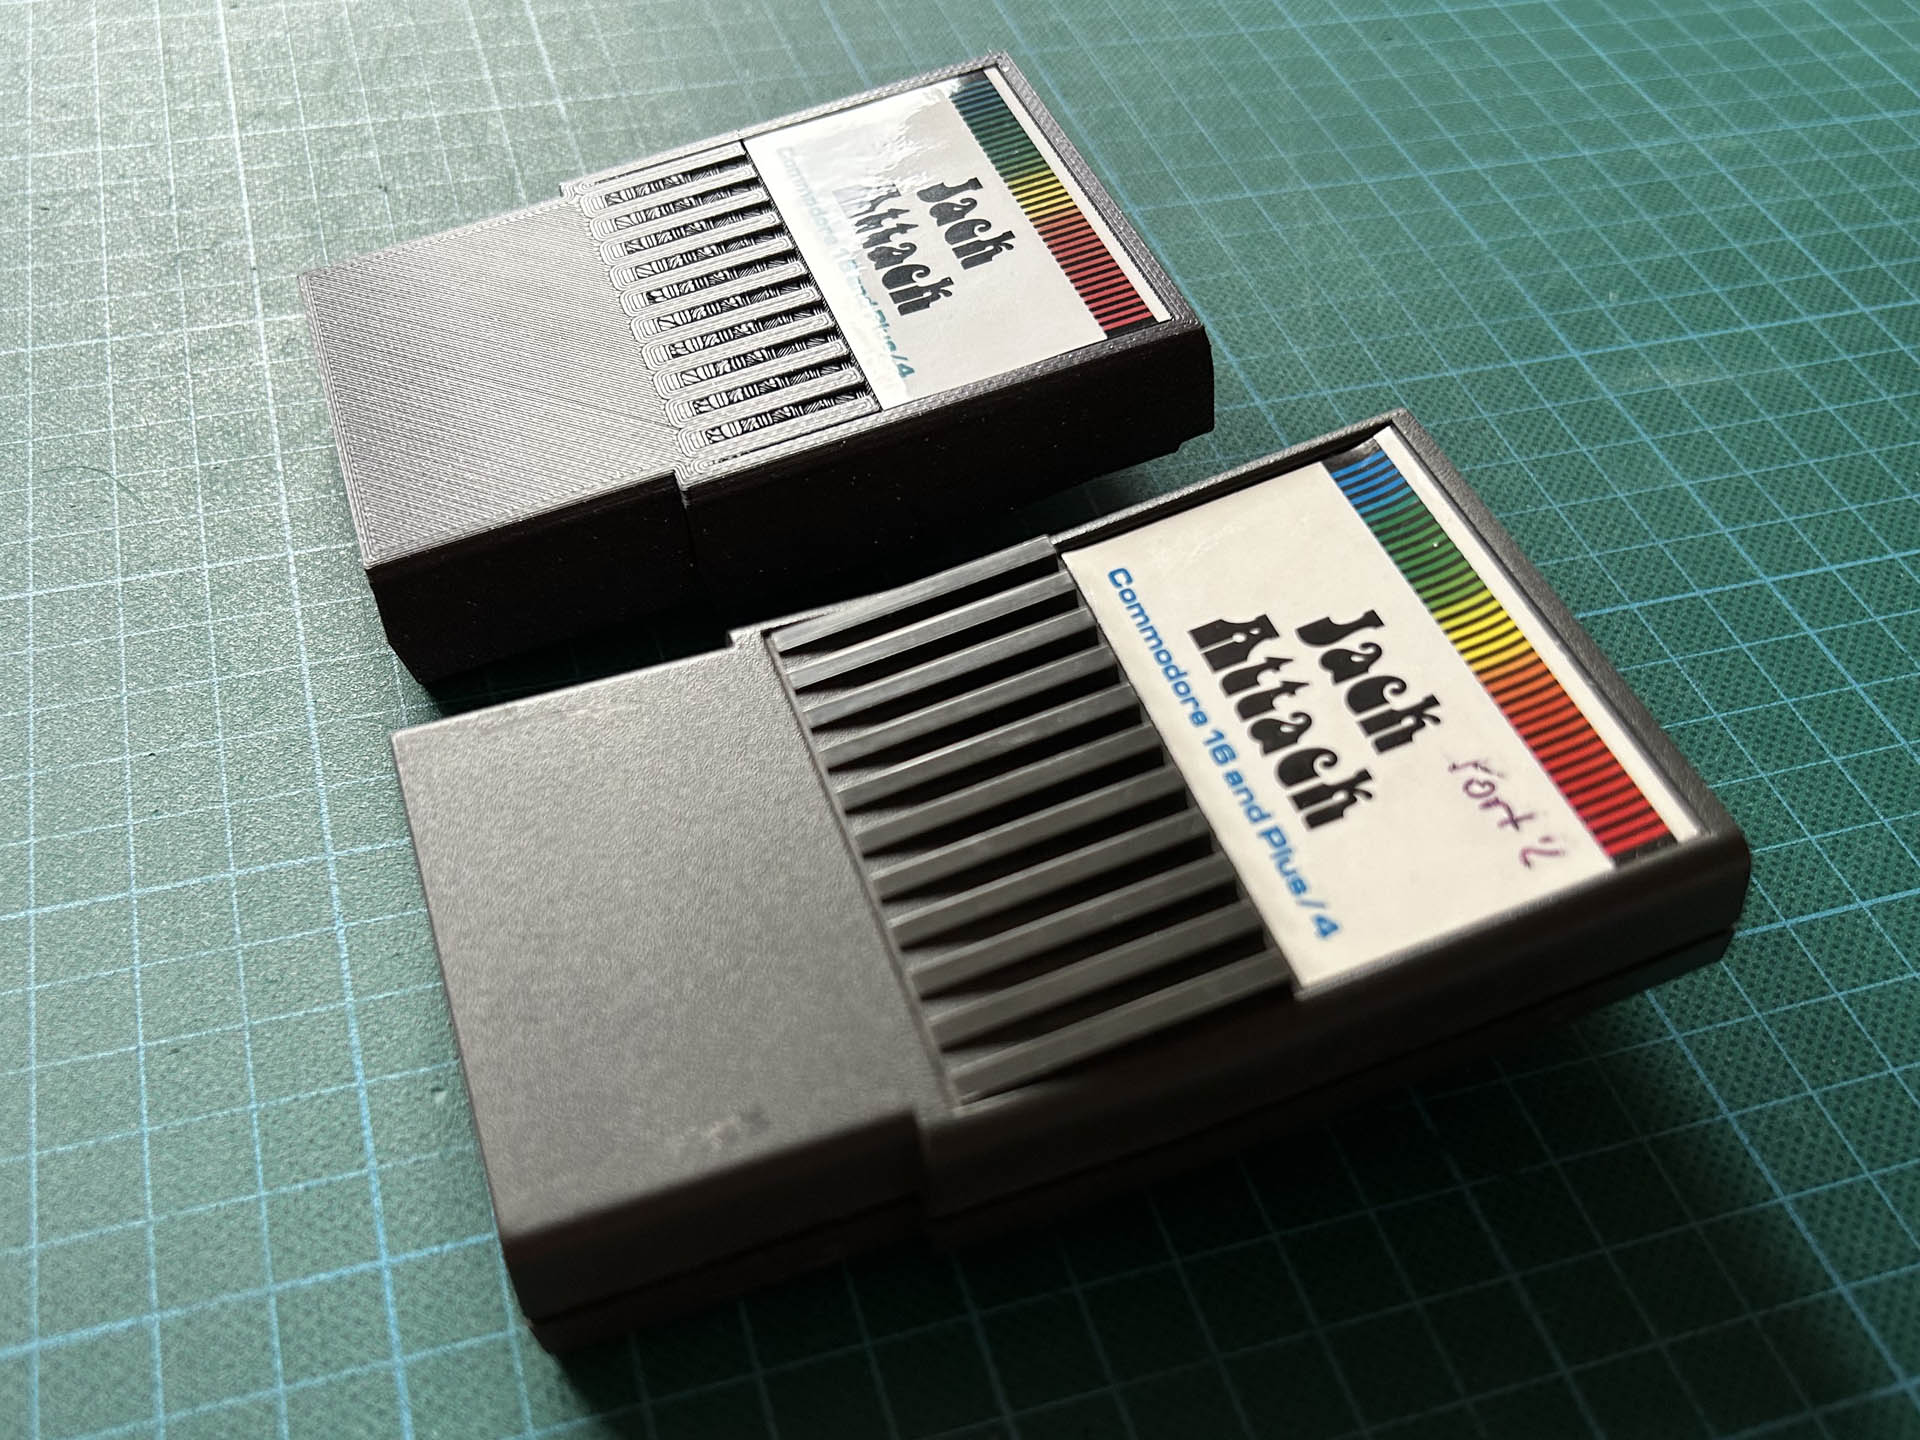
The original cartridge case and the redux version side by side.
I then forgot about it for a few months until I came across the original cartridge in my workshop. Using this as a model, I designed my own “Redux” version, making it as easy and fast to print as possible, while keeping close to the original look and feel. This “Commodore 264 Cartridge Case Redux for C16 and Plus/4” is now also available on Thingiverse.
NEXT, I had to replicate the PCB.
But when I returned to the Diag264 cartridge I had built, I realized that this wouldn’t work either. The new case fits the original cartridge PCBs perfectly, but the OpenC16Cart has a completely different layout. It does not even have a mounting hole, it is clearly not designed to fit into a case at all. D’oh!
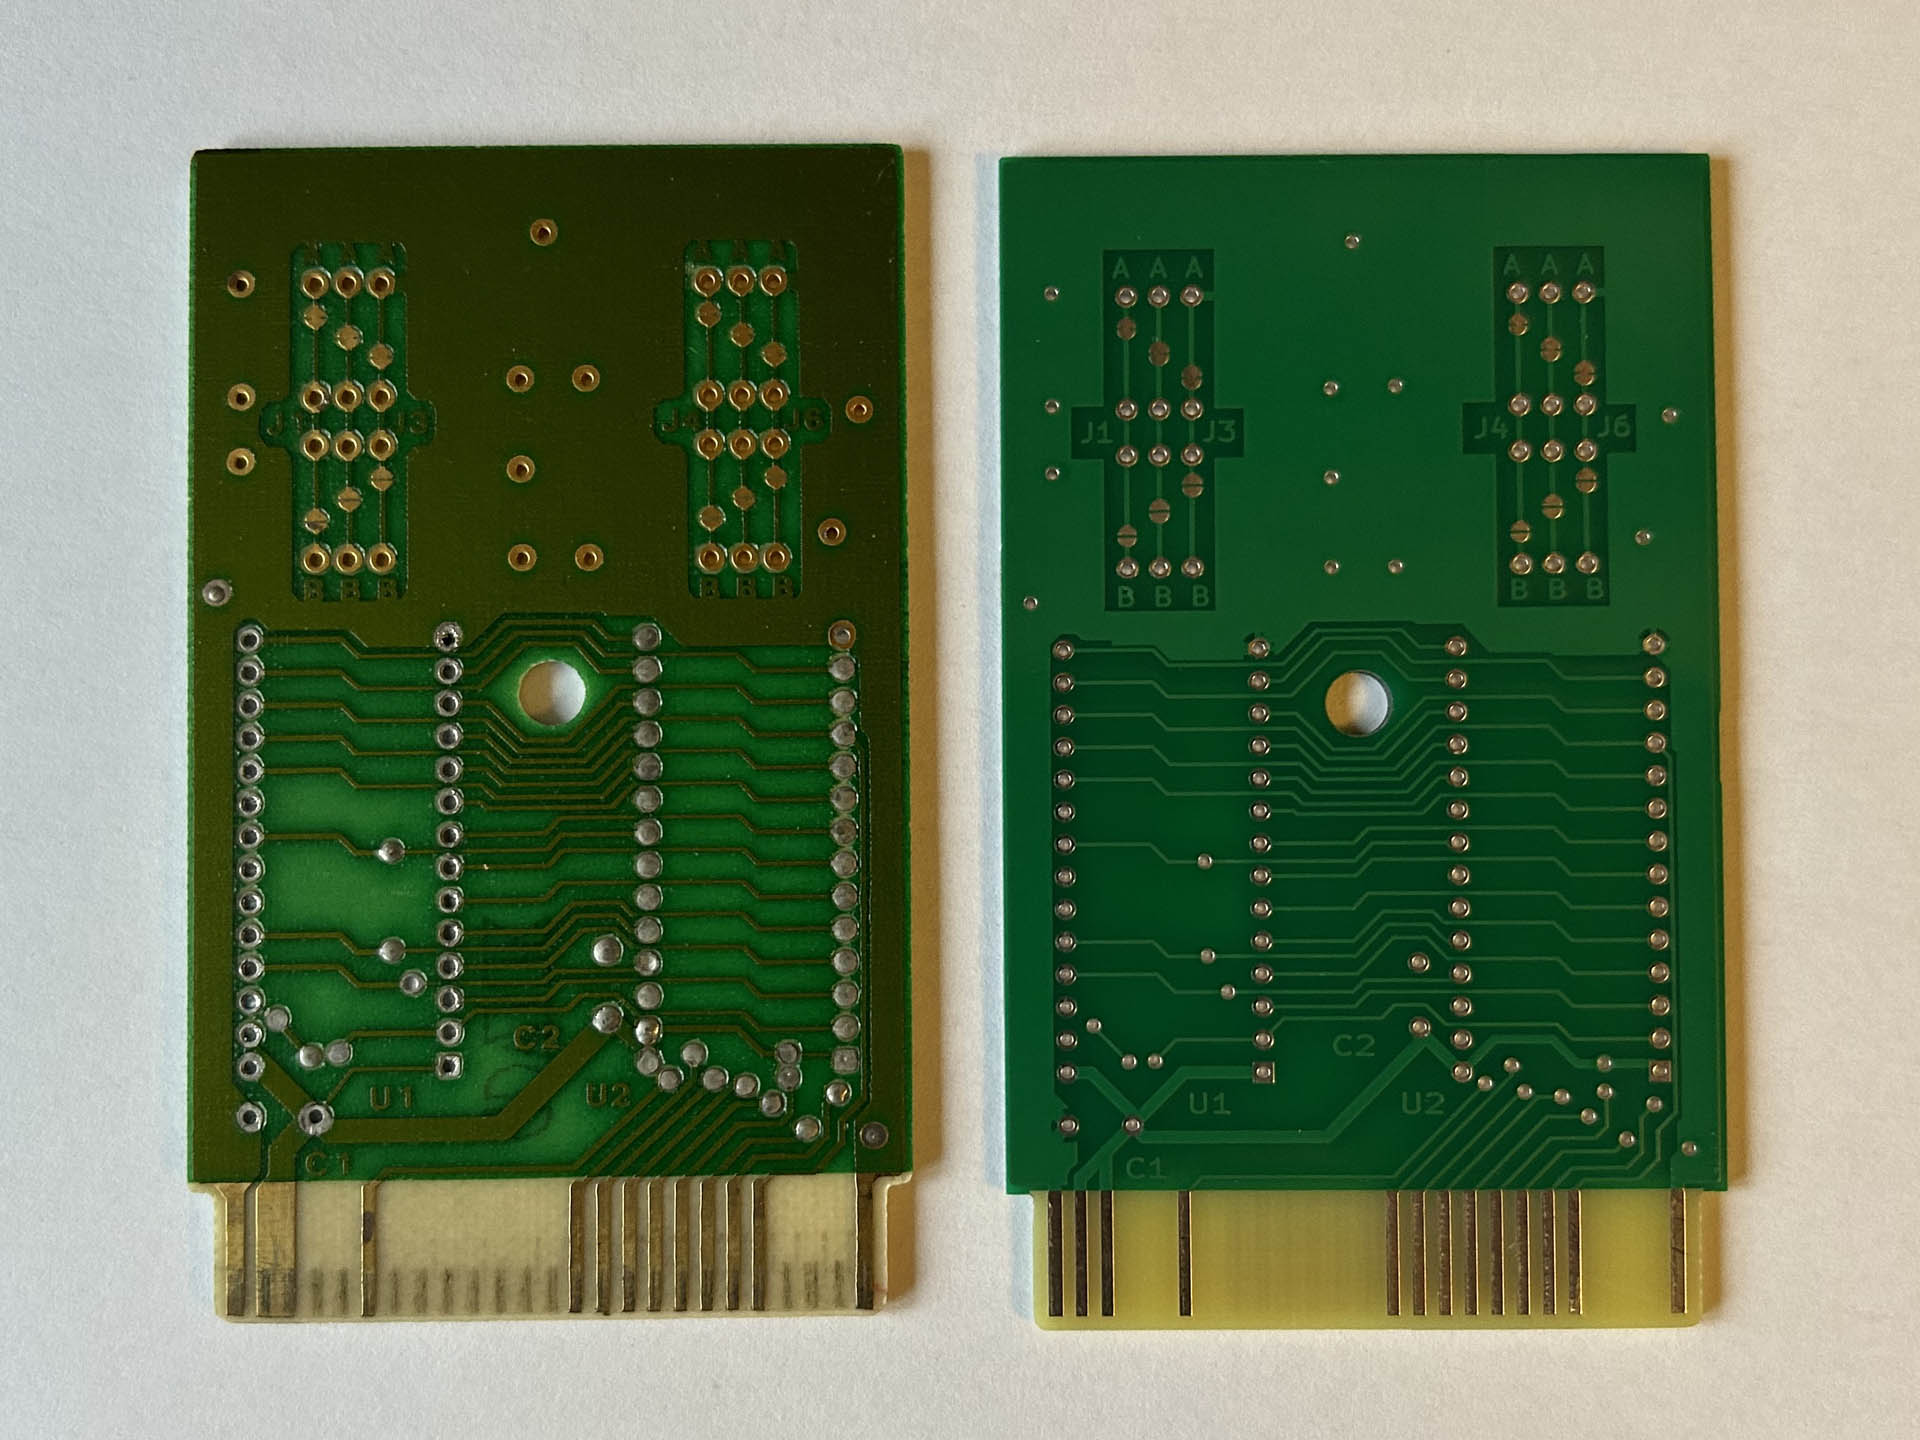
The original and the replicated version of the cartridge PCB.
Of course, the only reasonable thing to do was to replicate the original cartridge PCB, so I did just that. I desoldered the two components from the Jack Attack cartridge, cleaned the empty PCB, scanned both sides and traced it in KiCAD. In doing that, I learned a few things about the cartridge, such as:
- The second ROM is only used to hold the upper 16k of memory for 32k cartridges.
- The (only?) purpose of the solder jumpers above with their huge footprint is to configure the board for smaller 2364 ROMs instead of 27128.
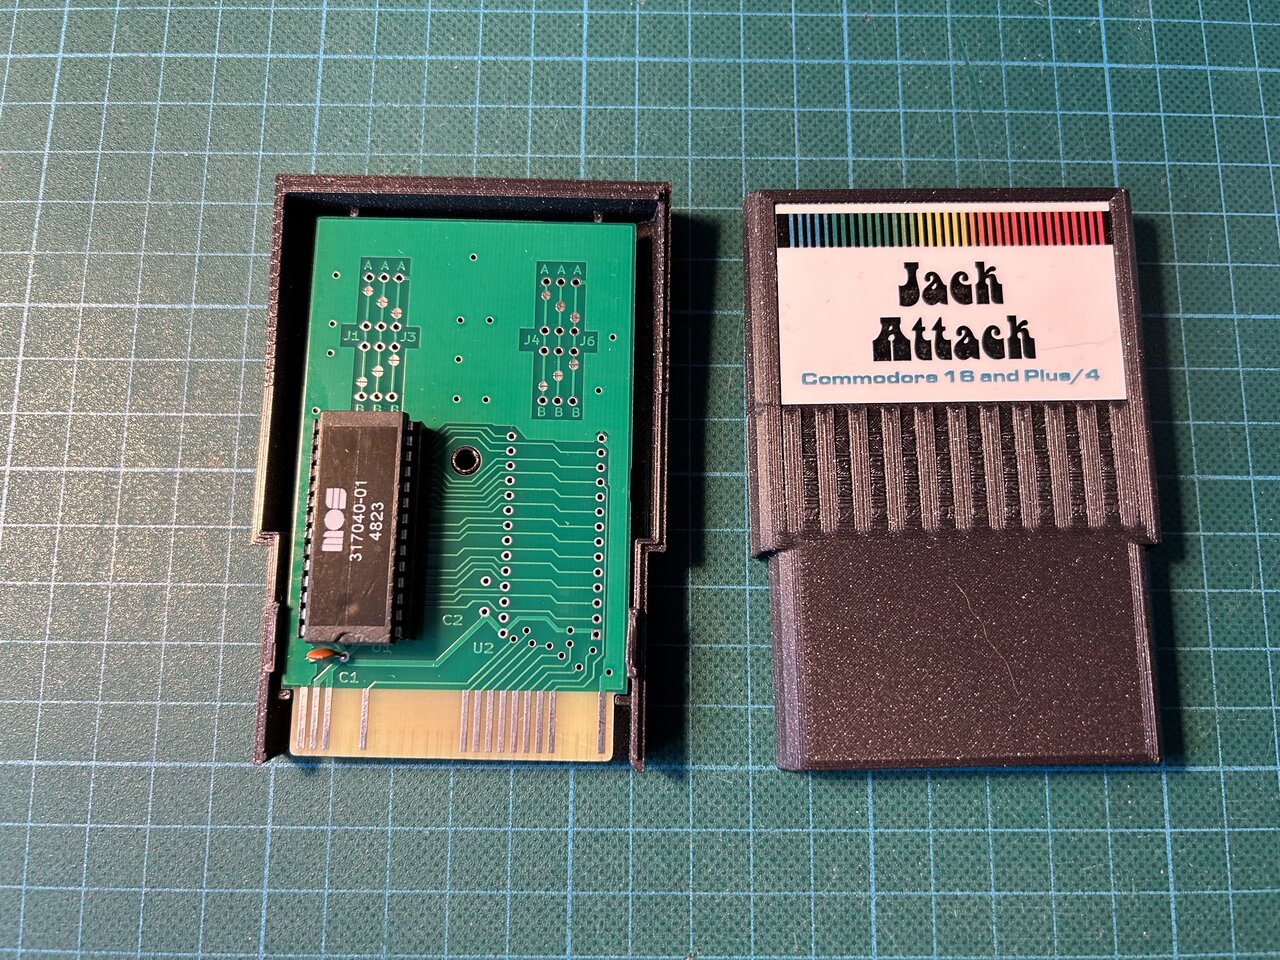
The Jack Attack cartridge fully replicated.
Finally, I created the C264Cart.
While the replicated PCB worked well and fit the case, I felt that there was room for improvement. So I modified the board layout with the following goals in mind:
- Reduce the size of the board while maintaining compatibility with the cartridge case.
- Instead of supporting 2364 ICs, allow the use of larger ROMs that are still available, such as the 27C512, 27C020, and 27C040.
- With larger ROMs, there is no need for a second ROM. Add some logic to allow both the lower and upper 16k of 32k modules to be stored in one ROM.
- Add pads and jumpers to allow switching between ROM banks.
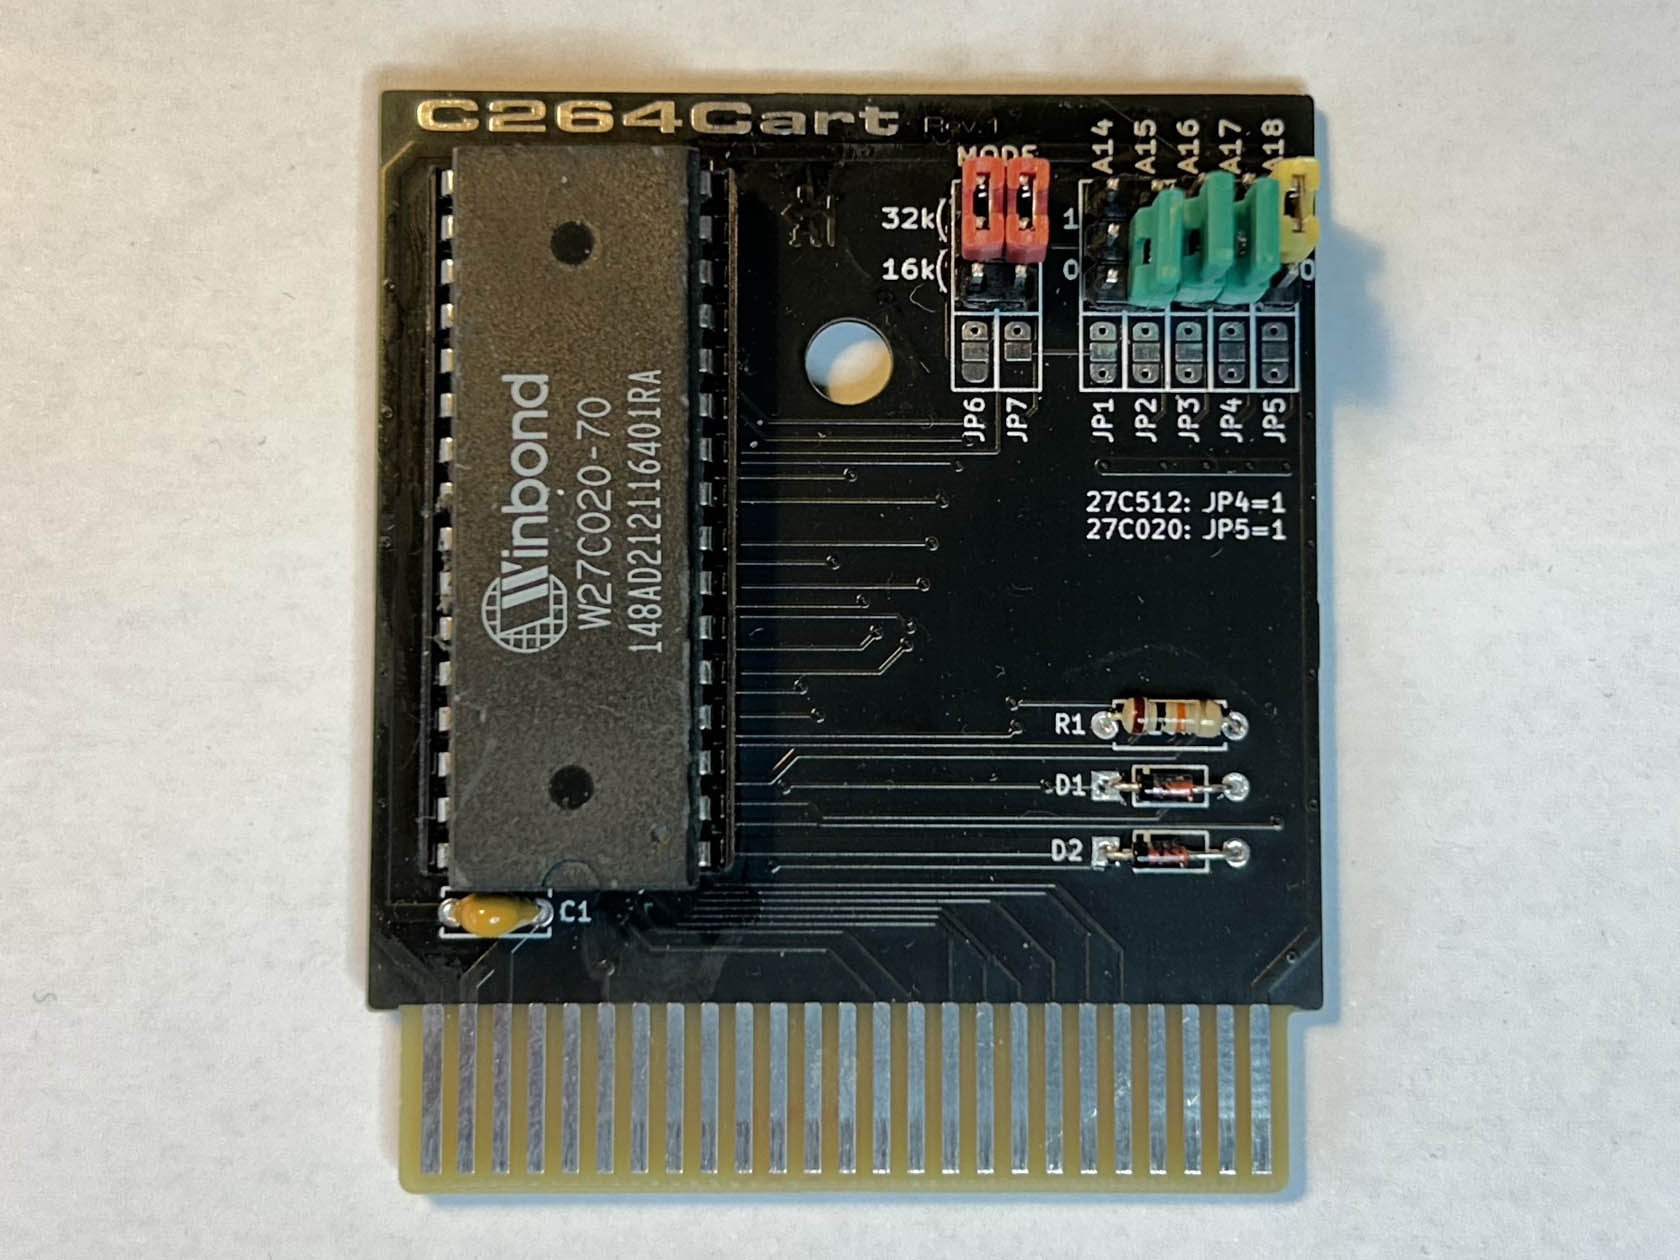
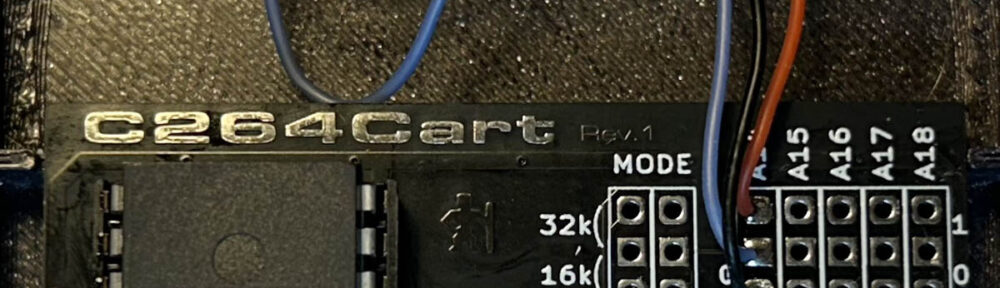
A C264Cart configured to host eight 32k images in a single W27C020 EEPROM.
The resulting board is called the C264Cart and turned out to be quite versatile, if I may say so. It can be configured for either 16k or 32k ROM images and allows switching between multiple images. Each jumper can be set with either THT pin headers or solder blobs.The two diodes and one resistor that form a single AND gate only need to be populated for the 32k mode.
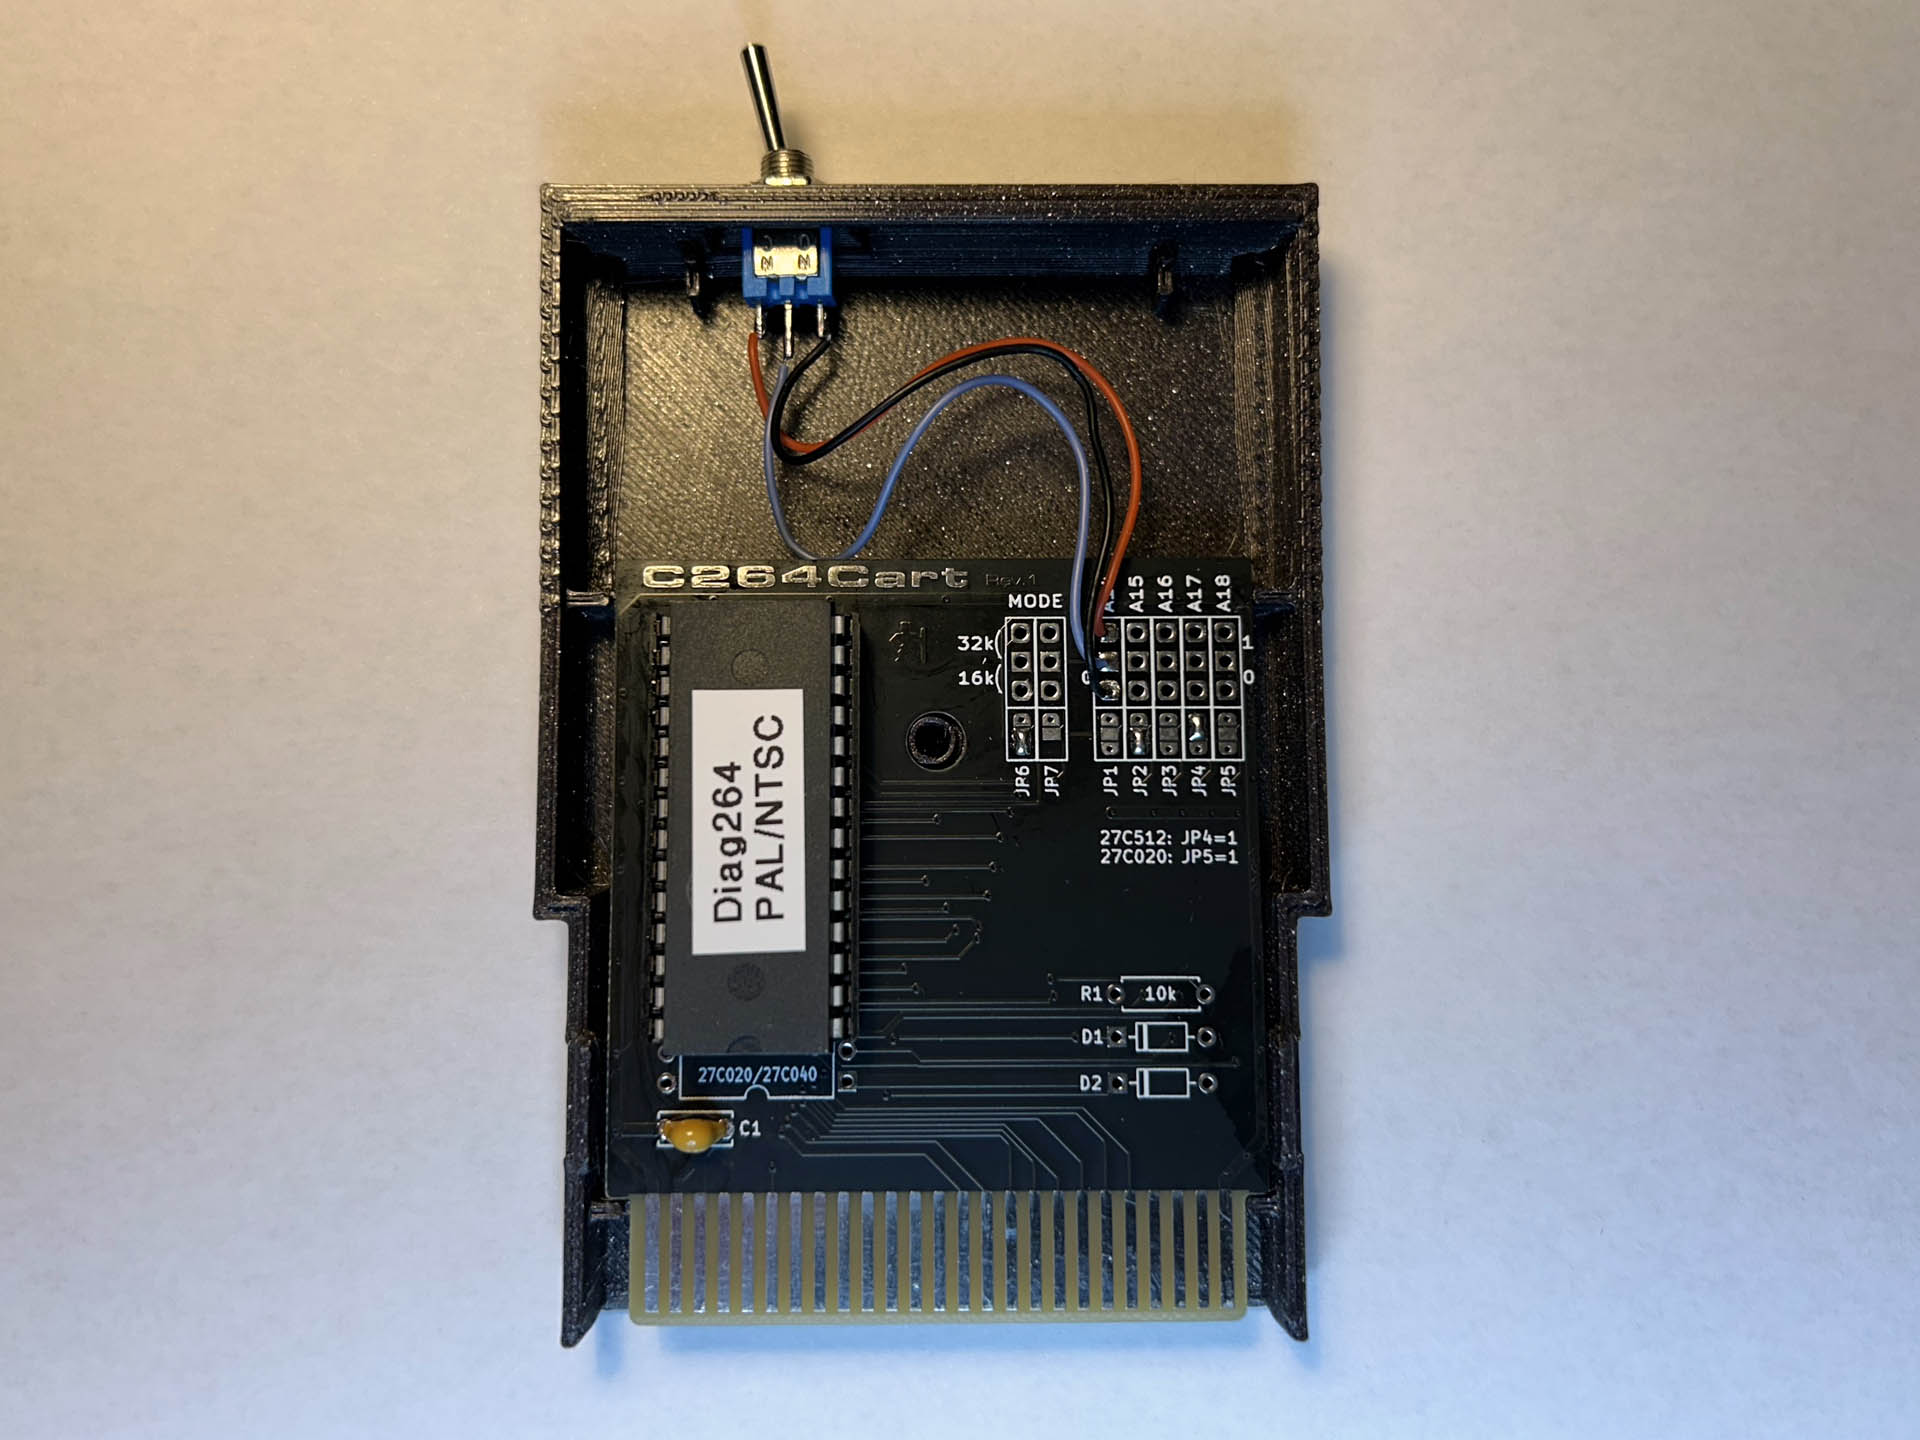
A C264Cart configured to switch between two 16k images in a single W27C512 EEPROM.
The project files for the C264Cart are available on Github along with a detailed explanation of how to configure the PCB. Boards can be ordered directly from PCBWay and the STL files for 3D printing the case are available on Thingiverse and Printables.
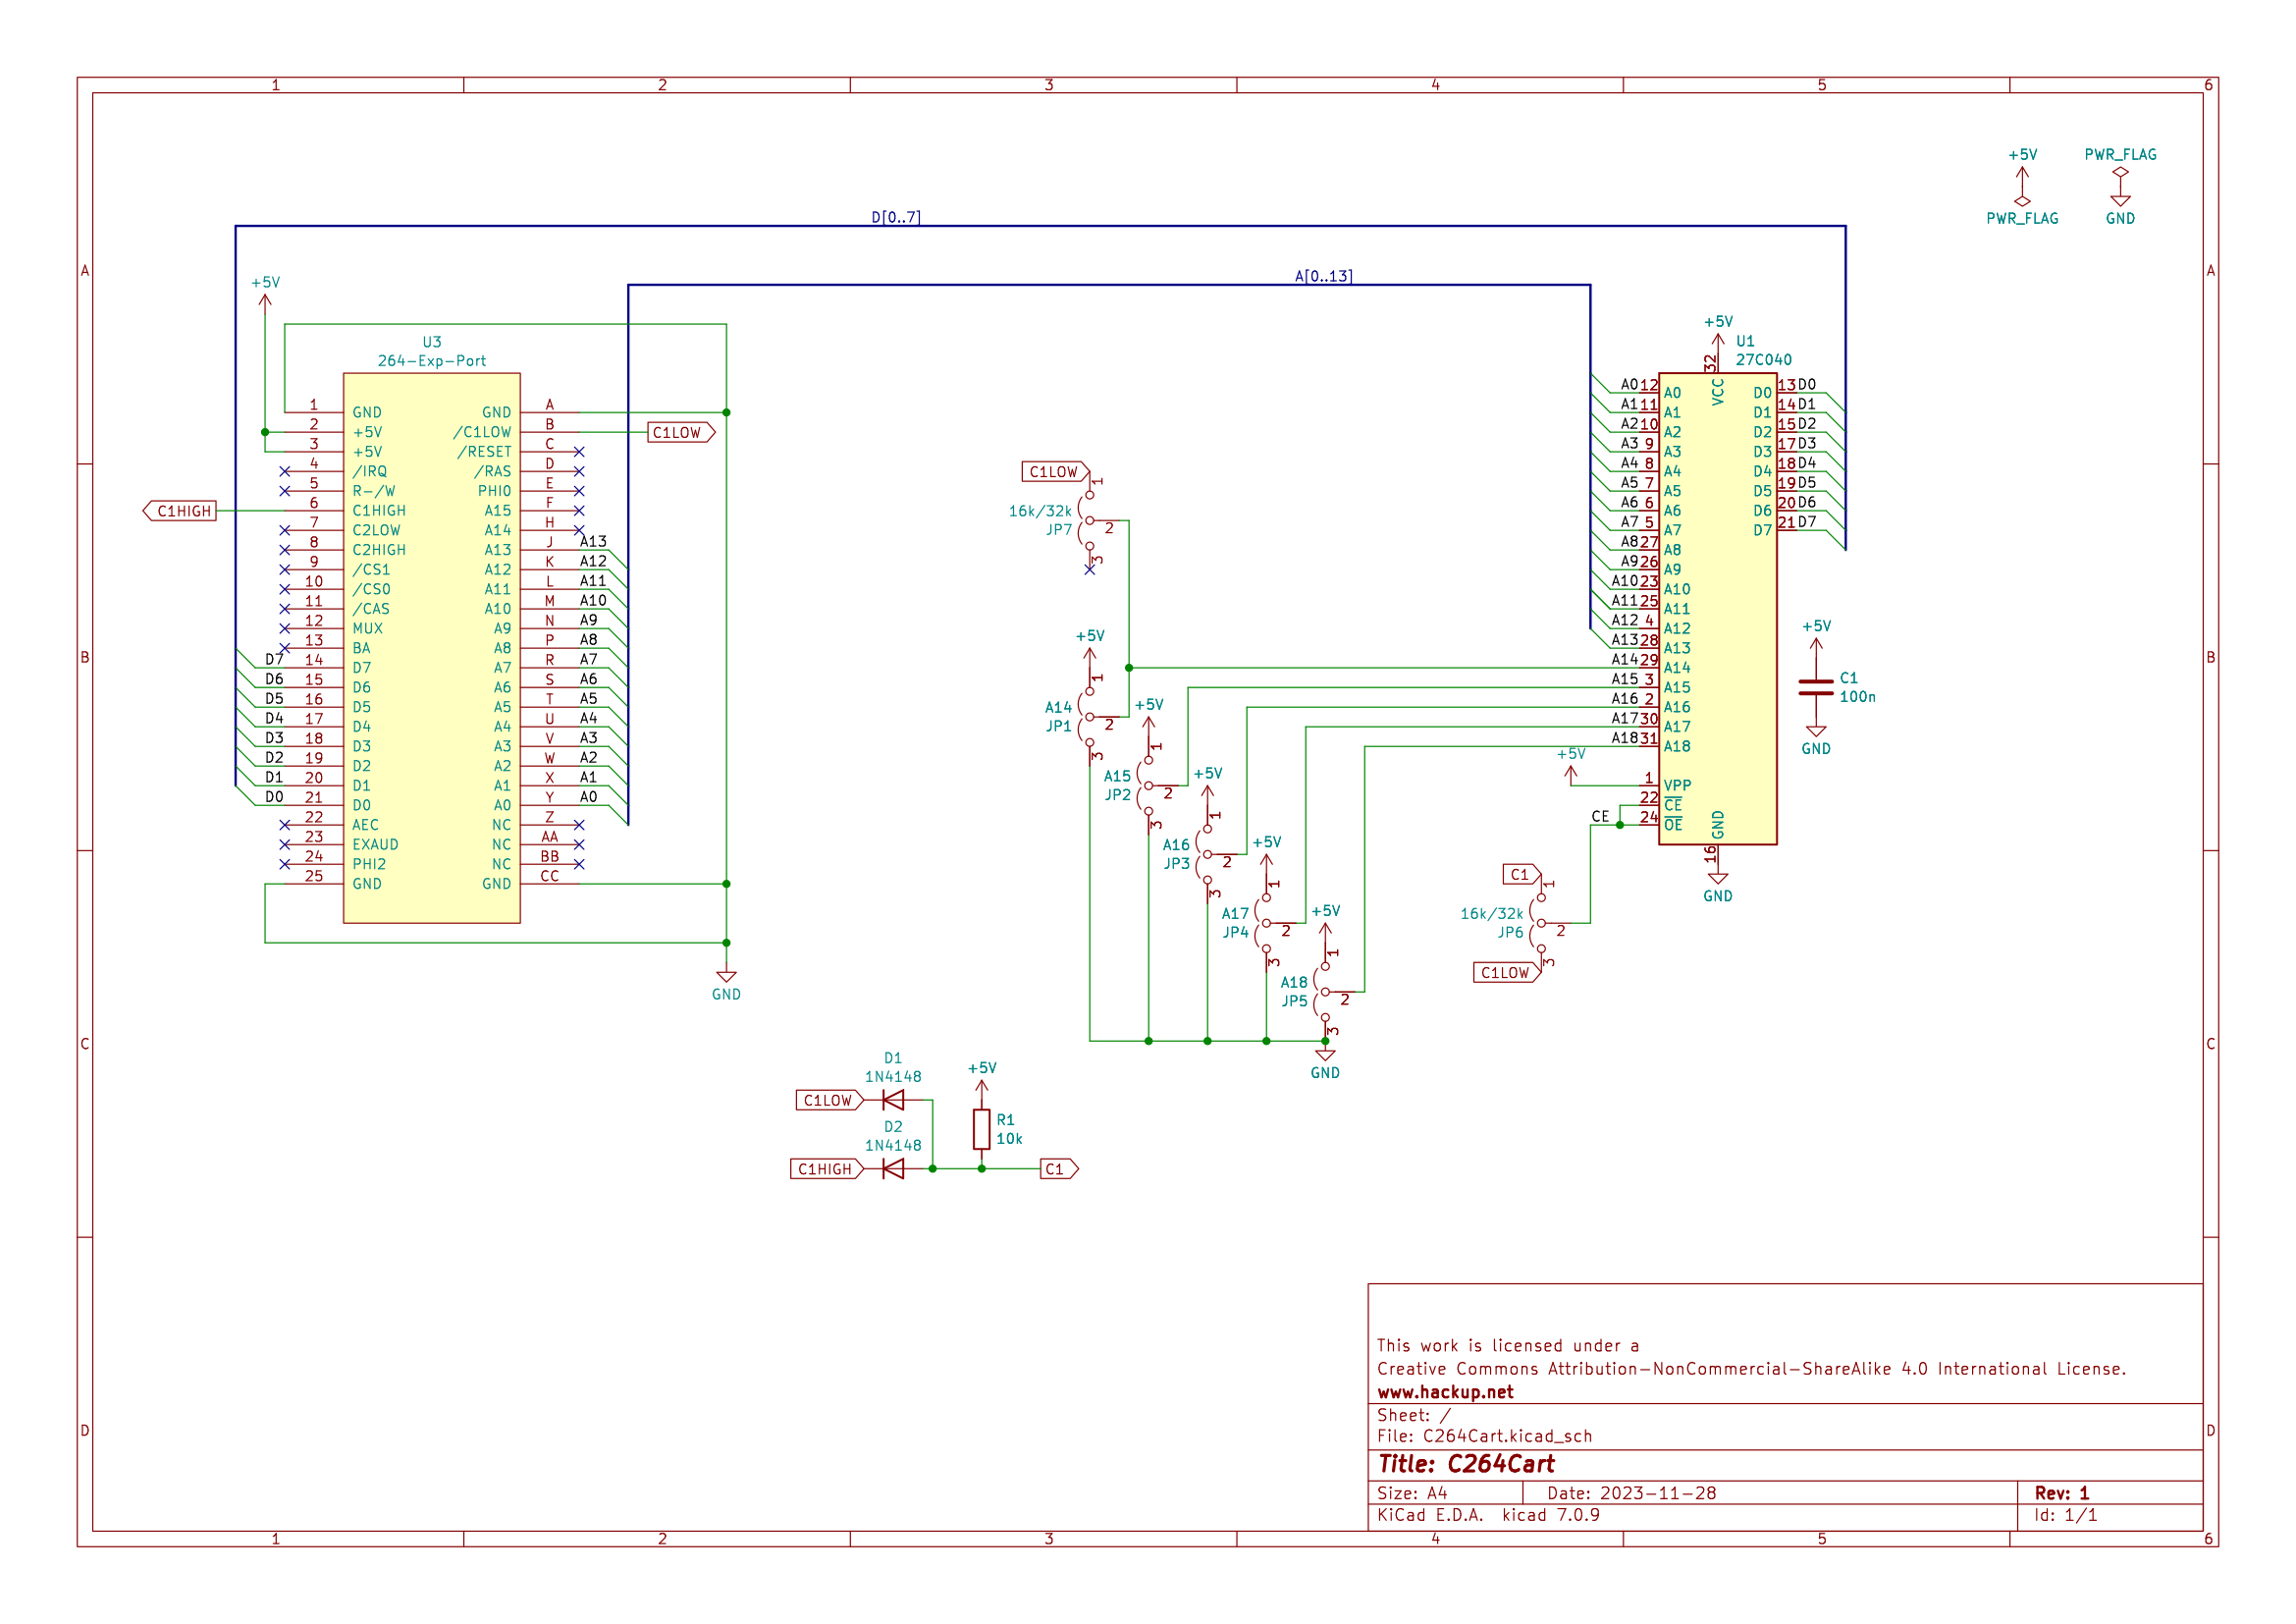
C264Cart schematics.
Please note that all of this is provided for your personal use only. Commercial use is not allowed.
Update 2023-12-17
For those who would like to closely replicate the original cartridges, the 1:1 replica is now also available on PCBWay.


Is there any reason c2 lo/hi isn’t/ can’t be connected to bank in 64k total through software rather than physical jumper?